-
Do NOT remove Apple-supplied system Python 2.7.x (whatever version that is), as it may break the whole operating system.
-
What is a Vanilla Install?
'Vanilla Install' simply means 'not customized from their original form'.
- What is Anaconda Python?
Anaconda is a open-source Python distribution. It aims to provide everything you need (Python-wise) for data science "out of the box".
It includes:
- The core Python language
- 100+ Python "packages" (libraries)
- Spyder IDE and Jupyter Notebook
- conda, Anaconda's own package manager, used for updating Anaconda and packages
- If you think the following guide is overwhelming for you, Anaconda is a good choice for beginners, just head over to Anaconda distribution, choose Python 3.X for your operating system, download and install it, and you are good to go.
What to be installed:
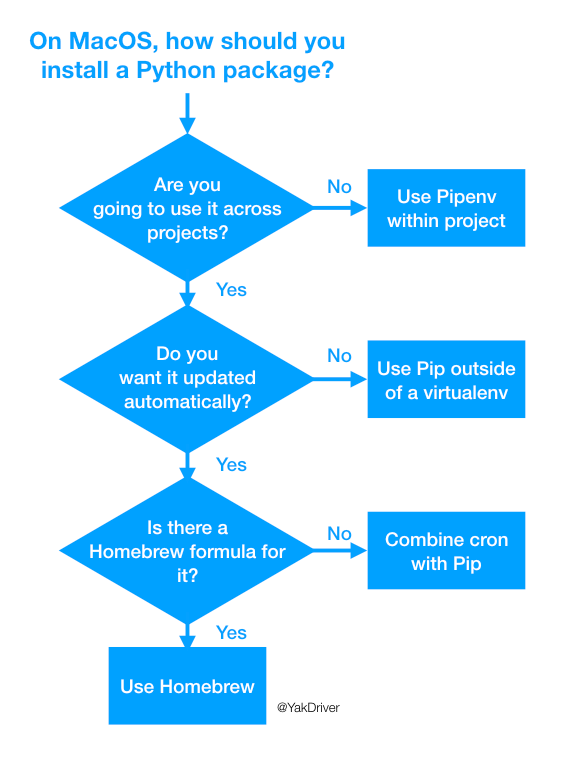
Homebrew: a package manager targeted at macOS. Similar to Apt for Linux.Pip: a package manager for the python world, installing python packages with pip will fetch packages from the Python Package Index.Python 3.7.X
Open Finder, Navigate to/Applications, delete any folder named Python 2.X or Python 3.X.
- Open Finder, go to your main Drive, usually
Macintosh HD - Use Finder, navigate to
/Library/Frameworks/Python.framework/Versions/ - Delete everything within
/Versionsfolder.
Alternatively, if you know what version of Python do you have, let say 3.6, you can use the following command in the Terminal.
sudo rm -rf /Library/Frameworks/Python.framework/Versions/3.6
Remove all the symbolic links in/usr/local/bin that point to Python related files:
sudo rm /usr/local/bin/python*
sudo rm /usr/local/bin/pip*
Open Terminal on your Mac and paste in the following command and hit Enter.
/usr/bin/ruby -e "$(curl -fsSL https://raw.githubusercontent.com/Homebrew/install/master/install)"
Type this in Terminal and hit Enter.
brew install python
Homebrew will install Pip as well.
Depends on which shell you are using.
If you are using Bash Shell, open the.bash_profile file using nano.
nano ~/.bash_profile
If you are using ZSH or Z Shell, open the.zprofile file using nano.
nano ~/.zprofile
GNU nano is a text editor for Unix-like computing systems or operating environments using a command line interface.
Add the following line at the top of the file you have opened.
export PATH="/usr/local/opt/python/libexec/bin:$PATH"
Save and exit the nano editor.
Control + X
Y
Enter
Close all Terminal windows and quit Terminal entirely. Open Terminal again, check environment variable by using this command:
echo $PATH
It should response as follow:
/usr/local/opt/python/libexec/bin:/usr/local/bin:/usr/bin:/bin:/usr/sbin:/sbin
python --version
it should return Python 3.7.6
pip --version
It should return soemthing like this
pip 19.3.1 from /usr/local/lib/python3.7/site-packages/pip (python 3.7)
The Python version 3.7.x should match what pip is pointing at.