Load balancing is an excellent way to scale out our application and increase its performance and redundancy. Nginx, a popular web server software, can be configured as a simple yet powerful load balancer to improve our servers resource availability and efficiency.
Nginx acts as a single entry point to a distributed web application working on multiple separate servers.
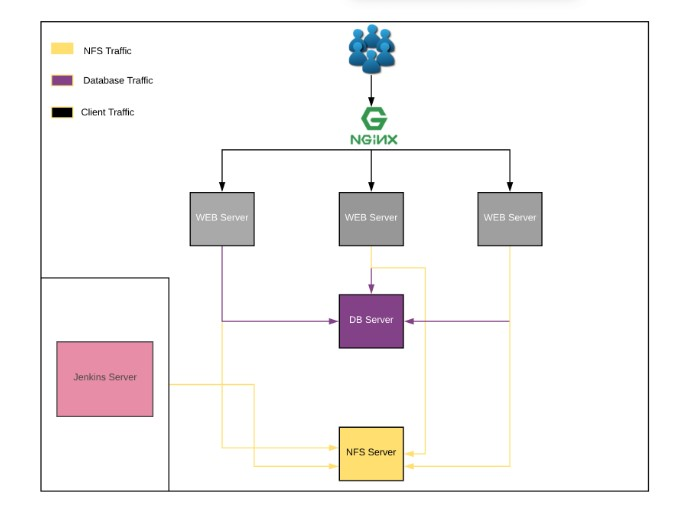
** The following load balancing methods are supported in nginx:**
- Round-robin — requests to the application servers are distributed in a round-robin fashion,
- Least-connected — next request is assigned to the server with the least number of active connections,
- Ip-hash — a hash-function is used to determine what server should be selected for the next request (based on the client’s IP address).
-
Create an Instance and name it nginx-lb
-
Installing Nginx Web Server.
$ sudo apt update

$ sudo apt install nginx
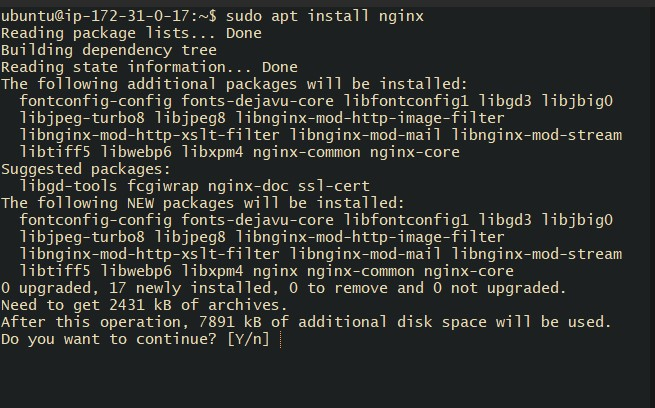
- Start Nginx at boot time
$ sudo systemctl enable nginx

$ sudo systemctl start nginx

$ sudo systemctl status nginx
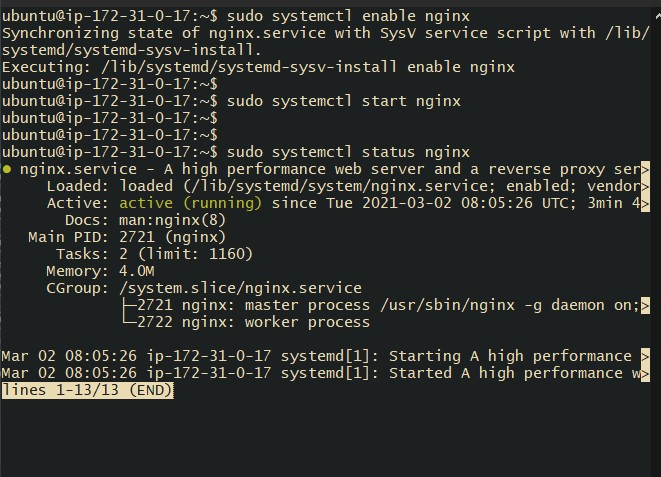
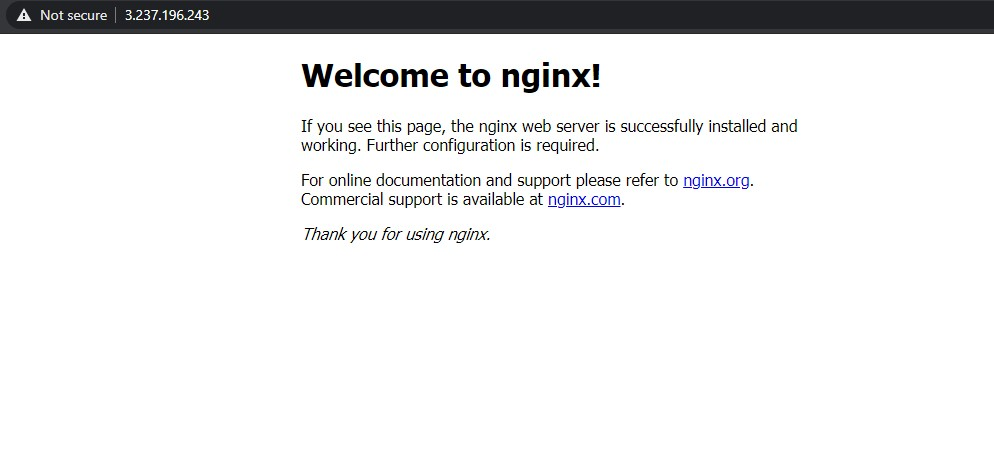
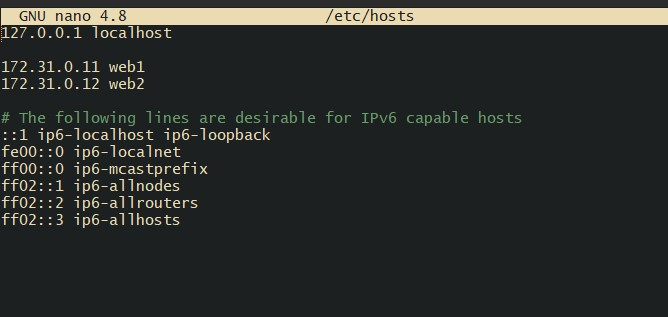
- Update /etc/hosts file for local DNS with our web servers
$ sudo nano /etc/hosts
- We will input our web server ip address there.
172.31.0.11 web1
172.31.0.12 web2
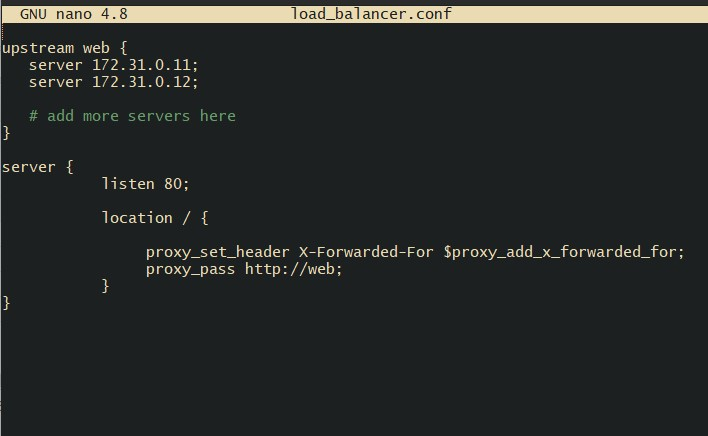
- Let us now make use of above upstream and server block to create a load balancer for a domain. We need to create a configuration file using a text editor.
$ sudo nano /etc/nginx/sites-available/load_balancer.conf
- We need to imput the follow into the editor.
upstream web {
   server 172.31.0.11;
   server 172.31.0.12;

}

server {
        listen 80;

        location / {

            proxy_set_header X-Forwarded-For $proxy_add_x_forwarded_for;
            proxy_pass http://web;
        }
}
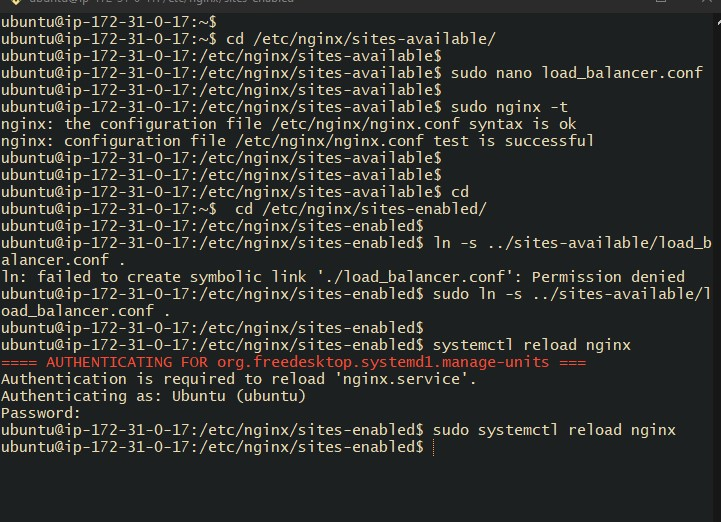
- We need to test our Nginx config file to know if there is any syntax error.
$ sudo nginx -t
- We need to link our config file from site-enabled to site-available.
$ cd /etc/nginx/sites-enabled/

$ sudo ln -s ../sites-available/load_balancer.conf .

$ sudo systemctl reload nginx
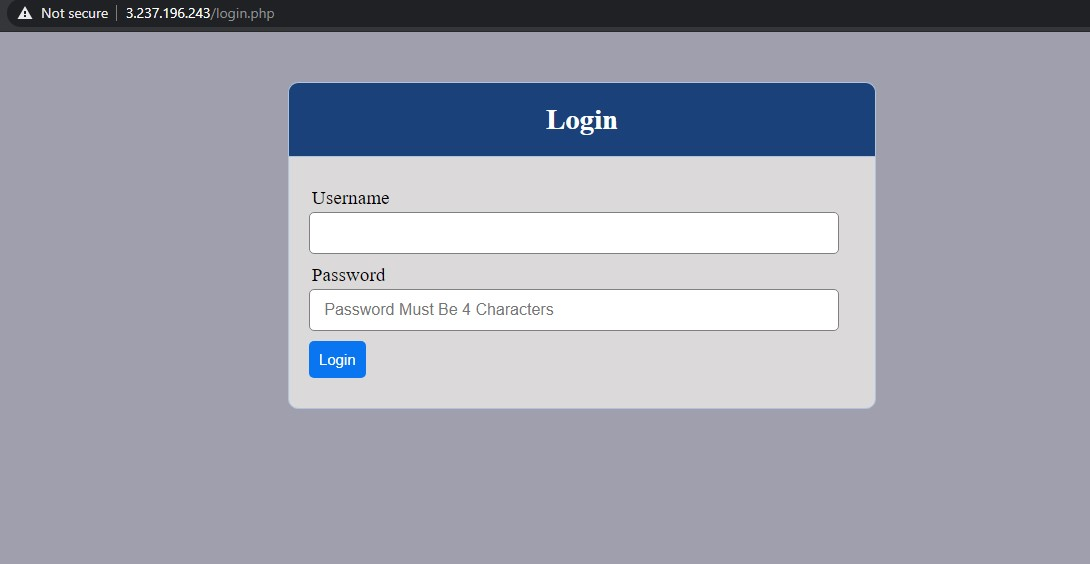
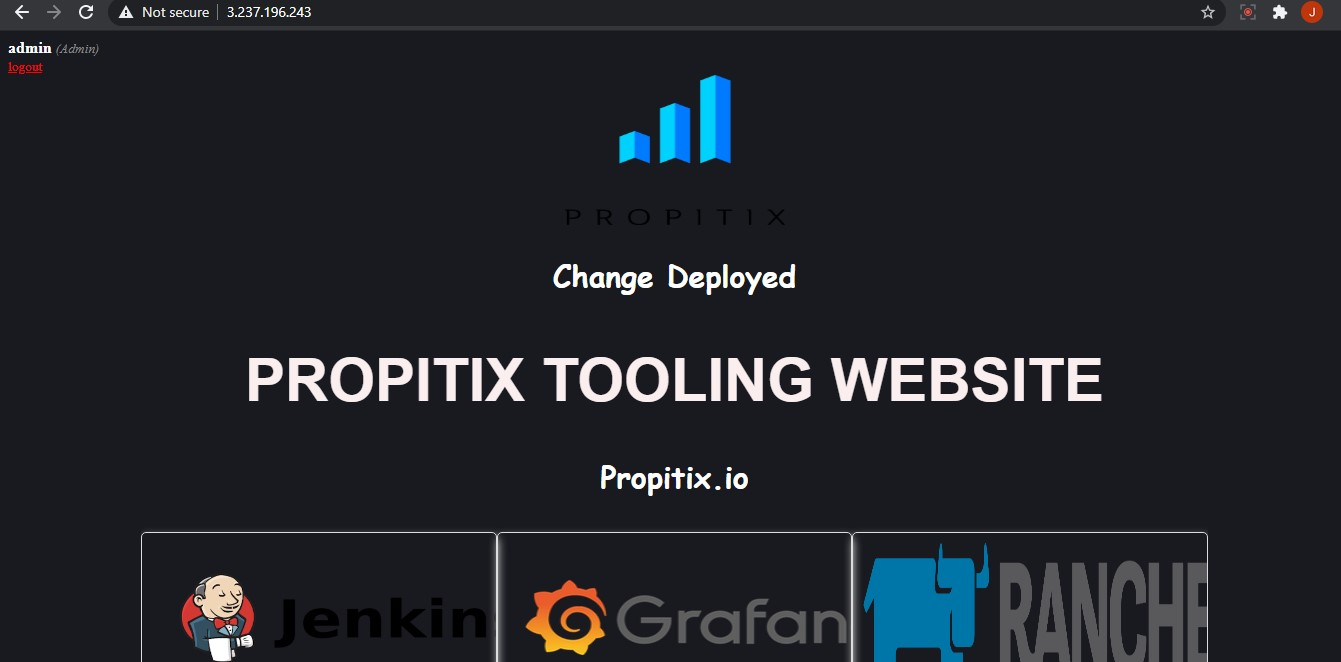
- We need to confirm if out load balancer is actually working.
http://Load-Balancer-Public-IP-Address/index.php
Secure Sockets Layer (SSL) technology is security that is implemented at the transport layer. SSL allows web browsers and web servers to communicate over a secure connection. In this secure connection, the data is encrypted before being sent and then is decrypted upon receipt and before processing. Both the browser and the server encrypt all traffic before sending any data.
SSL addresses the following important security considerations.
-
Authentication: During your initial attempt to communicate with a web server over a secure connection, that server will present your web browser with a set of credentials in the form of a server certificate (also called a public key certificate). The purpose of the certificate is to verify that the site is who and what it claims to be. In some cases, the server may request a certificate proving that the client is who and what it claims to be; this mechanism is known as client authentication.
-
Confidentiality: When data is being passed between the client and the server on a network, third parties can view and intercept this data. SSL responses are encrypted so that the data cannot be deciphered by the third party and the data remains confidential.
-
Integrity: When data is being passed between the client and the server on a network, third parties can view and intercept this data. SSL helps guarantee that the data will not be modified in transit by that third party.
SSL certificates are used to secure data transfers, credit card transactions, logins and other personal information. They provide security to customers and make visitors more likely to stay on a website for longer periods of time.
The reason that visitors stay longer on websites when they see the green padlock from an SSL certificate is because it keeps information that is being transmitted between a web browser and a web server safe. This is especially important for websites that are dealing with sensitive information from customers and visitors, like personal information on a membership site or credit card information in an online store.
There are many different types of SSL certificate options available, all with their unique use cases and value propositions. The level of authentication assured by the Certificate Authority (CA) is a significant differentiator between the types. There are three recognized categories of SSL certificate authentication types:
- Extended Validation (EV)
- Organization Validation (OV)
- Domain Validation (DV)
TLS is a cryptographic protocol that provides end-to-end security of data sent between applications over the Internet. It is mostly familiar to users through its use in secure web browsing, and in particular the padlock icon that appears in web browsers when a secure session is established. However, it can and indeed should also be used for other applications such as e-mail, file transfers, video/audioconferencing, instant messaging and voice-over-IP, as well as Internet services such as DNS and NTP.
TLS uses a combination of symmetric and asymmetric cryptography, as this provides a good compromise between performance and security when transmitting data securely.
This is a solution geared at making the process of acquiring certificates from a certificate authority (CA) free, automated, and open. It is run by Internet Security Research Group and it gives people the digital certificates they need in order to enable HTTPS (SSL/TLS) for websites, for free, in the most user-friendly way we can
To install Let’s Encrypt certificate, we need to use some client tool to facilitate the process. We will be using the certbot client in this project. However, there are other client tools that can be used. For example, ACMEv2
Certbot is an extensible client that fetches a security certificate from Let’s Encrypt Authority and lets you automate the validation and configuration of the certificate for use by the webserver.
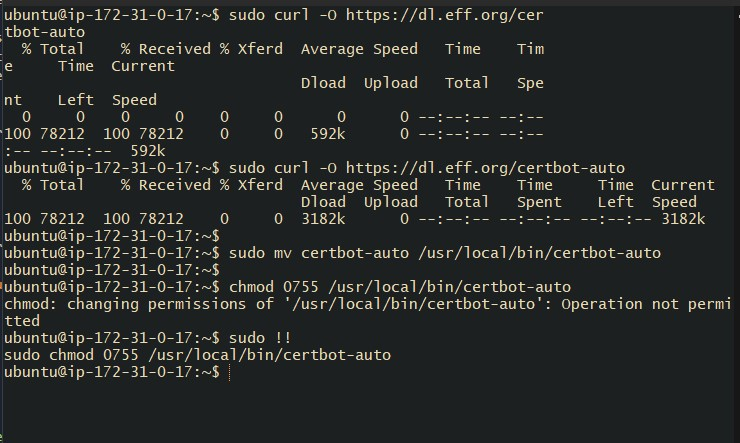
- Create a folder to do all your letsencrypt work. you can name it anything. Perhaps letsencrypt
$ sudo curl -O https://dl.eff.org/certbot-auto
- Move the certificate to the /usr/local/bin directory.
$ sudo mv certbot-auto /usr/local/bin/certbot-auto
- Assign file permission to the certbot file
$ sudo chmod 0755 /usr/local/bin/certbot-auto
Use certbot command to initialize the fetching and configuration of Let’s Encrypt security certificate. the flag --nginx tells certbot to automatically update nginx configuration file accordingly. Certbot is a python application, hence it will install multiple Python packages and their dependencies.
$ sudo /usr/local/bin/certbot-auto --nginx -d <yourdomain.com>
Follow the interactive prompt and answer the questions as requested. You will be asked to provide an email address and accept the terms of service. If everything works out well, you will get a congratulations message at the end. To confirm that your Nginx site is encrypted, reload the webpage and observe the padlock symbol at the beginning of the URL. This indicates that the site is secured using an SSL/TLS encryption.
Right now, we have a valid certificate from LEtsencrypt. But we’ll also need to make sure that our certificate stays renewed and valid.
By default, Let’s Encrypt certificates are valid for 90 days. It is recommended to renew the certificate before it expires since an expired certificate will give users a safety warning when they try to visit your website.
You can test the renewal process manually with a --dry-run flag. So that you can understand what happens internally.
Simply run
certbot-auto renew --dry-run
The above command will automatically check the currently installed certificates and will attempt to renew them if they are less than 30 days away from the expiration date.
Best pracice is to have some scheduler to run a job that runs that command periodically. Assuming we want to always run the command twice everyday. We can use cronjob to do the job.
- To do so, lets edit the crontab file with the following command:
crontab -e
- Add the following line:
* */12 * * * root /usr/local/bin/certbot-auto renew >/dev/null 2>&1
We can always change the interval of this cronjob if twice a day is too often by adjusting the values on the far left.
- Open up the terminal of each of the webservers
- Navigate to the log directory for Apache
- Use the tail -f command to watch the log file in real time
- Open up another linux terminal. (Perhaps from the Load balancer)
- Use curl -v to send requests to the load balancer URL. (Repeat this multiple times as you watch the 3 other terminals)