Installation: https://github.com/EricJujianZou/PromptAssist/releases/tag/v1.0.0
PromptAssist is a Windows utility that runs in your system tray with two core abilities:
- Snippet Expansion: Type a command (like
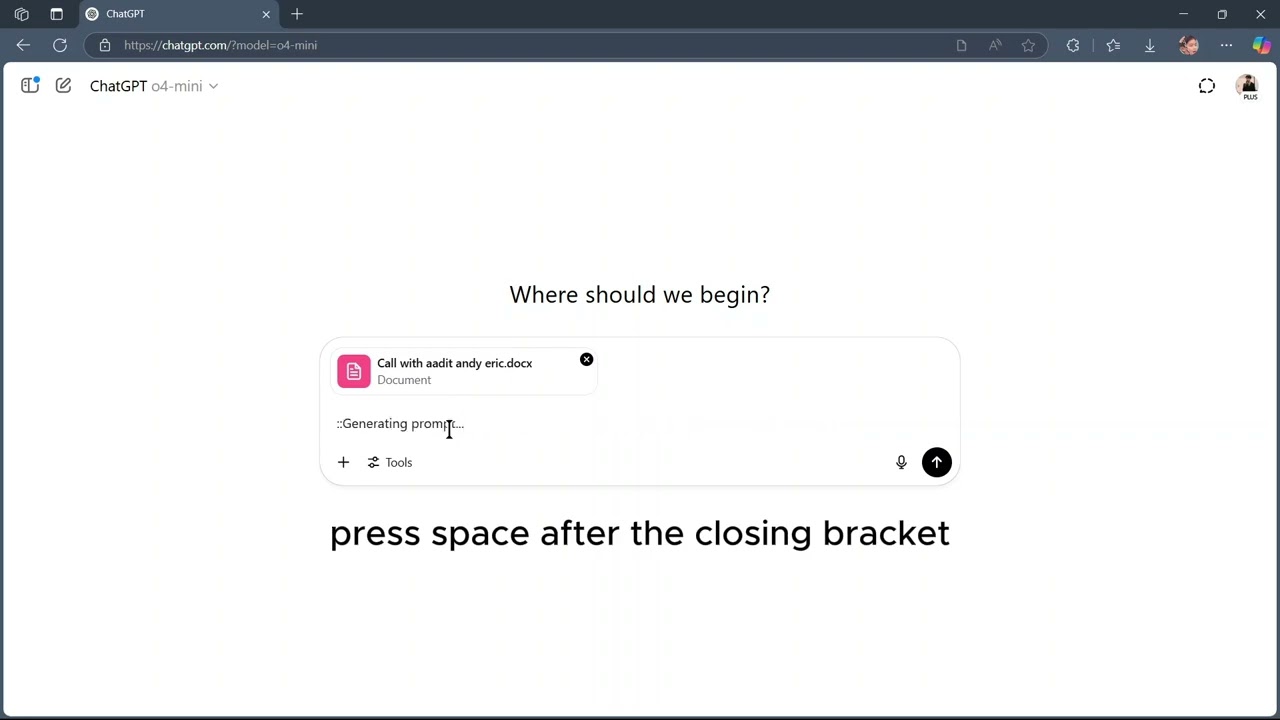
::emailstarter) and press SPACE right after to replace it with longer text. Use for code boilerplate, common replies, or text you type often. - LLM Augmentation: For example, type
::Prompt(your-prompt-here)and press SPACE right after in ChatGPT to transform your prompt with added accuracy and context.
- Double-click the tray icon to open the dashboard and manage snippets.
- Type a snippet command in ANY text box (e.g.,
::emailstarter) and pressSpaceto expand it.
- Type ::Prompt(your-prompt-here) + space at the end to augment the prompt.
- You will here a sound indicating the prompt is being augmented, and another once it's done.
- Press
Ctrl+Vto paste the result, or look in your clipboard history byWINDOWS key + v
Quick 30-second video demo:
- System-Wide: Works in code editors, browsers, and text fields.
- Lightweight: Runs in system tray with minimal resources.
- Customizable: Add, edit, and manage snippets through a dashboard.
- History Tracking: View all your past LLM-augmented prompts with full details.
- Secure: Connects to self-hosted API backend for LLM prompts.
- No Installation: Download and run the
.exefile.
- Download
PromptAssist.exefrom the release page - Run the file
- The icon appears in your system tray (main laptop screen, task bar, the "^" symbol. You won't find it on a monitor).
The History tab in the dashboard lets you:
- View all past prompts: See every query you've sent and the augmented results, sorted by date.
- Double-click entries: Open a detailed view with full text and copy buttons.
- Right-click actions: Copy results, save as snippets, or delete individual entries.
- Toolbar buttons: Quick access to copy, save as snippet, and delete actions.
- Hover tooltips: Preview truncated text before opening the full view.
The project has two parts:
- Backend: FastAPI server connecting to the language model
- Client: PySide6 GUI running in system tray
git clone https://github.com/EricJujianZou/PromptAssist.git
cd PromptAssist-
Start Docker Desktop
-
Run Redis container:
docker run -d -p 6379:6379 --name prompt-redis redis
-
Navigate to backend:
cd backend_api -
Create and activate virtual environment:
python -m venv venv
.\venv\Scripts\activate  # Windows
or if that doesn't work:
.\venv\bin\activate.ps1
-
Install dependencies:
pip install -r requirements_backend.txt
-
Configure environment:
- Create
.envinbackend_api - Copy contents from
.env.example - Set values:
VERTEX_AI_PROJECT: Your Google Cloud Project IDVERTEX_AI_LOCATION: Region (e.g.,us-central1)BACKEND_API_KEY: Create a random secret keyREDIS_URL: Useredis://localhost
- Create
-
Authenticate with Google Cloud:
gcloud auth application-default login
-
Run the backend:
uvicorn main:app --reload
Server runs on
http://127.0.0.1:8000. Leave this terminal open.
-
Open a new terminal in project root
-
Create virtual environment:
python -m venv venv_client
.\venv_client\Scripts\activate  # Windows
-
Install dependencies:
pip install -r documentation/requirements.txt
-
Configure environment:
- Create
.envinsrc - Copy from
src/.env.example - Set values:
BACKEND_API_URL:http://127.0.0.1:8000BACKEND_API_KEY: Same key from backend's.env
- Create
-
Run the client:
python run.py
The icon appears in your system tray, connected to your local backend and Redis.
MIT License. See LICENSE file.