![]()
This monorepo contains the repositories for Khoury Odyssey's NextJS-powered frontend (in /frontend) and Strapi-powered CMS backend (in /backend).
See each subdirectory's README for additional information.
Odyssey is a new platform designed to provide on-demand access to modern knowledge and skills pertinent to today’s undergraduate Khoury students.
Production: The frontend and backend are both deployed through AWS ECS using Terraform to assemble all necessary aspects. The frontend and backend are each deployed in a separate service. The database is deployed through AWS RDS. Media is stored in AWS S3.
Development: The frontend and backend are both deployed through AWS ECS. Each is deployed in a separate service. The database is deployed through AWS RDS. Media is stored in AWS S3.
To install and run Odyssey locally, follow these steps:
Make sure to have the following technologies installed before proceeding.
- Git → Installation
- Node.js → Installation
- npm → Installation
- Docker → Installation
Navigate to the Odyssey Github repository here
The develop branch of the repository contains the most up-to-date code that will eventually be merged into the main branch, so clone from that branch using the following command:
git clone -b develop https://github.com/KhourySpecialProjects/odyssey.git
Using Claude Code? Most of the setup below (installing dependencies, copying env templates, starting docker, installing plugins and MCPs) is automated by the
/onboardslash command. Run it from inside the cloned repo and follow the manual punch list it prints at the end (OAuth clicks + secret values you still need to get from a teammate). The sections below are the manual equivalent if you're not using Claude Code or prefer to go step-by-step.
For the separate containers to be able to communicate with each other, some environment variables need to be set
Before we do that, in a terminal in the top level repository run
npm run setupThis will install all of the local dependencies in you local version so that when you edit files you won’t be given import errors
Open the cloned repository in your IDE of choice (Most common is VSCode)
In the backend directory, copy .env.example to a new file named .env (keep the example committed so the next dev has it).
Fill in the database section with the following, replacing <dbname>, <user>, and <password> with anything you see fit. In my local development, I set <dbname> as strapi and <user> as strapi_user.
HOST=0.0.0.0
PORT=1337
APP_KEYS=
API_TOKEN_SALT=
ADMIN_JWT_SECRET=
TRANSFER_TOKEN_SALT=
JWT_SECRET=

#AWS Object Storage
AWS_CDN_URL=
AWS_CDN_ROOT_PATH=
AWS_S3_ACCESS_KEY=
AWS_S3_SECRET_KEY=
AWS_S3_REGION=
AWS_S3_ENDPOINT=
AWS_S3_BUCKET=

#Database
DATABASE_CLIENT=postgres
DATABASE_HOST=127.0.0.1
DATABASE_PORT=5432
DATABASE_NAME=<dbname>
DATABASE_USERNAME=<user>
DATABASE_PASSWORD=<password>
DATABASE_SSL=false

#Notifications (prod only, leave empty locally)
SLACK_WEBHOOK_URL=
SLACK_WEBHOOK_URL: the live webhook only fires against prod. Leave this empty for local and dev. The backend skips the notification call when it's unset. The real value lives in AWS Secrets Manager (ask a team member if you actually need to test the notification path from a non-prod environment).
For the remaining secret values (APP_KEYS, API_TOKEN_SALT,
ADMIN_JWT_SECRET, TRANSFER_TOKEN_SALT, JWT_SECRET, AWS_S3_*),
request them from another team member or pull them from AWS Secrets Manager
if you have access.
Copy .docker.env.example to a new file named .docker.env in the same backend directory.
#Database
DATABASE_HOST=strapiDB
DATABASE_NAME=<YOU_CHOOSE>
DATABASE_USERNAME=<YOU_CHOOSE>
DATABASE_PASSWORD=<YOU_CHOOSE>

# Must match DATABASE_* values above. docker-compose does NOT expand ${...}
# references in env_file, so write the concrete values here.
POSTGRES_USER=<same as DATABASE_USERNAME>
POSTGRES_PASSWORD=<same as DATABASE_PASSWORD>
POSTGRES_DB=<same as DATABASE_NAME>
Where you see <YOU_CHOOSE>, set whatever values you see fit. For simplicity, I set them to the values corresponding to <dbname>, <user>, and <password> from the previous step. Then copy the same three values into the POSTGRES_* lines. They must match.
In case you were wondering why we set these twice: the two files are for different runtimes. backend/.env is what the backend reads when you run it outside Docker (like npm run dev), where postgres lives at 127.0.0.1. backend/.docker.env gets loaded on top of it by docker-compose, so its values win inside the container. That's where we set DATABASE_HOST=strapiDB (the service name on the docker network) and the POSTGRES_* vars that tell the postgres container what user and DB to create on first boot.
This is also why DATABASE_HOST has to be strapiDB here, and why the POSTGRES_* values have to match the DATABASE_* values above. If they don't match, the backend and postgres containers disagree on credentials and you just get connection errors when the stack starts.
Navigate to the frontend directory.
Copy the .env.example file to a new file named .env.local (keep the example committed).
The file should look roughly like this:
# Auth (NextAuth)
AZURE_AD_CLIENT_ID=
AZURE_AD_CLIENT_SECRET=
AZURE_AD_TENANT_ID=
GITHUB_CLIENT_ID=
GITHUB_CLIENT_SECRET=
NEXTAUTH_SECRET=

# App
APP_URL=
NEXT_PUBLIC_APP_ENV=local

# PostHog analytics
NEXT_PUBLIC_POSTHOG_KEY=
NEXT_PUBLIC_POSTHOG_HOST=
POSTHOG_API_KEY=
POSTHOG_PROJECT_ID=

# Strapi (server + client)
STRAPI_API_URL=http://localhost:1337
NEXT_PUBLIC_STRAPI_API_URL=http://localhost:1337
STRAPI_ACCESS_TOKEN=

# AWS S3 (media)
AWS_CDN_URL=
AWS_S3_BUCKET_NAME=
AWS_S3_BUCKET_ROOT=
AWS_S3_BUCKET_URL=
AWS_REGION=us-east-2
AWS_ACCESS_KEY_ID=
AWS_SECRET_ACCESS_KEY=

# BlockNote AI (droplet editor assistant)
ANTHROPIC_API_KEY=
Request all other fields from a team member, leaving STRAPI_ACCESS_TOKEN
Like before, these fields are sensitive as they connect to the same services as our production version does, so it is important not to store these anywhere except in your local development environment.
Now copy the .docker.env.example in the same frontend directory to a new file named .docker.env.
Leave this file unchanged for now, we’ll generate the API key in Step 5
There are two options: using data from the development server or starting from scratch.
Before getting the production data, we need to make sure that you’ll be allowed to sign into Strapi on your local development. To ensure this, have a current team member sign you up through dev.data.khouryodyssey.org.
Once you are signed up through Strapi, request the SQL startup file (named data.sql) from a current team member and place it in the initdb/ directory. When the docker containers are started for the first time, the database will be populated with the current data in the development server through the commands in the data.sql file.
If you want to know how/why this works, simply ask a team member. (Hint: it has something to do with the pg_dump command in posgresql).
The data.sql dump includes the admin users from the production Strapi. If you don't already have a prod admin account, you won't be able to log in to the local Admin Panel after the seed. Once the strapi container is running (after Step 5), create a local admin for yourself from a new terminal:
docker exec -it strapi npx strapi admin:create-user \
  --firstname='Your' --lastname='Name' \
  --email='you@northeastern.edu' --password='YourLocalPassword1!'
Strapi requires at least 8 characters, one uppercase, one lowercase, and one number/symbol.
Then log in at localhost:1337/admin with those credentials. This account only exists in your local database, so it won't affect production.
If you’re starting from scratch, come back to this after Step 6.
Once your application is running, navigate to localhost:1337
Click “Content Manager” in the top left of the screen
Click “Authorized User Role” under “Collection Types”
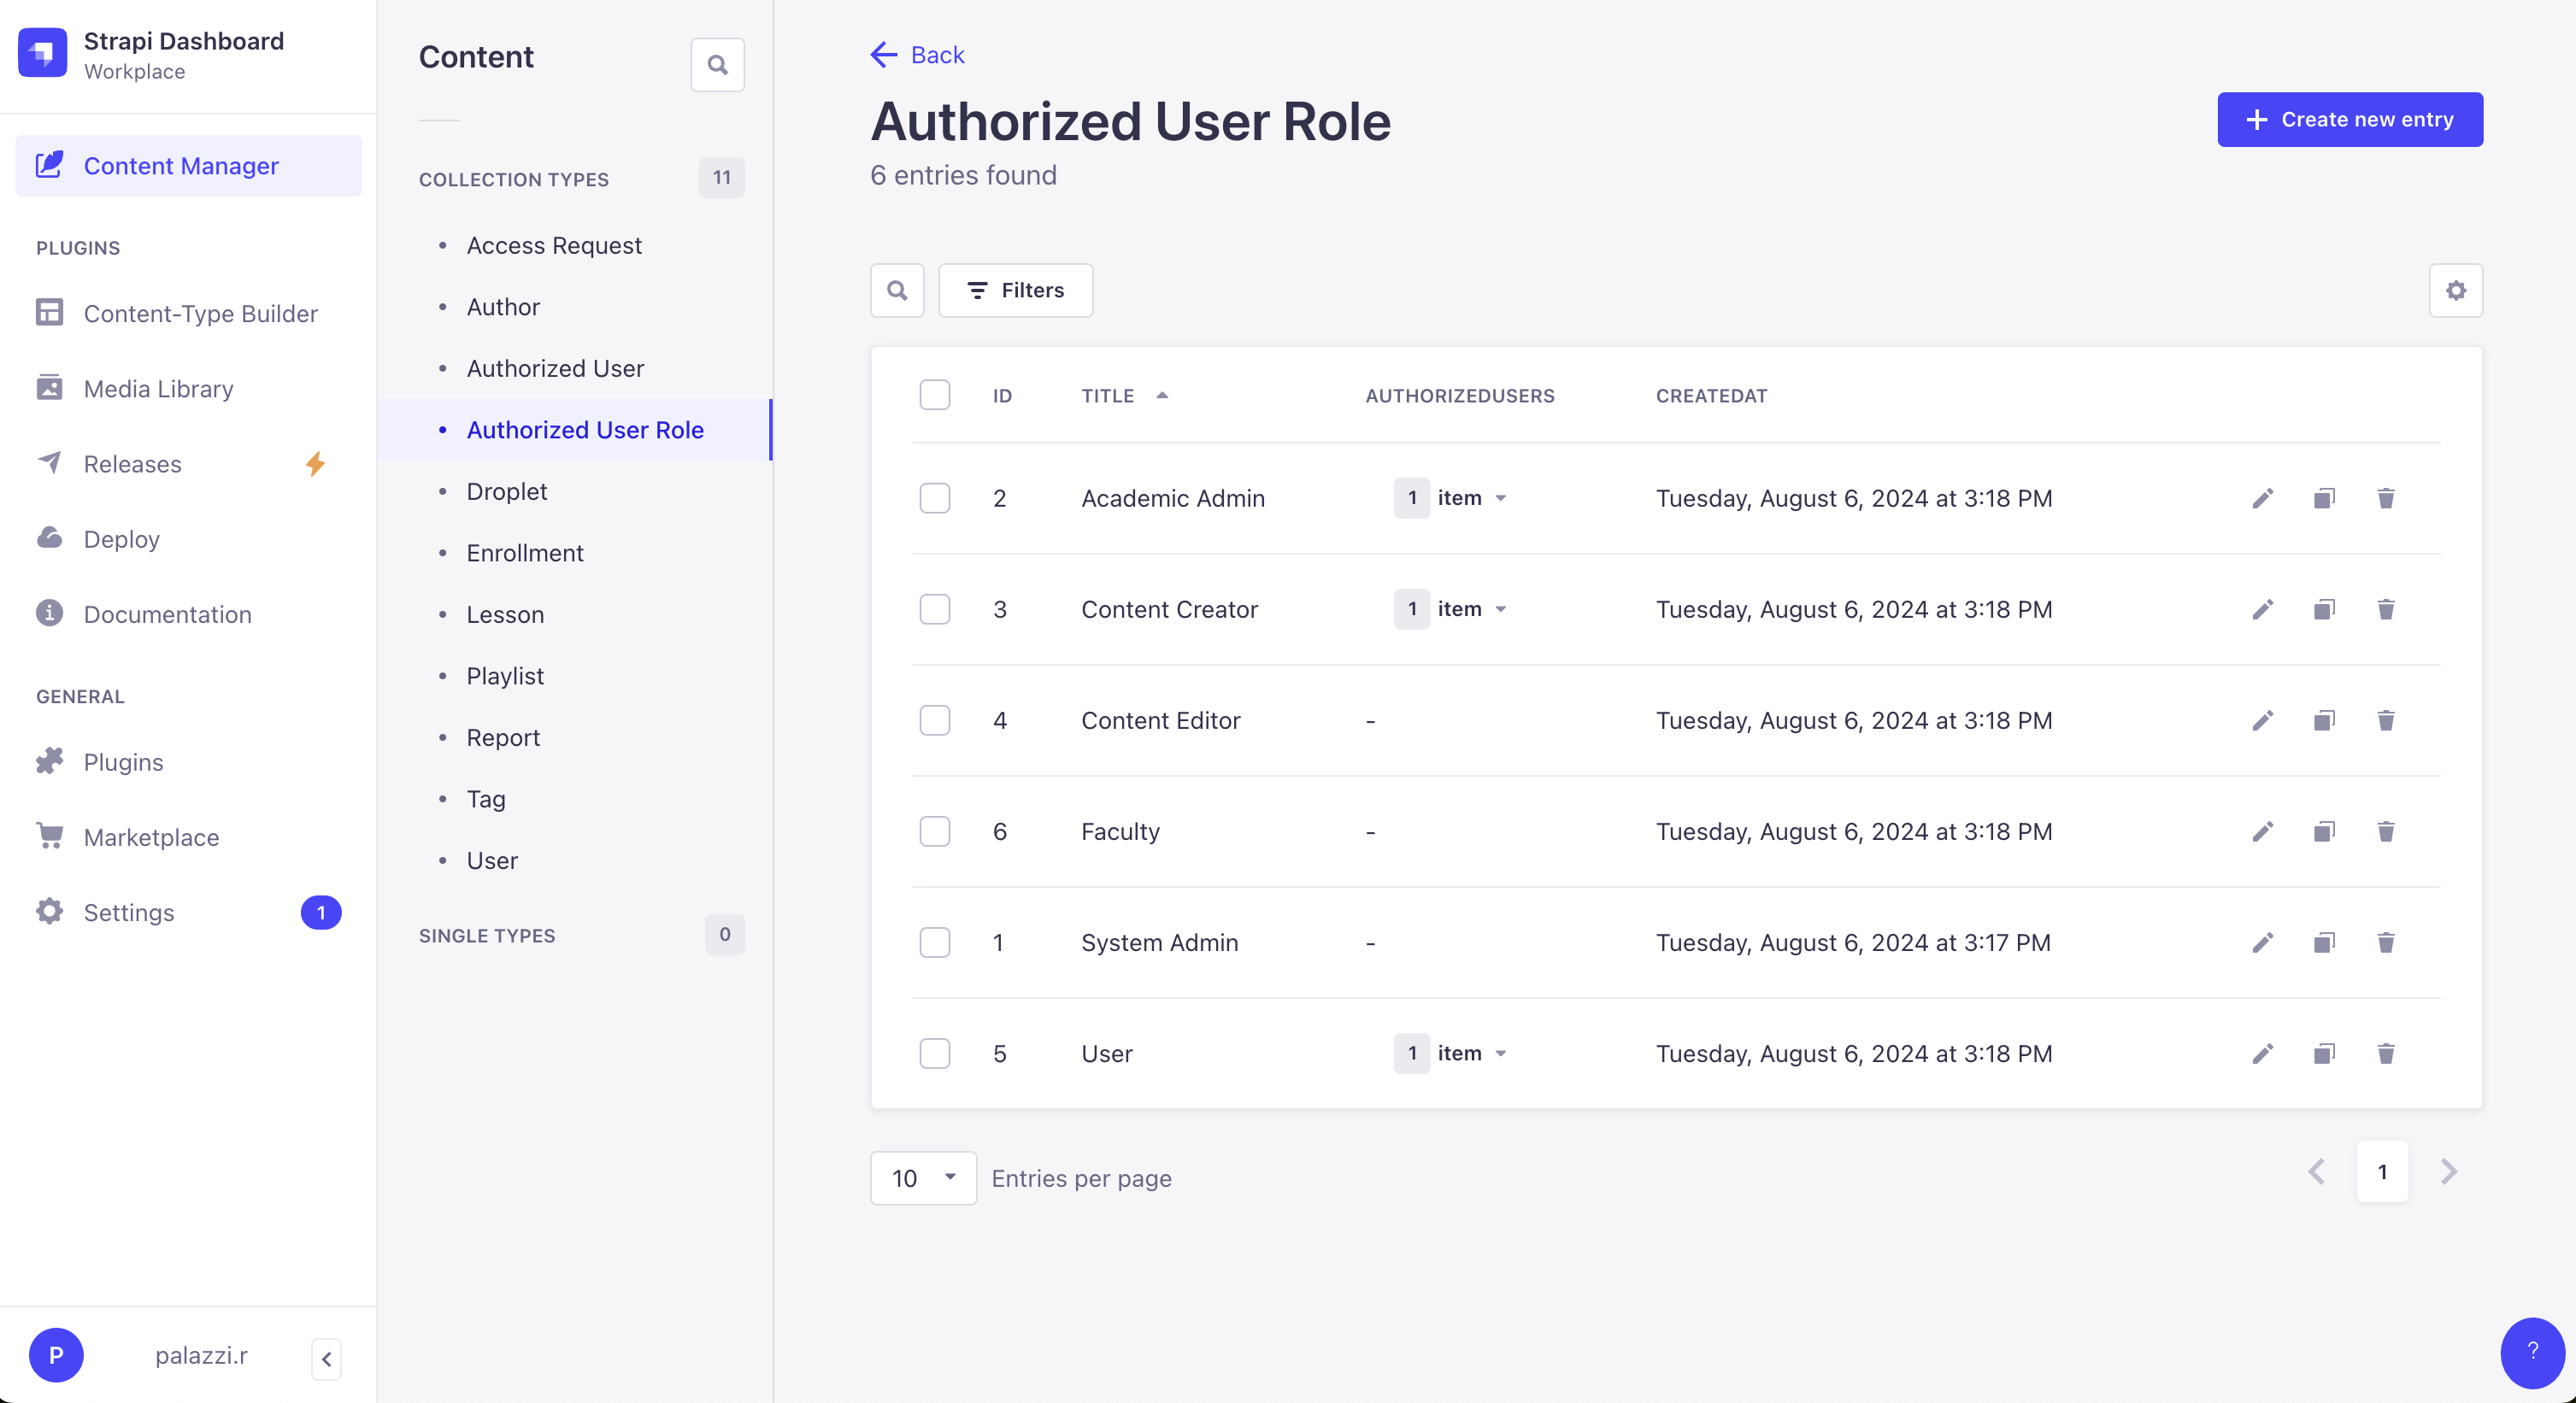
Add the following roles exactly as they read in the screenshot. Any typos when doing this will result in a very frustrating development experience later on.
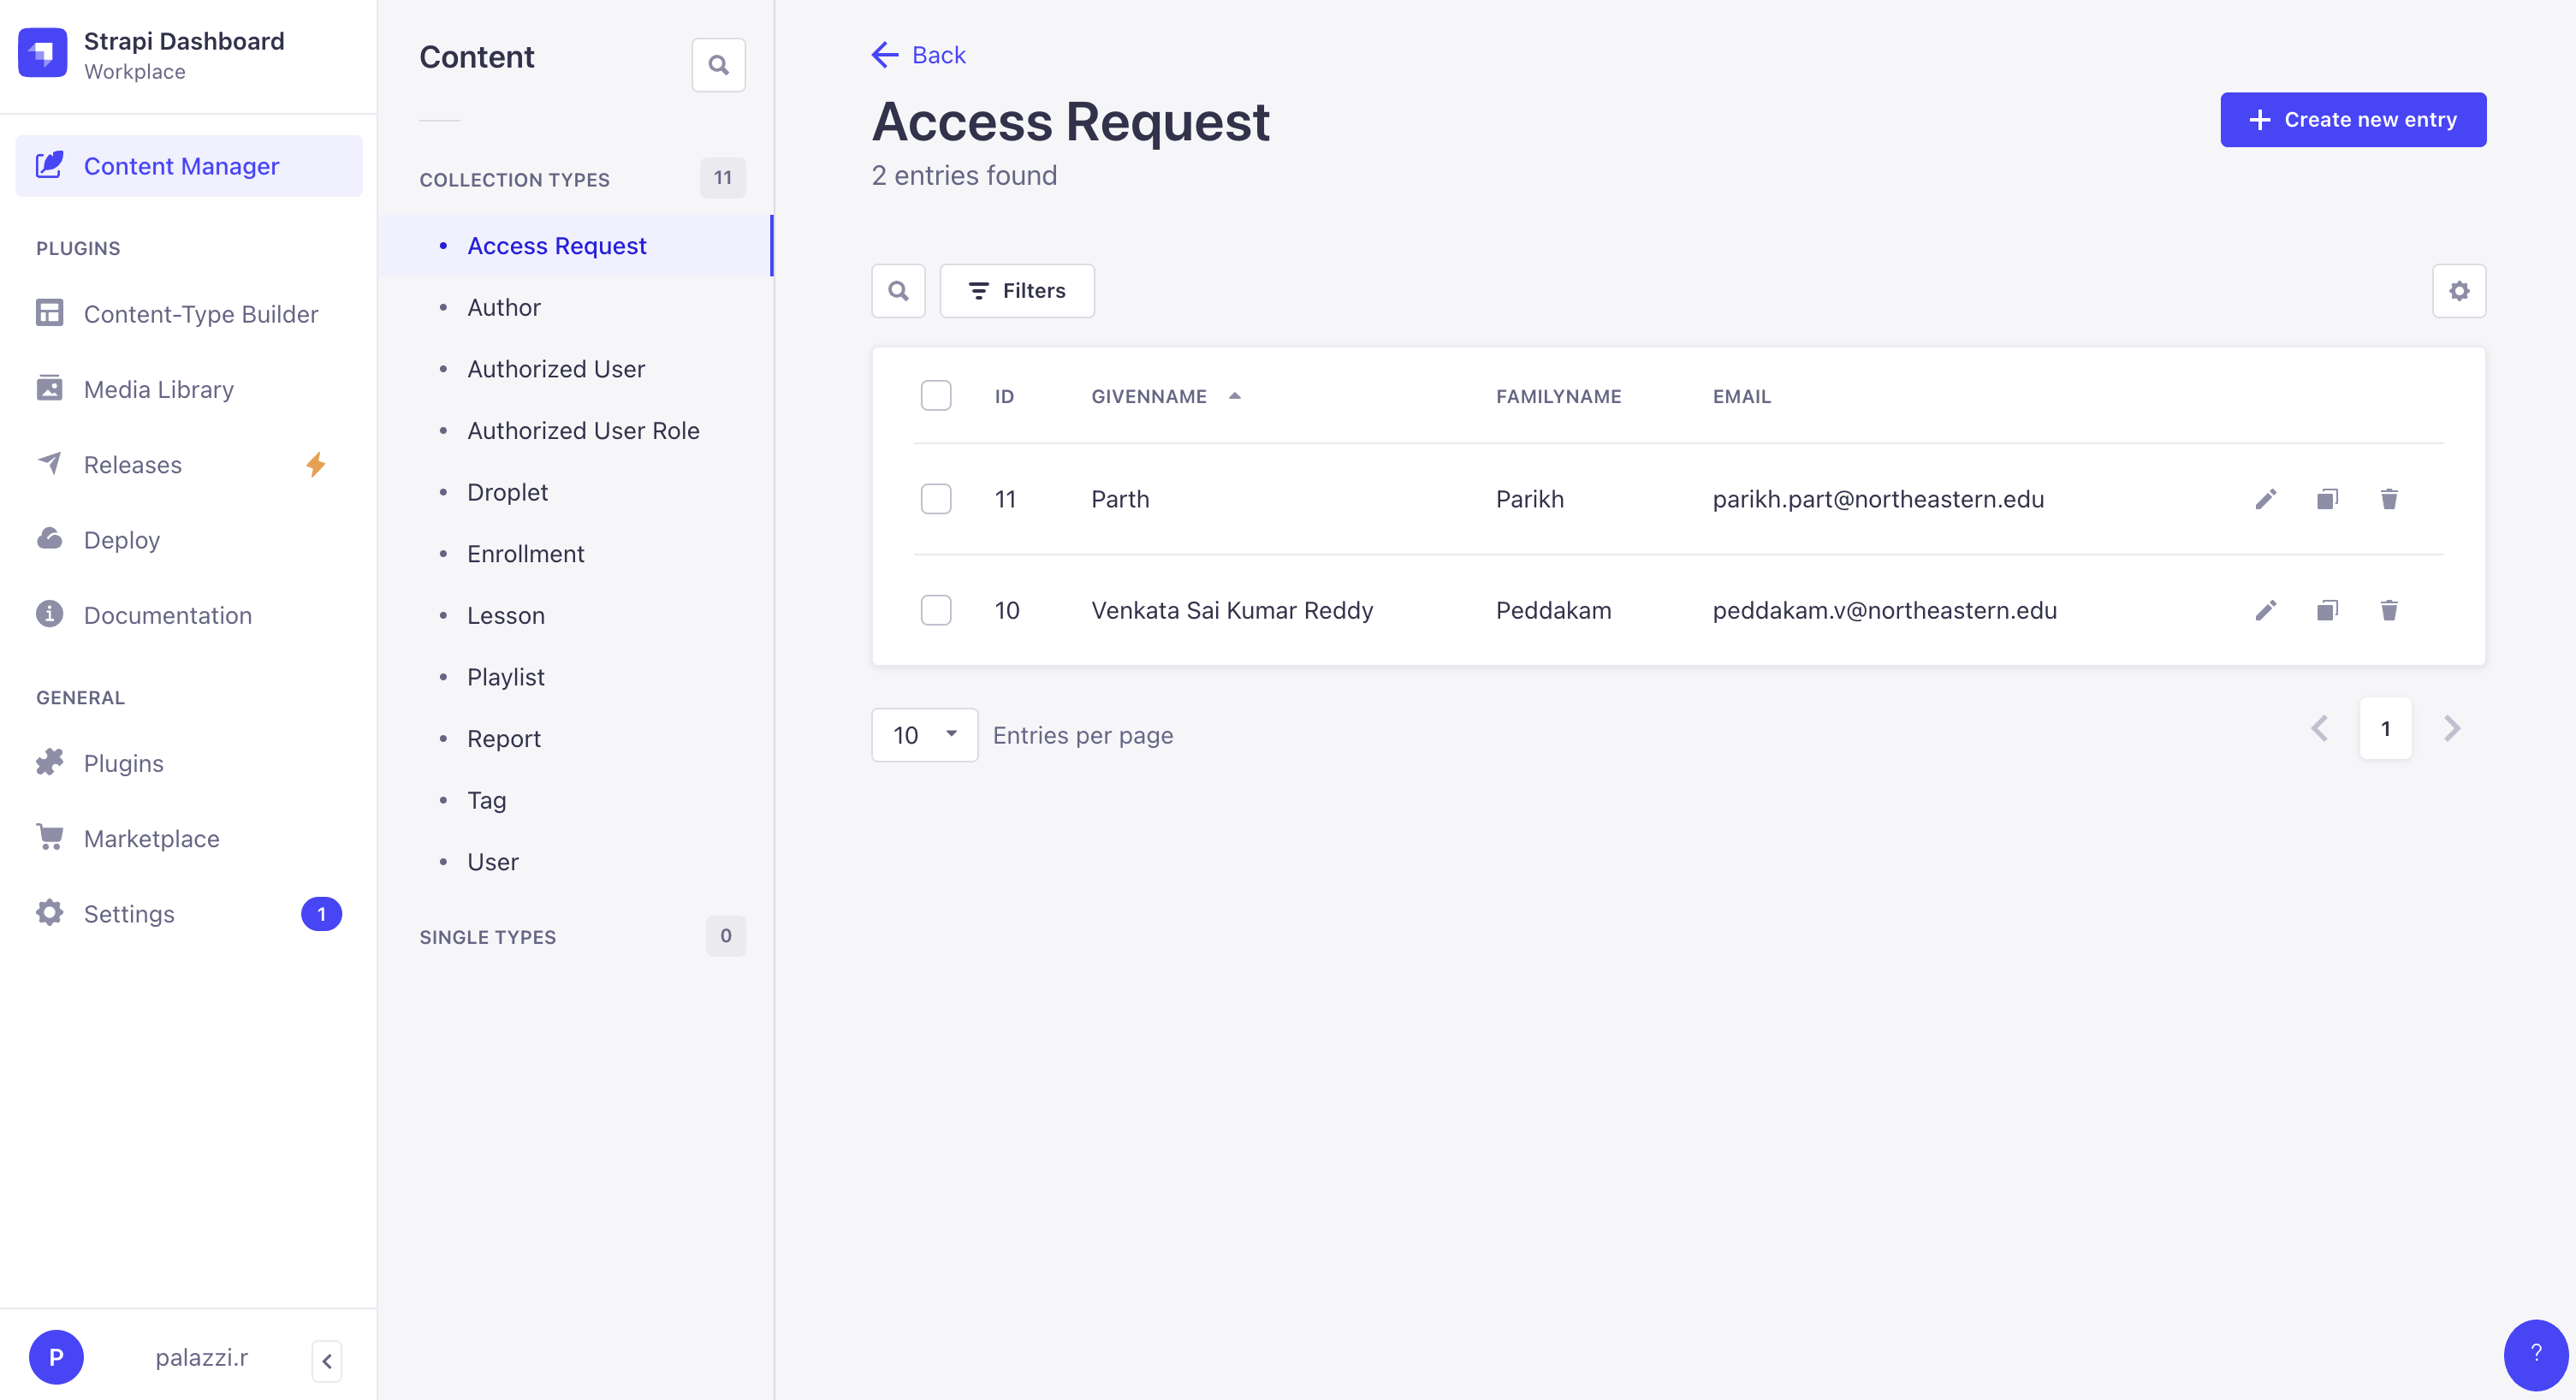
If you haven’t already done this, also add yourself (your northeastern email) as an Authorized User, similar to how you just created all of the roles. Assign yourself whatever roles you want (I assigned myself all the roles just for testing purposes).
Before we can run the whole application, we need to get an API key from Strapi so that the frontend can communicate with the backend
Navigate to the odyssey directory in your terminal
Run the following commands
docker compose builddocker compose up Wait for all services to say that they’re running (specifically the strapi service)
Navigate to the Admin Panel (localhost:1337)
If you are using the data from the production server, sign in with the admin account that you use for signing into the production version, data.khouryodyssey.org
If not, Strapi will walk you through registering
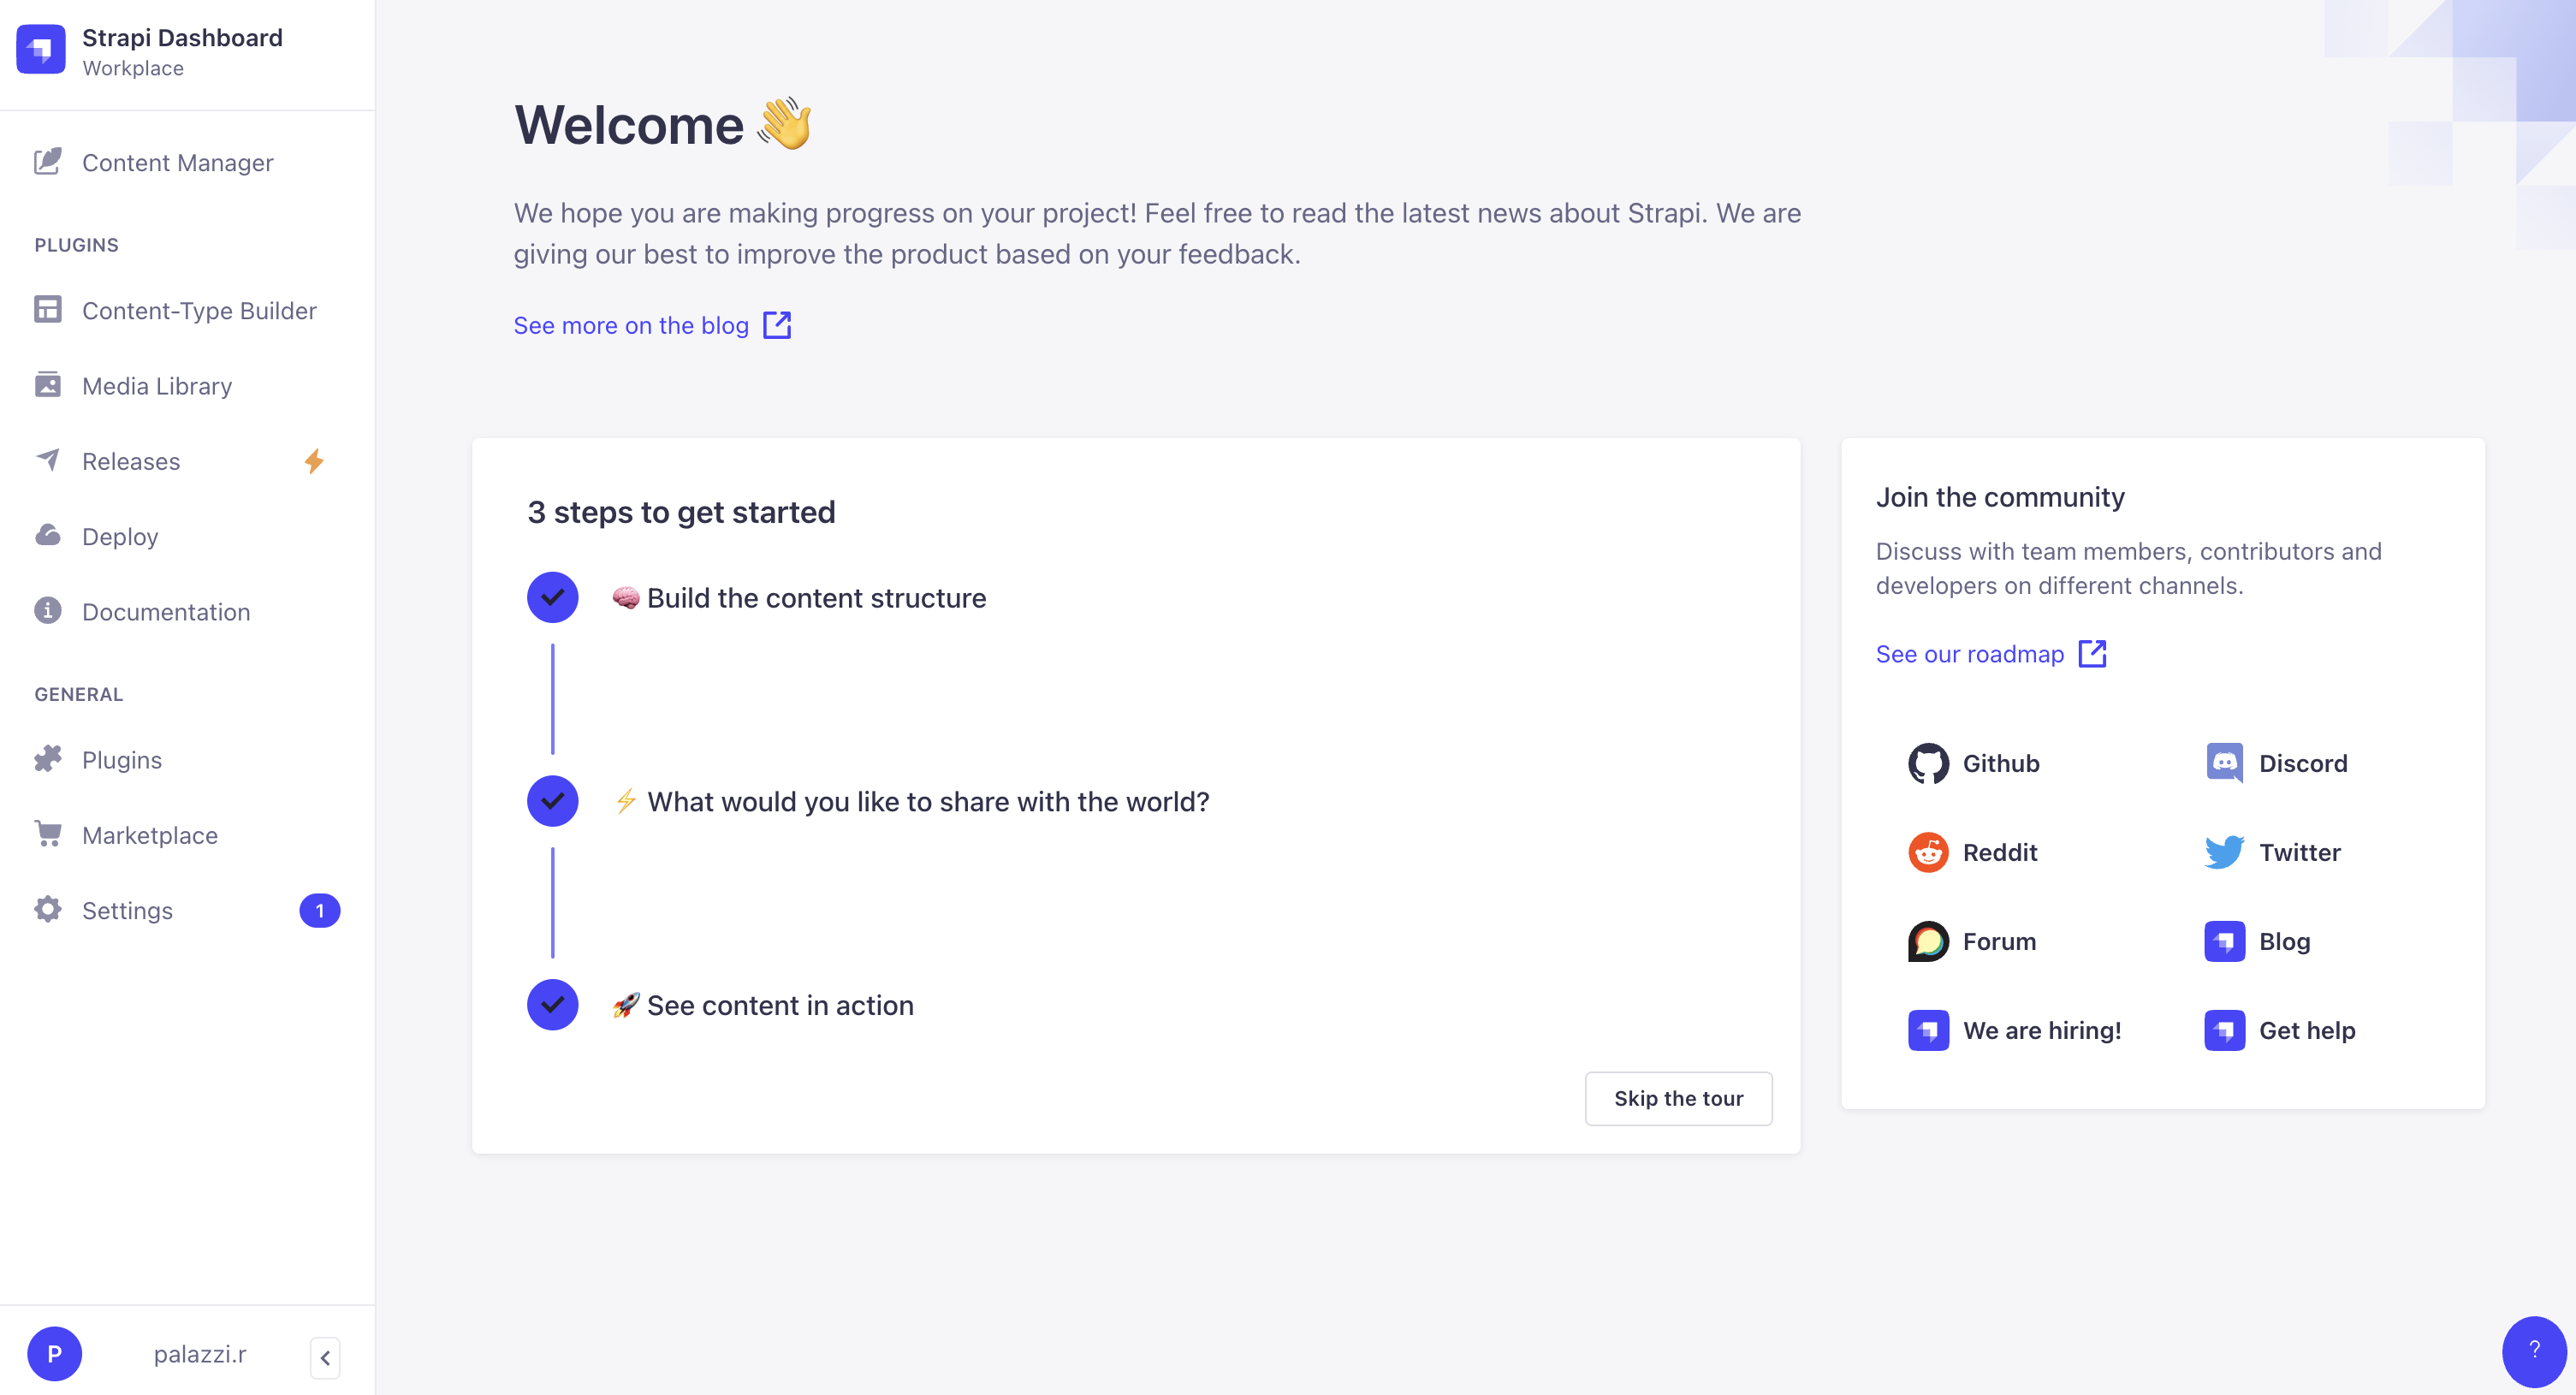
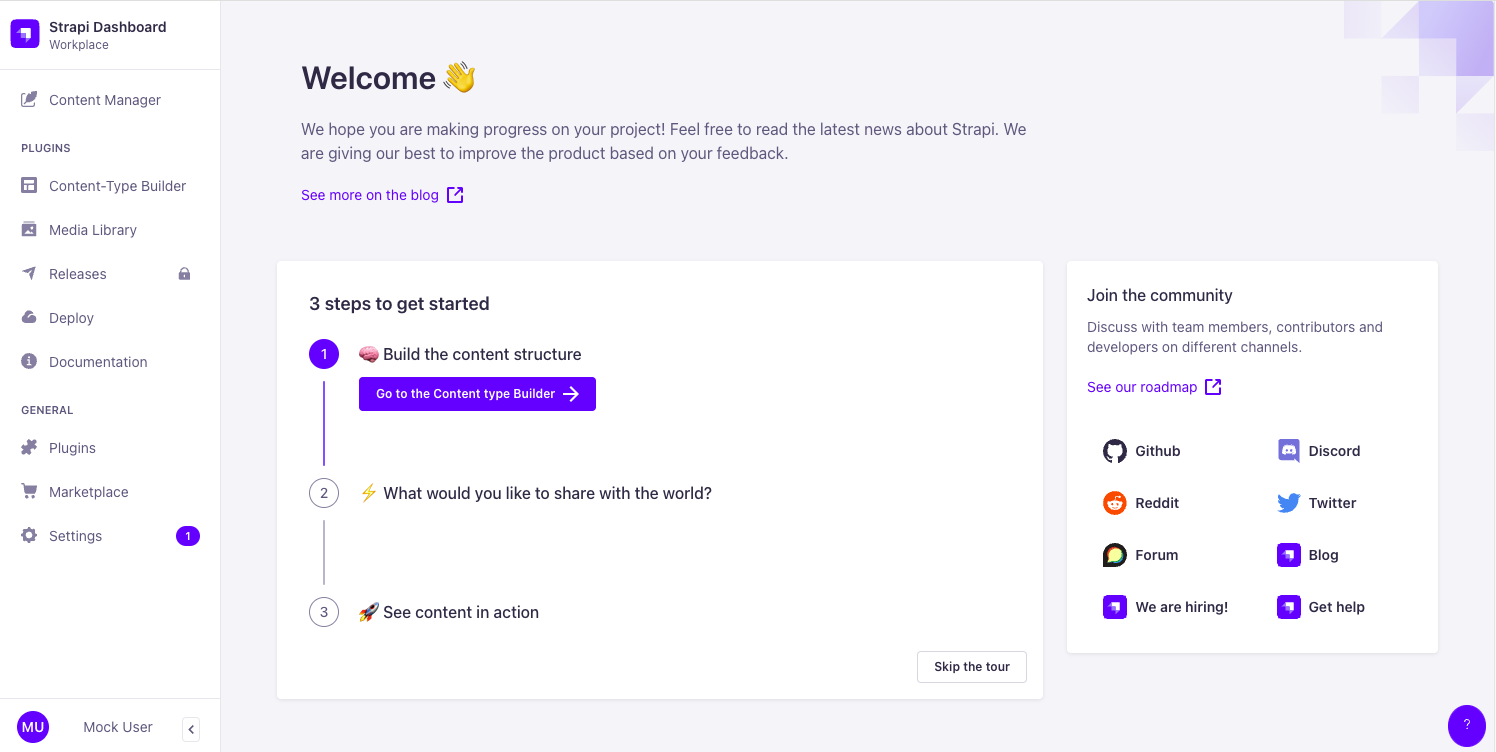
Once logged in, you should be brought to a page looking like:
Navigate to “Settings” in the Panel on the left side
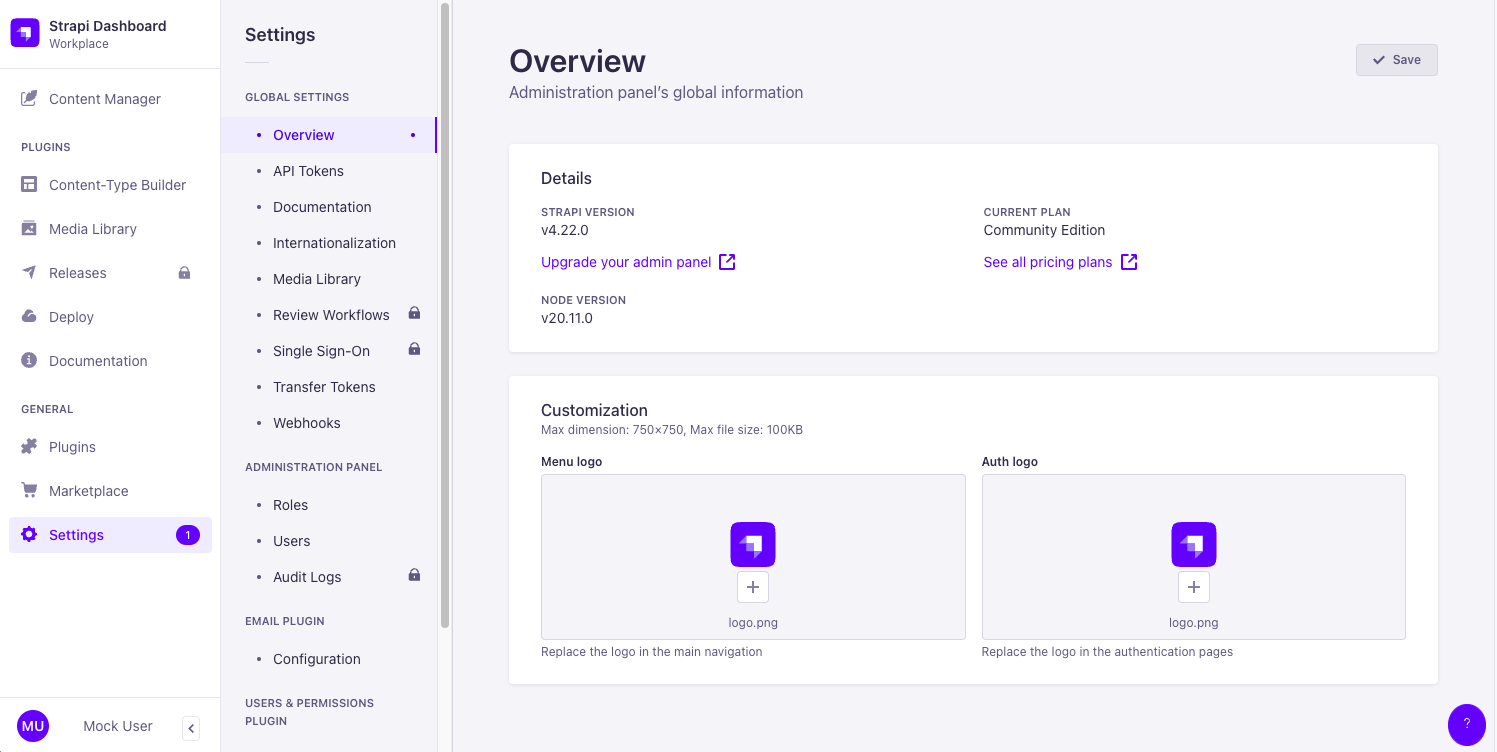
Navigate to “API Tokens” under “Global Settings”
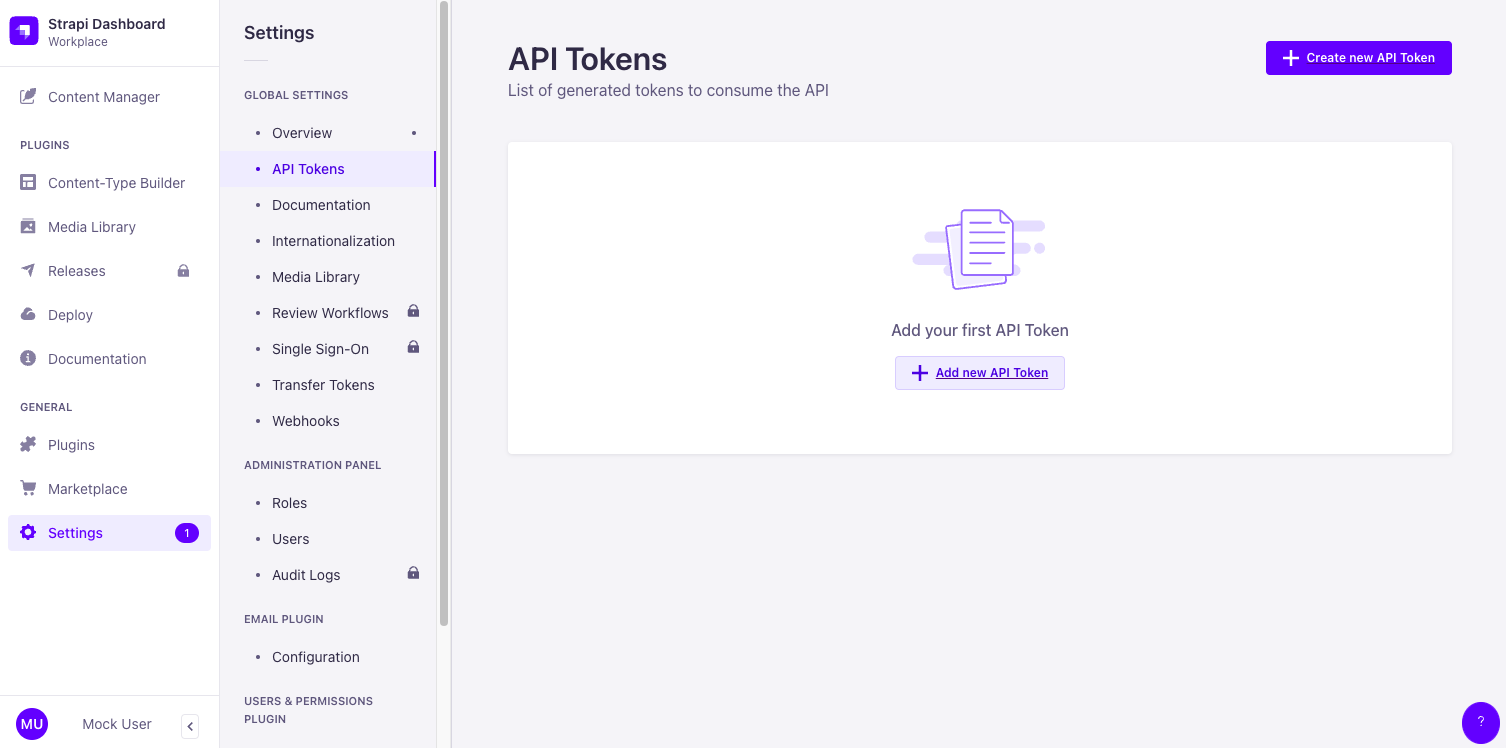
Click “Create new API Token” in the top right corner

Fill in “Token duration” and “Token type” with the information above. For “Name”, you can choose any name you see fit. For this tutorial, I chose “local-token”
Click “Save” in the top right corner to create the token

Copy the token that was created for you. The Token in the screenshot above will not work for your local instance.
Navigate back to .docker.env in the frontend directory and paste into the file like so, replacing <your_token> with your token
NEXT_PUBLIC_STRAPI_API_URL=http://host.docker.internal:1337
STRAPI_ACCESS_TOKEN=<your_token>
Now all you have to do is restart the server
stop the containers by pressing control c in the terminal where it was running and then starting it back up again with
docker compose upYour application should now be running correctly!
Go into Docker Desktop, delete the odyssey_strapi-data volume, and rebuild
Delete the data.sql file in the initdb directory and the odyssey_strapi-data volume in Docker Desktop then rebuild.
Delete .next in the frontend directory and rebuild
This likely means you forgot to install the necessary dependencies. From both the frontend and the backend, delete the package-lock.json, node_modules, and yarn.lock files/directories if they exist. In the terminal (at the top level directory), run npm run setup
To contribute to Odyssey's source code:
- Create a new branch off of the
developbranch. We use three branch prefixes depending on the type of change:feature/for new featuresimprovement/for enhancements to existing featuresbug/for bug fixes
- For the branch name itself, copy the auto-generated branch name from the Linear ticket (typically formatted
ody-###-short-description). Prepend it with the appropriate prefix.- Example:
git checkout -b improvement/ody-444-lesson-editor-changes-saved-right-italic
- Example:
- Make your changes and commit them:
git commit -m 'Add new feature' - Push to the branch:
git push origin <your-branch-name> - Submit a pull request to the
developbranch
Sponsor: @MarkFontenot
This platform was built by Jay Sella (@jaysella), Bobby Palazzi (@bpalazzi512), Chase Houser (@chouser63), Gillian Palmer (@gpalmer27), Johan Almanzar (@JAlazer), Wesley Chapman (@chapman-w), Darius Saadat (@DSCoder555), William Gadala (@wjgadala), Martin Hema (@martin0he), Ricardo Landeros (@RightNxw), Ashley Yoon (@ashleyoon), and Abrar Nafiu (@abrarnafiu).