Github pages link for this project - https://akshayraman97.github.io/wit_integration/ .
Wit.ai is a natural language processing tool which allows developers to create applications that can interact with users through text or speech. It is completely open source and free to use, visit the website to know more.
- Hasura - Wit.ai Integration
- Table of Contents
- Setting up the project
- Setting up your development environment
- Setting up your hasura cluster
- Working of the application
- Working examples
- Using your own Wit API
- Author
In order to use this repository as a base repository for your own project follow these steps.
To clone the project to your system, you need to have git installed. To check if git is already installed use
$ git --version


git version 2.14.1
If not installed follow the instructions in this link - Git installation
Open the terminal in your pc and navigate to your desired folder.
Then clone the repository using git clone.
# Navigate to desired folder . Example: /user/project
$ cd home/user/projects

# Clone the repository
$ git clone https://github.com/AkshayRaman97/wit_integration.git
A folder wit_integration would be cloned to the current folder. If the cloning was done successfully proceed to the next section to know about the project structure.
Inside the wit_integration folder you will find a directory structure like this.
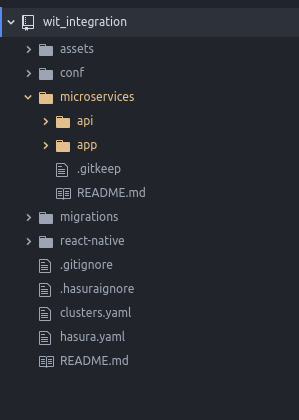
Most of the folders here are used by the
hasuraplatform to host our projects on a cluster. They are not meant to be tampered with unless you really know what you're doing. The folders discussed below are the ones of our interest. However if you are interested to know more about the hasura project structure check out this link.
Folder structure :
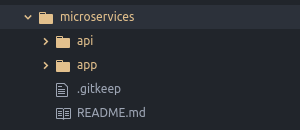
Contains the custom microservices created by us. This project has 2 microservices api and app as shown above. Each microservice has a definite structure to be followed.
Folder structure:
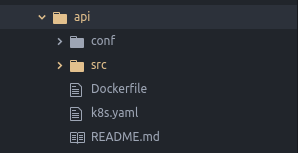
This is the backend of the integration. Written in python3.6 and uses the Flask framework.
Edit the app.py file to add endpoints to your application.
References:
- Flask documentation.
- hasura/hello-python-flask (the base project for this microservice).
- api microservice.
Folder structure :
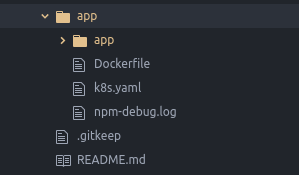
The frontend of the project. Uses the react-js javascript framework. Edit the App.js file to get started.
References:
There would be two kinds of devs working in this project , the python-flask and the react-js developers. Jump to the respective sections to know how to setup the environment.
First we need pip for installing necessary packages.
To install pip refer to this link - Pip
For any development activity it is best to use a virtual environment. It helps us manage our packages in a very efficient way. To use a virtual environment first install virtualenvwrapper.
# Install virtualenvwrapper
pip install virtualenvwrapper

## Create a virtual environment
$ mkvirtualenv my_env --python=python3.6

## Activate your environment
$ workon env_wit

## Deactivate your environment
(my_env)$ deactivate
The (my_env) indicates that you are currently working inside your virtual environment. If everything is working correctly follow the below code to setup your packages.
Installing the packages and running the application.
# Navigate to project folder
$ cd /home/user/projects/wit_integration

# Navigate to api folder
$ cd microservices/api

# Activate your virtual environment
$ workon my_env

# Install necessary packages
$ pip install -r src/requirements.txt

# Run your app
$ export CLUSTER_NAME=[your-hasura-cluster-name]
$ gunicorn --reload --bind "0.0.0.0:8080" src:app
The app is running at http://localhost:8080. It runs on port 8080 by default. In case it fails to run change to a different port and run again.
Edit the server.py file to create endpoints for your application.
First we need to install node.js.
Install node.js using this link - Node
Node.js comes with npm pre-installed. npm is short for node package manager and we'll be using it to manage our packages for the react project.
Follow the below instructions to setup your environment.
# Navigate to project folder
$ cd /home/user/projects/wit_integration

# Navigate to app microservice folder
$ cd microservices/app/app

# Install necessary packages
$ npm install

# To start the react application on your browser
$ npm start
The npm install command will take some time to complete. At the end of it there will be node_modules folder which contains the necessary packages for development.
The npm start command opens the application on a browser window. You can start editing your code in App.js and see the changes immediately on the browser since the application reloads everytime you save your changes.
Be sure to add the node_modules file to your
.gitignorefile since it is a very large folder and it is a general practice to avoid it while pushing to a repository for efficient development.
In order to host our project on the cloud for everyone to see we'll use the hasura platform.
Follow the instructions in this section to setup a cluster to which you can push your project folder.
We'll need to install the hasura command line interface to use the hasura platform. To install use
$ curl -L https://hasura.io/install.sh | bashTo check if it successfully installed use
$ hasura version


hasura version: v0.2.28Create an account or login to hasura using
$ hasura loginYour browser will open a link where you can register or login to hasura.
To create a cluster you can use the hasura free tier system.
$ hasura cluster create --type=free


INFO Creating a Hasura cluster...
INFO Hasura cluster created                        cluster=alarming52
INFO Initializing the cluster...
INFO Cluster initialized
INFO Kubernetes context has been added to this system  context=alarming52
Note your cluster name. In this case it is alarming52.
To add a cluster to this project use the following commands.
# Add cluster
$ hasura cluster add alarming52 -c hasura

# Set this cluster as the default
$ hasura cluster set-default hasura

# Add ssh-key
$ hasura ssh-key add -c hasuraFollow the below steps.
# Go to your project folder
$ cd /home/user/projects/wit_integration

# Add all files for commit
$ git add .

# Commit files
$ git commit -m "First commit"

# Push to hasura cluster
$ git push hasura master
This will take some time to execute. After it is done use the following command to view your app.
# To view the api microservice
$ hasura microservice open api

# To view the app microservice
$ hasura microservice open app
Your application is now viewable to anyone with the link to your microservice.
For more info on managing clusters and hosting your project refer to the hasura documentation.
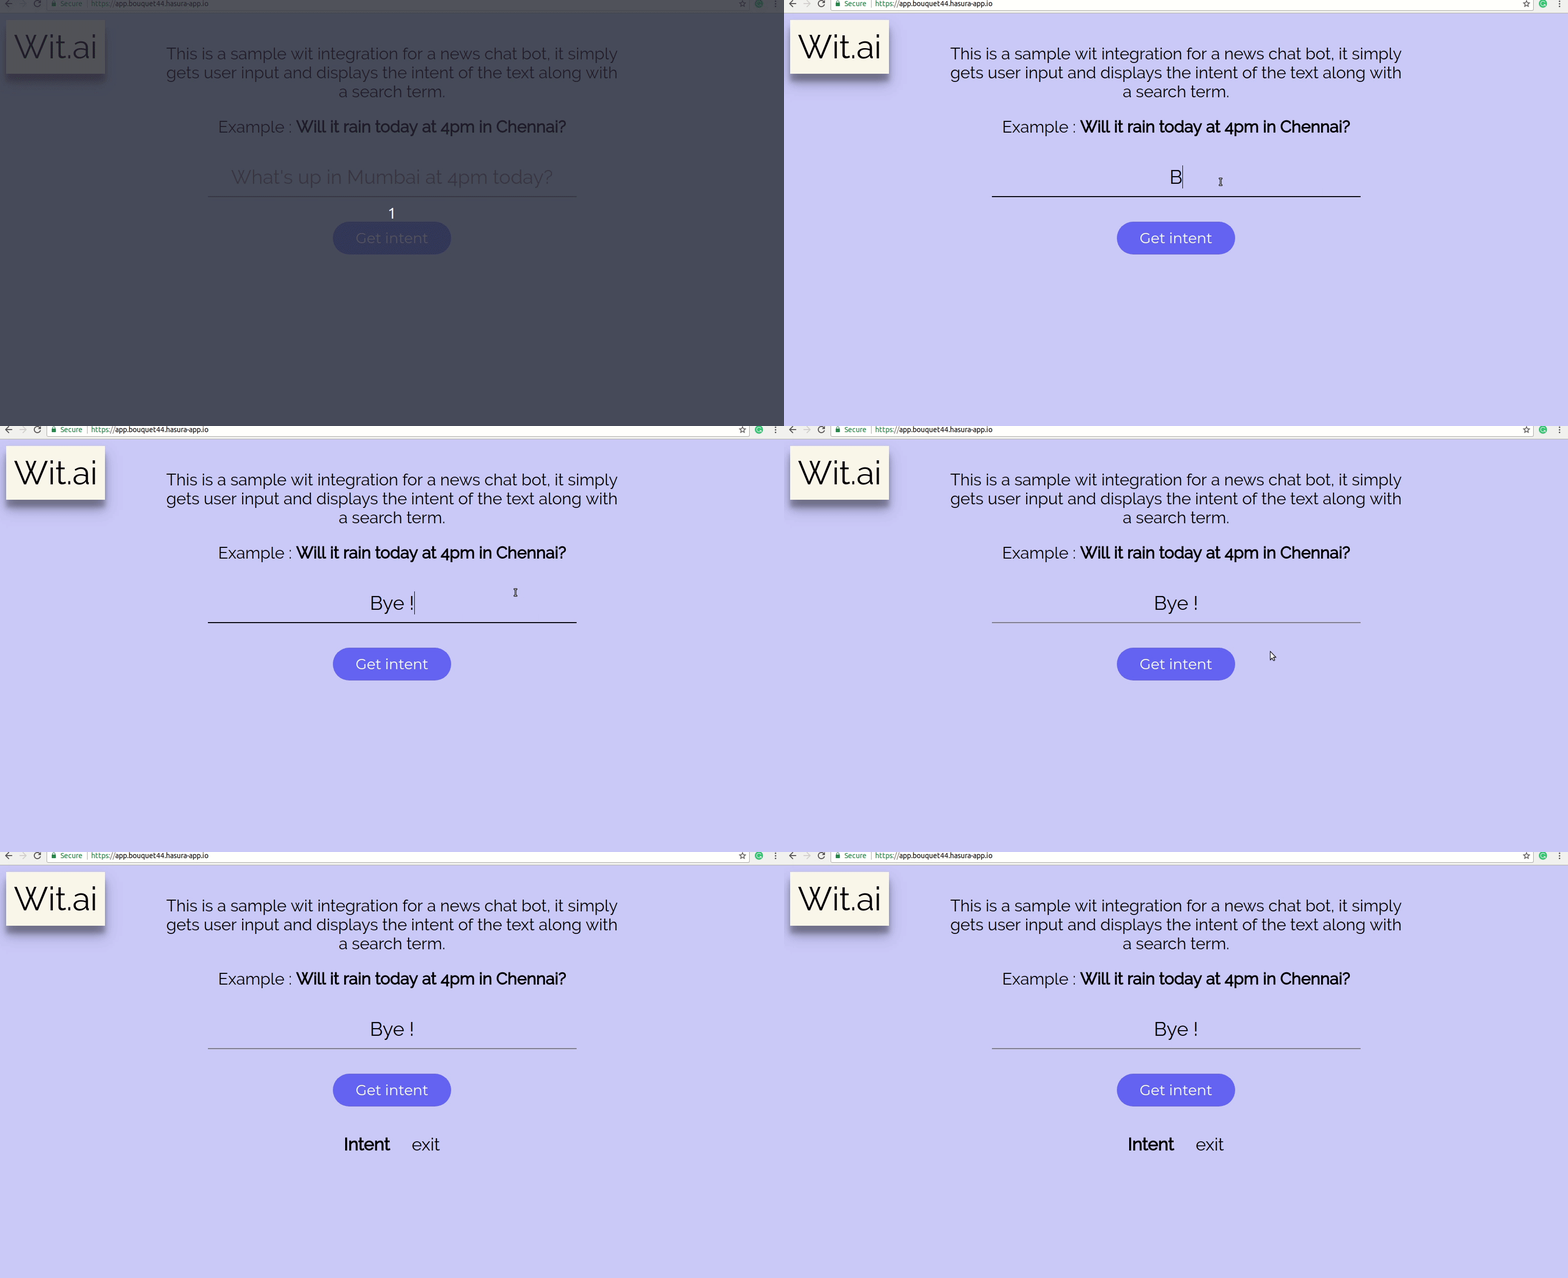
This section shows how the wit.ai integration works.To see a working model visit this link app.bouquet44.hasura-app.io.
You can also visit your own project's app microservice as it has the same application by default.
$ hasura microservice open appYou'll see this page.
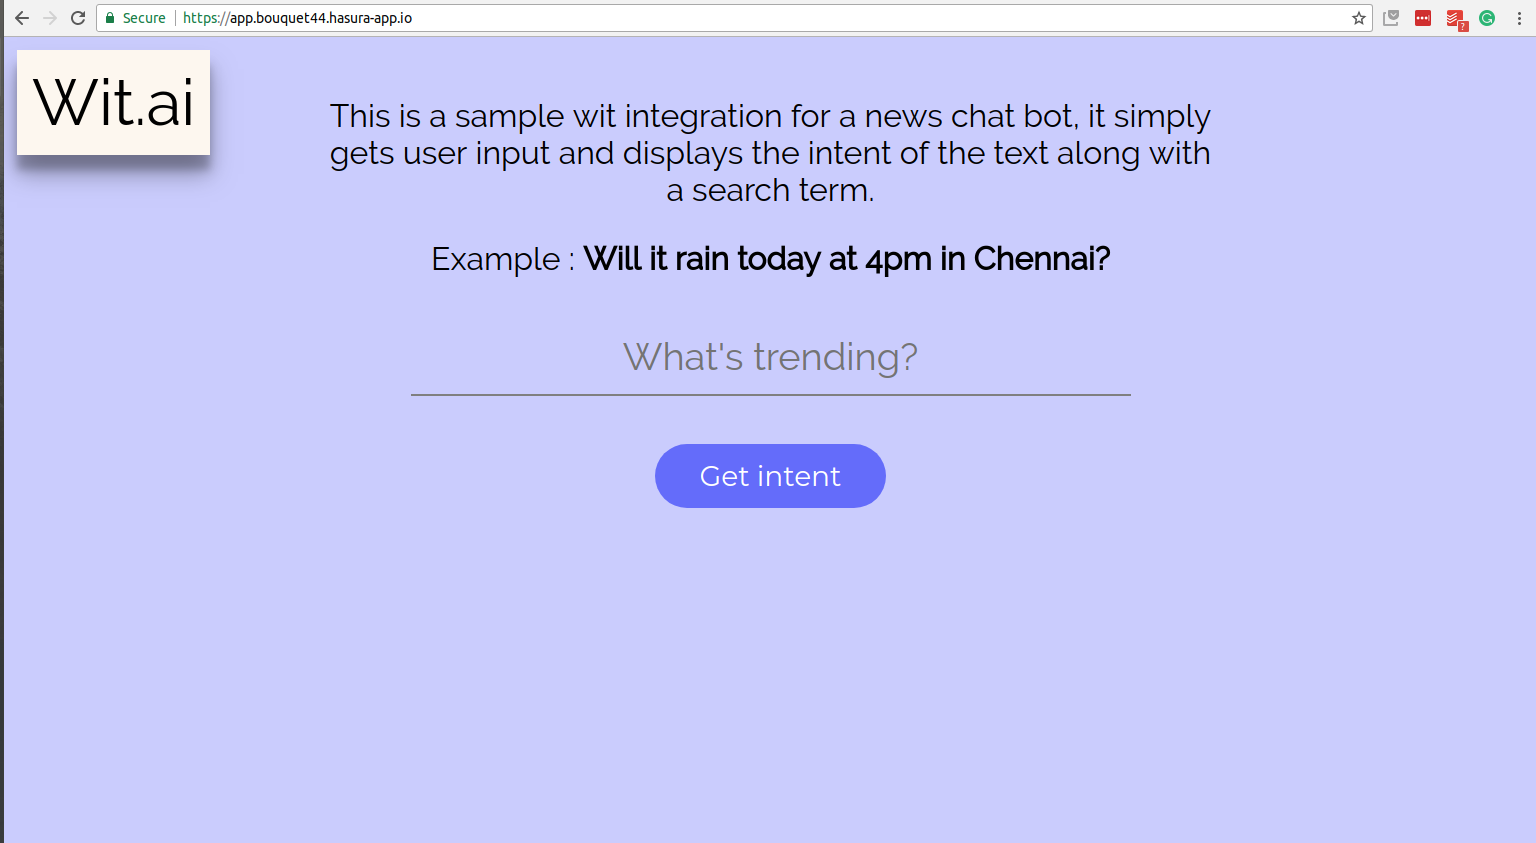
Enter some text in the input box to get the following data :
Intent- The intent of your text, this could be any of the following- greeting - If you enter text like 'Hi' or 'Hello'.
- get_news - Fetch news about the search term.
- get_twitter_feed - Fetch tweets related to the search term.
- get_weather - Fetch info about the weather.
- exit - If you enter text like 'Bye'.
Search term- The key word for fetching information , this could be on of the following- Location - Such as Mumbai, Delhi, Sydney etc.
- Query - Dhoni, Terror attacks, Olympics, Microsoft.
Date- Could be next sunday, tomorrow, today ,september 12th etc.Time- 5pm , 6am etc.
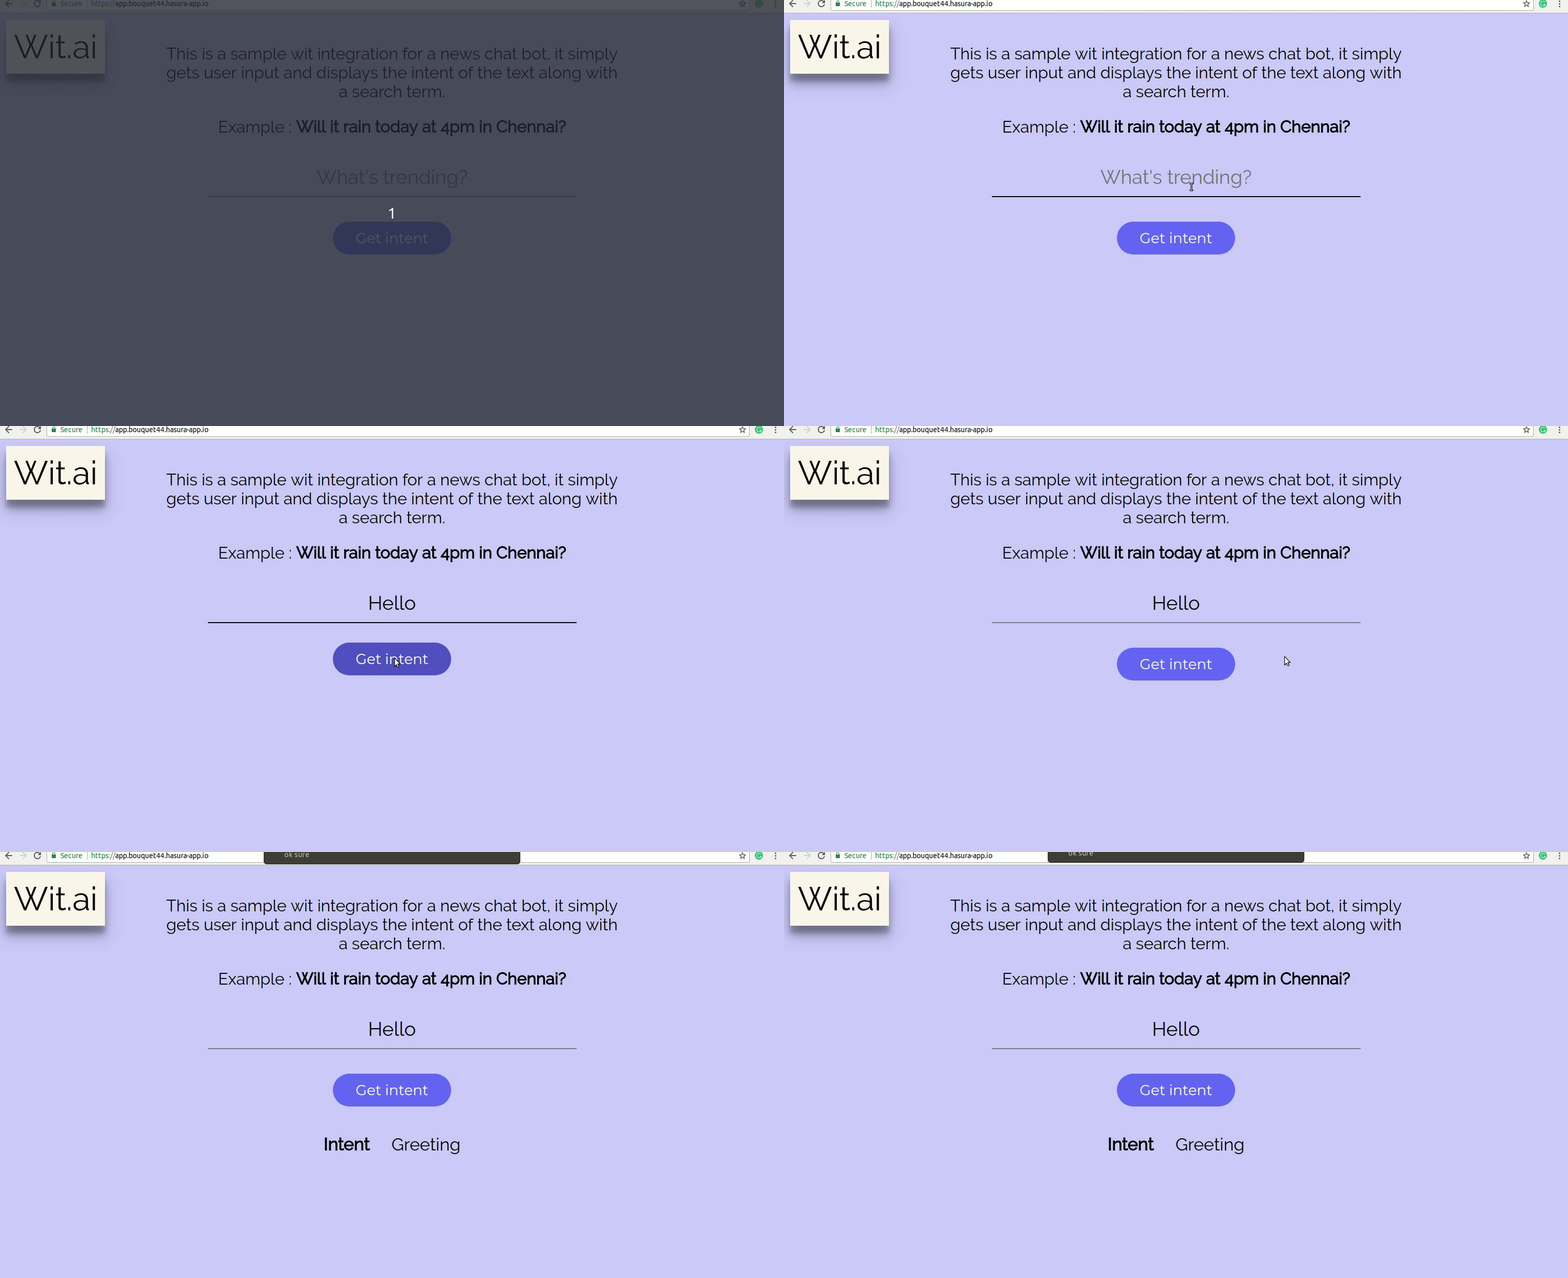
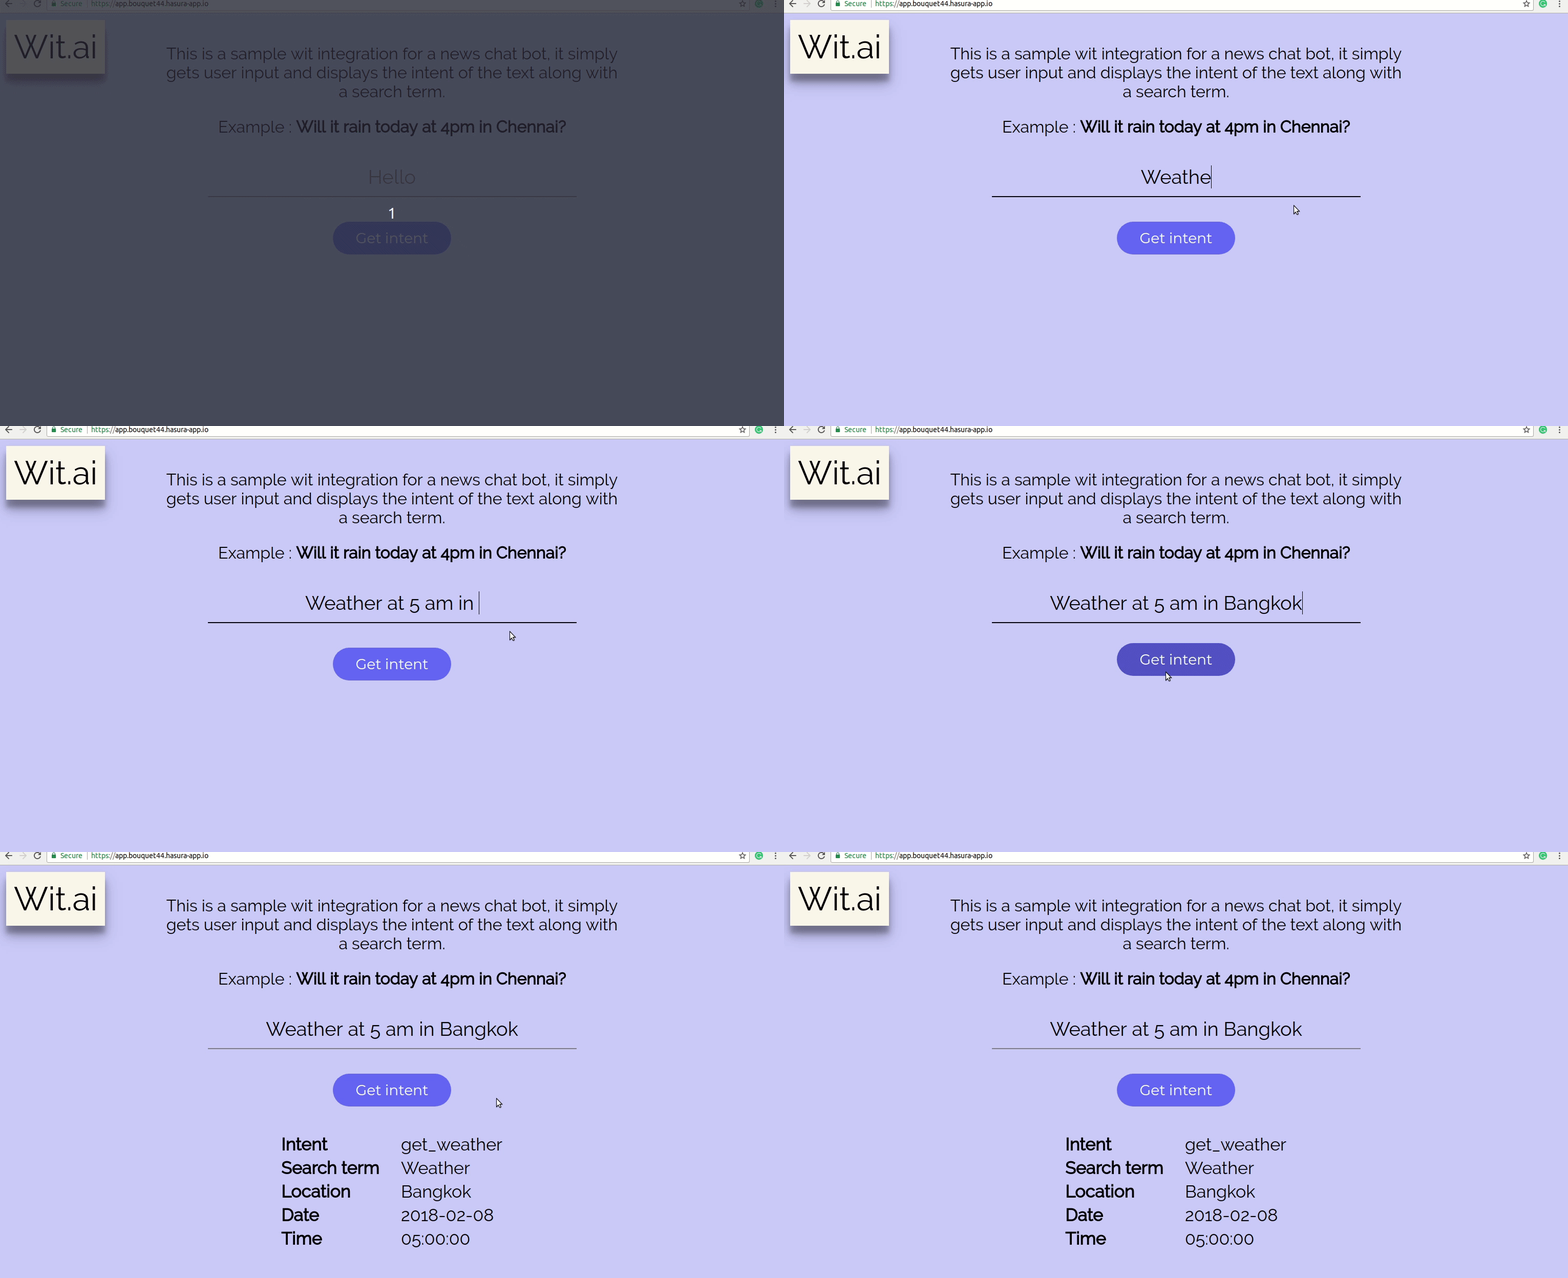
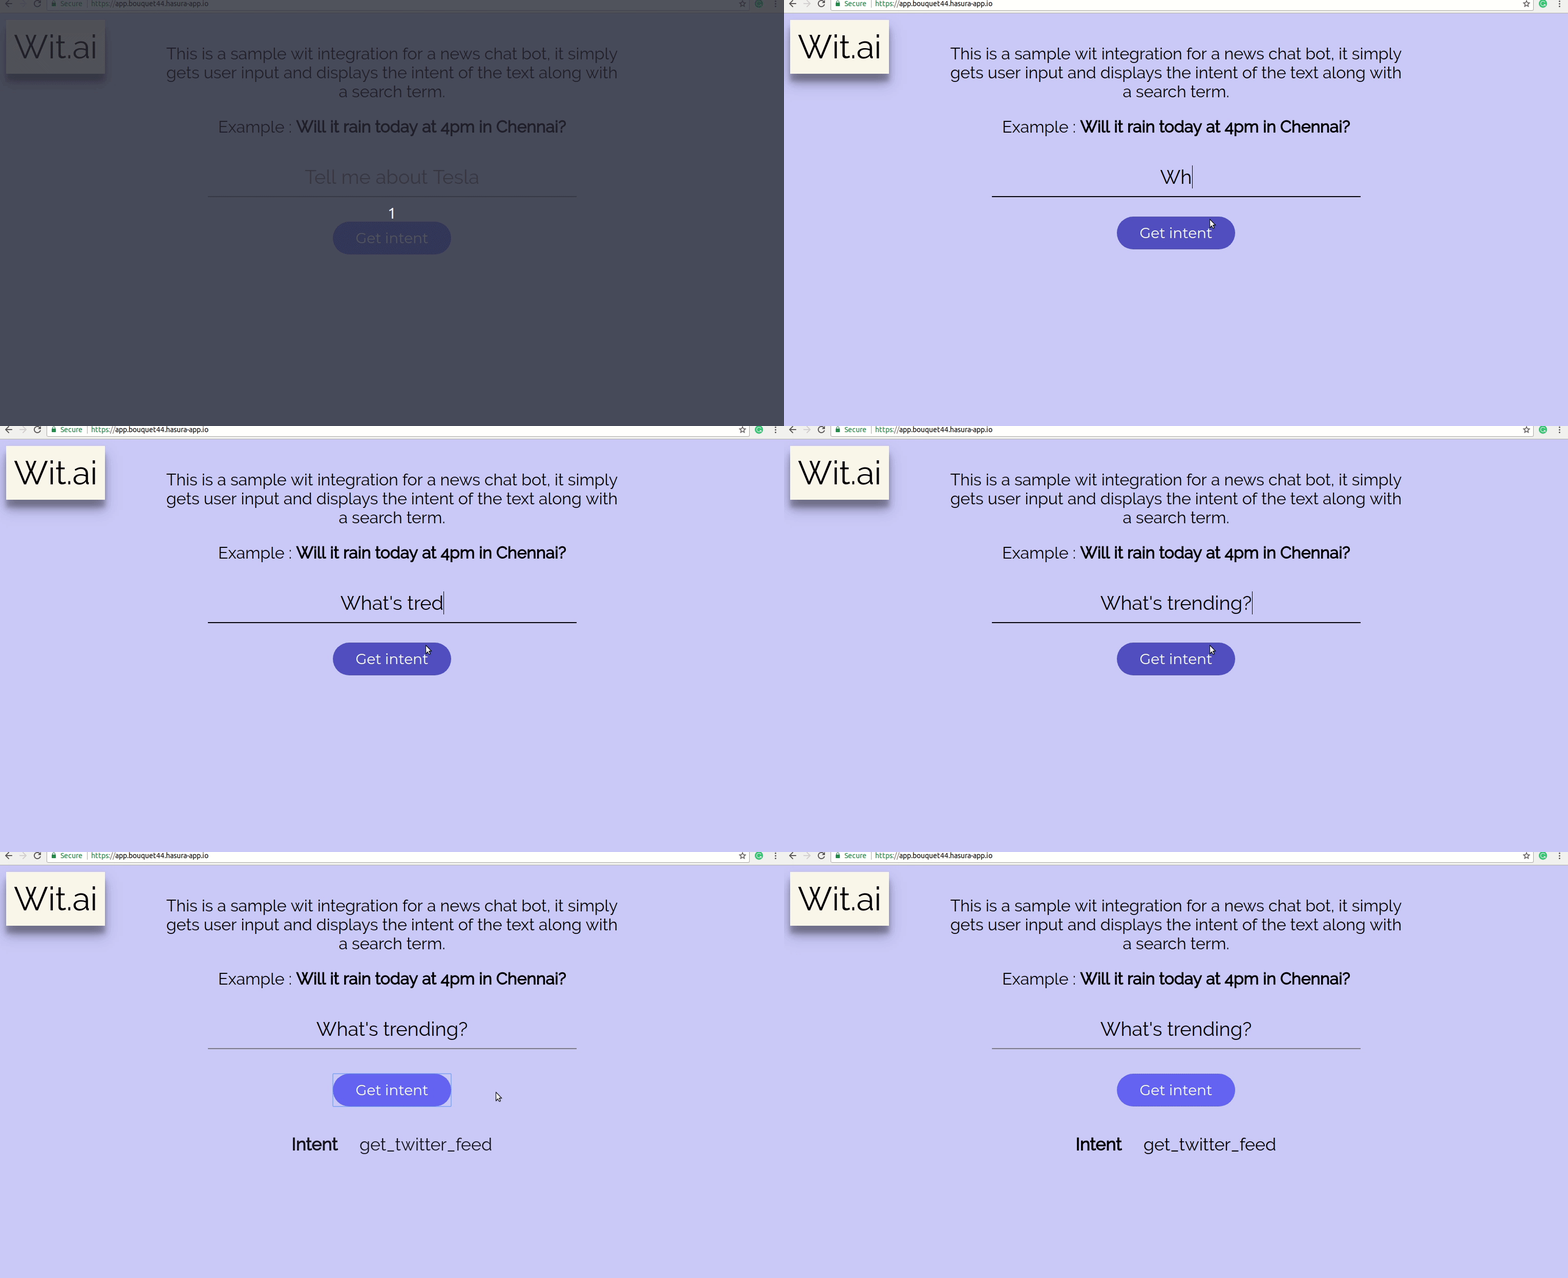
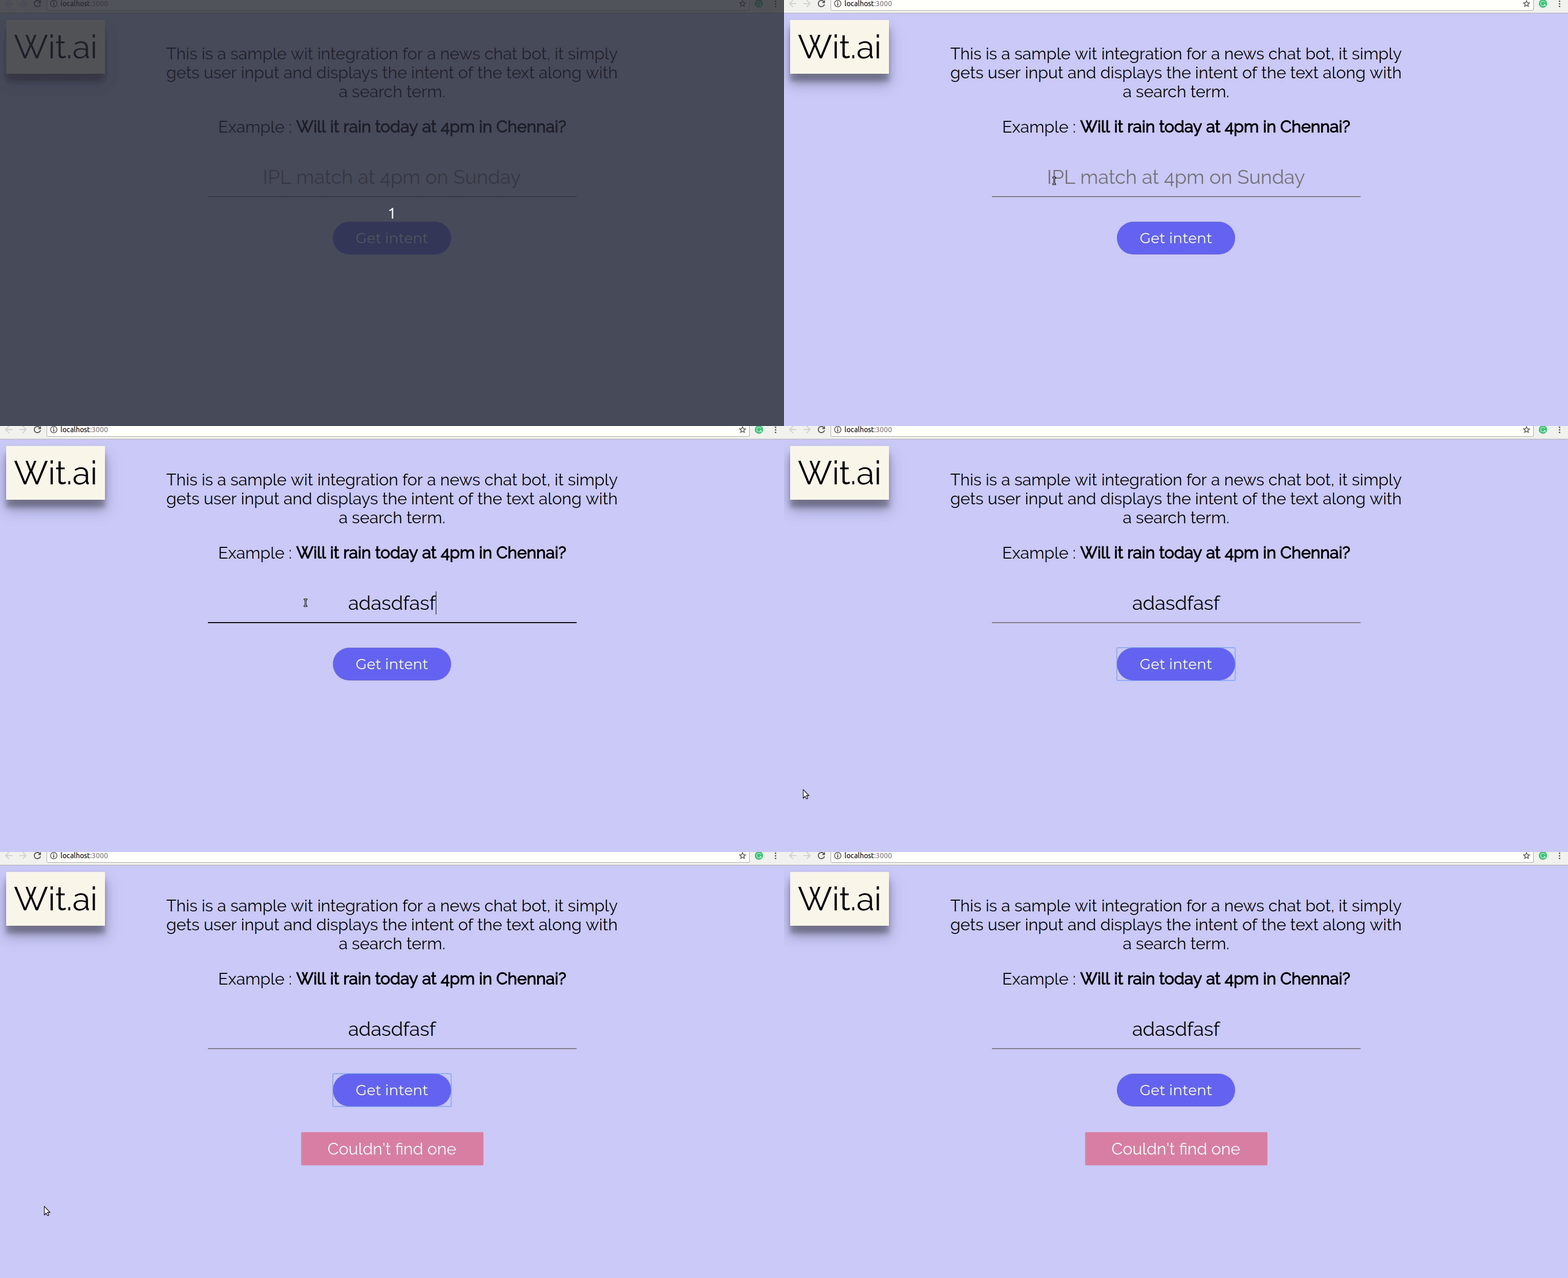
If the bot can't understand your text
This application finds intent for a chat bot to fetch news however , you can modify it for your own needs.
In order to modify the api to understand sentences suitable for your application follow this section.
Visit the Wit.ai homepage.
Login to use the dashboard.
The dashboard should appear something like this.
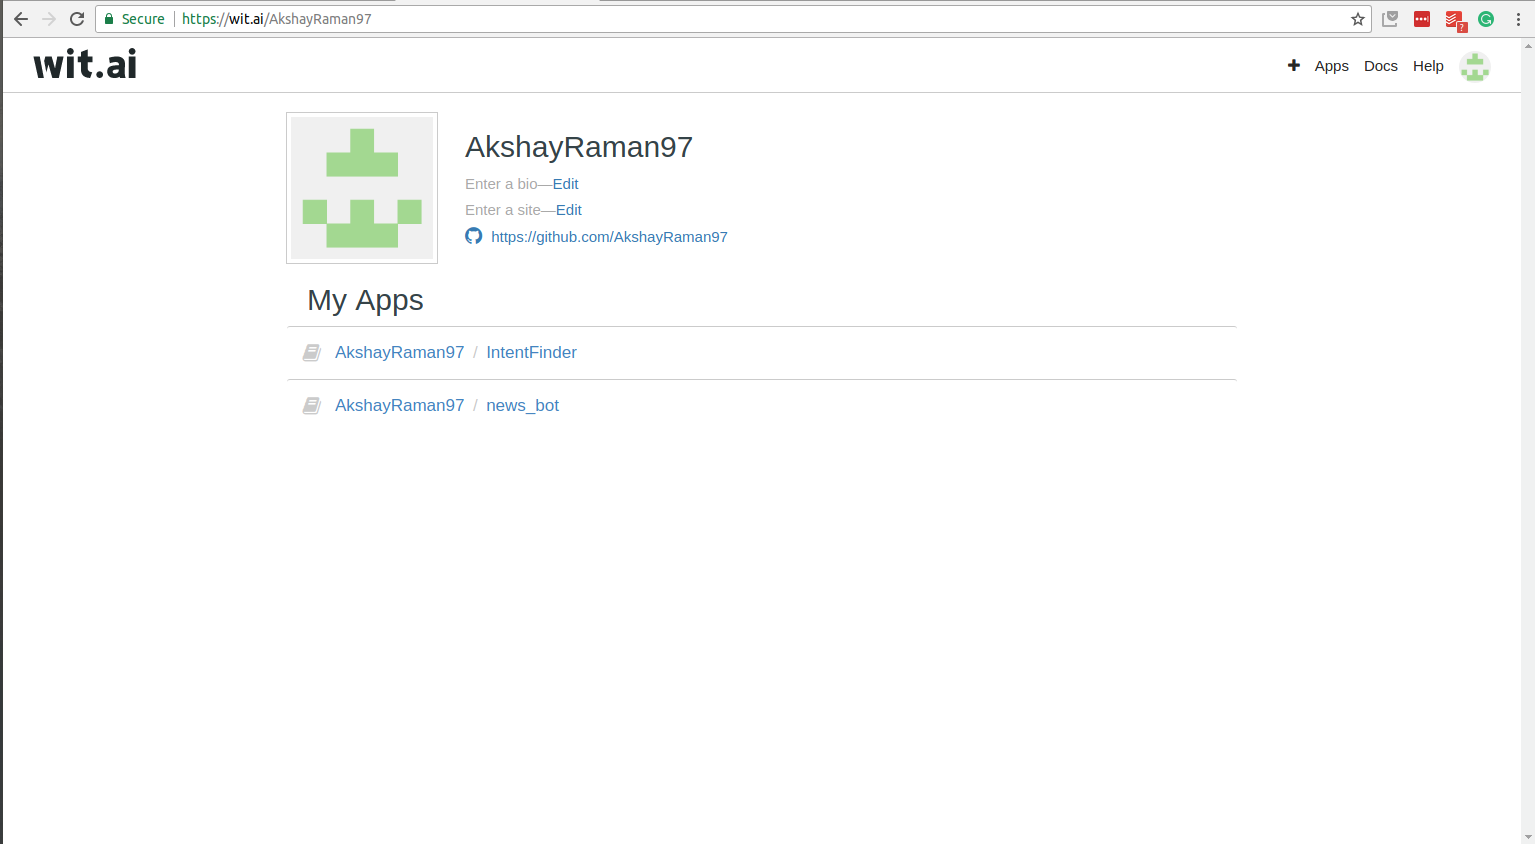
Click on the + icon to create a new app.

Enter the details and click Create App.
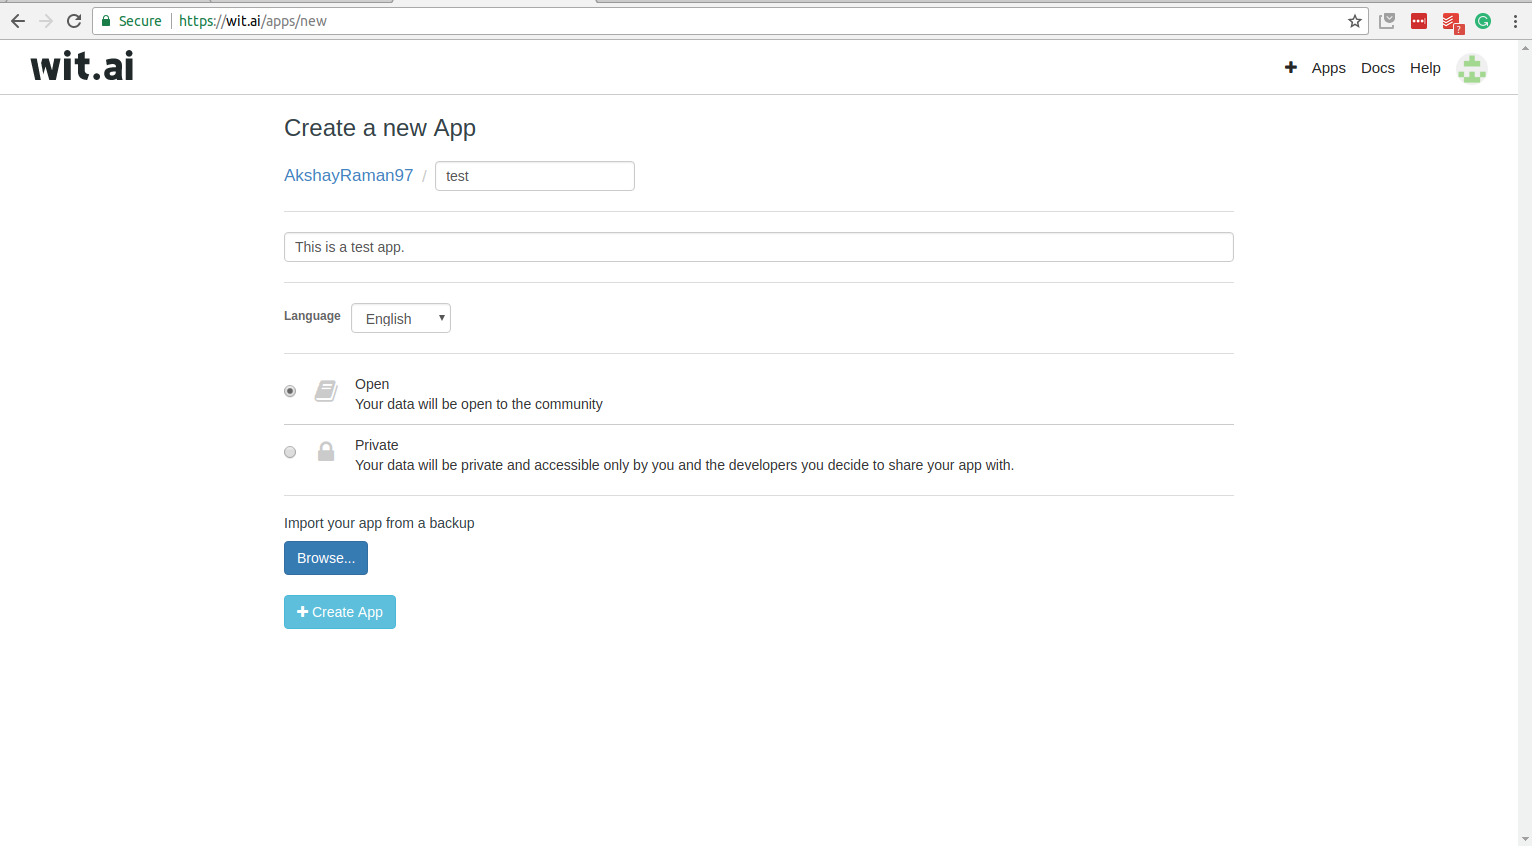
Click on your app's name on the dashboard , you would see a page like this.
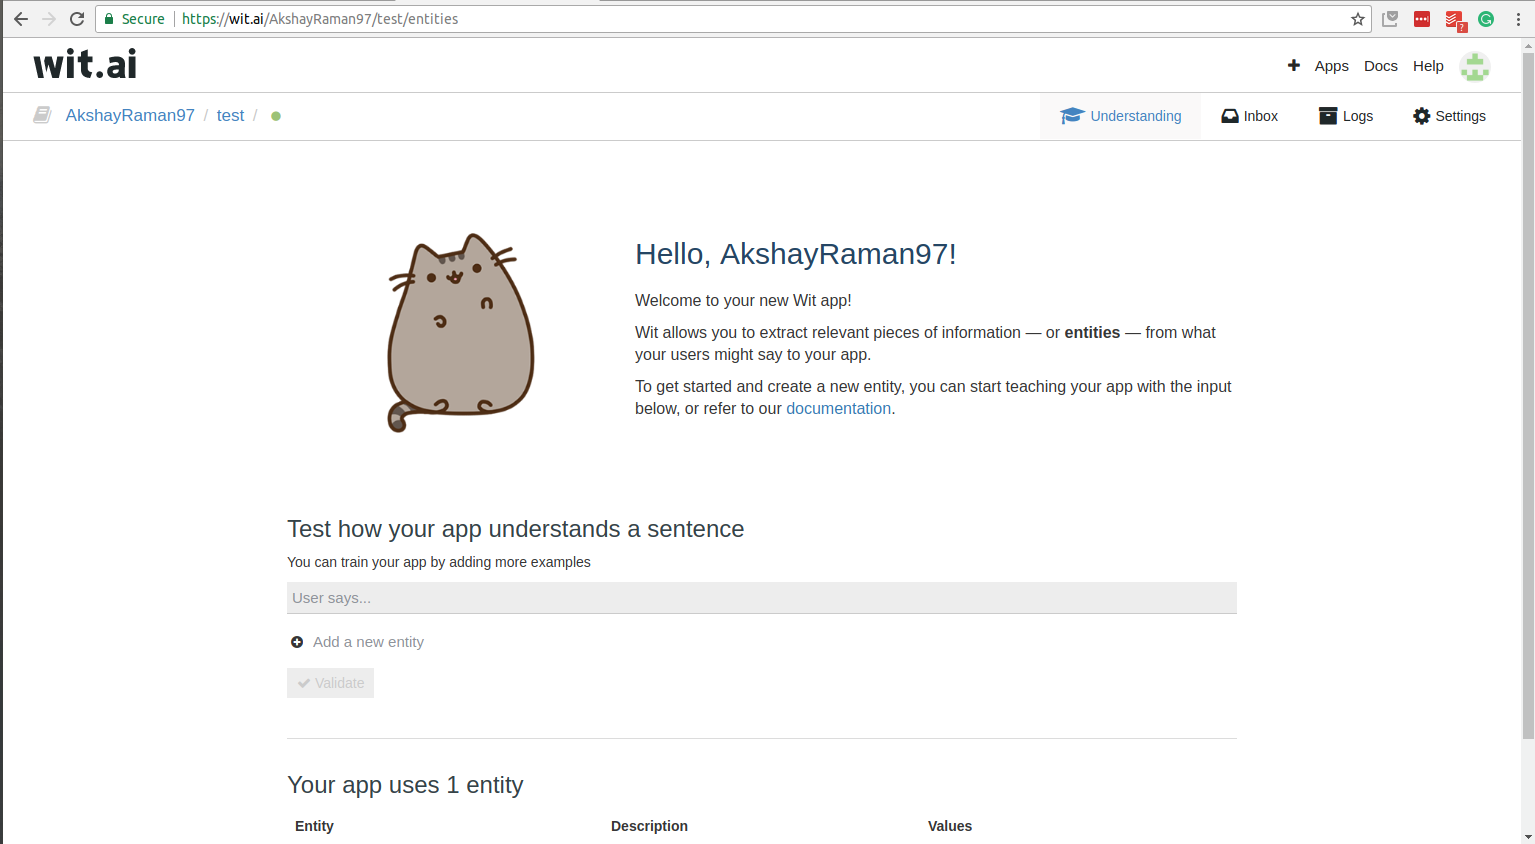
You can train your app to find intents and key words. Read the Wit documentation to know more about training your app.
Go to the settings of your wit application.
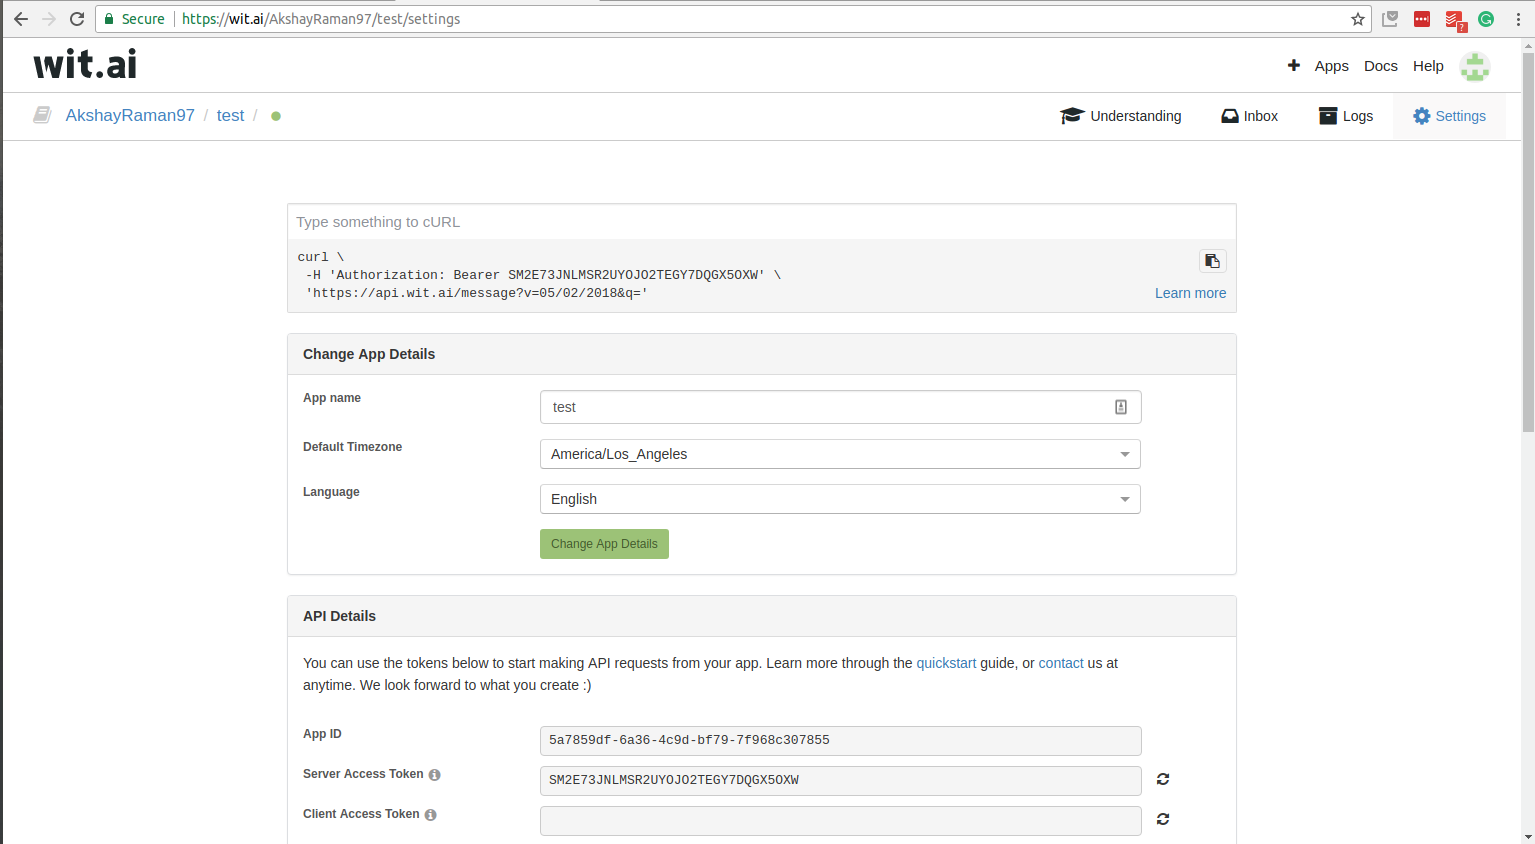
Copy the Server Access Token.
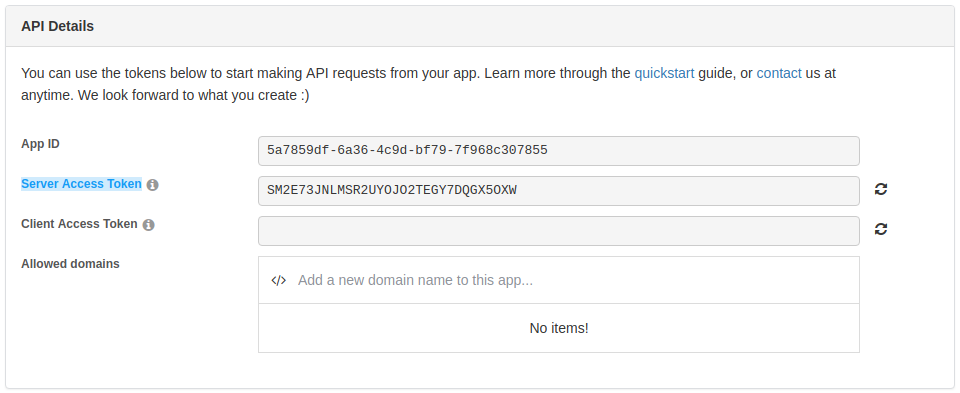
In your server.py create an endpoint.
# server.py
# Importing packages
from src import app
from wit import Wit
import jsonify
import requests

# Authentication code
AUTH = "SM2E73JNLMSR2UYOJO2TEGY7DQGX5OXW" # Paste the code from Wit app
# Inititalizing Wit client
client = Wit(AUTH)

# Creating a GET endpoint
@app.route('/test',methods="POST")
def test():
	try:
    	# Getting the text from body of the request
		text = request.json["text"]
        # Sending text to Wit client
        response = client.message(text)
        # Returning the response
        return response
    except KeyError:
    	return(jsonify({"message":"Invalid request"}))
    else:
return(jsonify({"message":"Some error occured"}))There are many API testing tools available , one of the popular ones is Postman .
Install Postman from here - Postman.
Open the Postman application and setup an account.The home page should be like this.
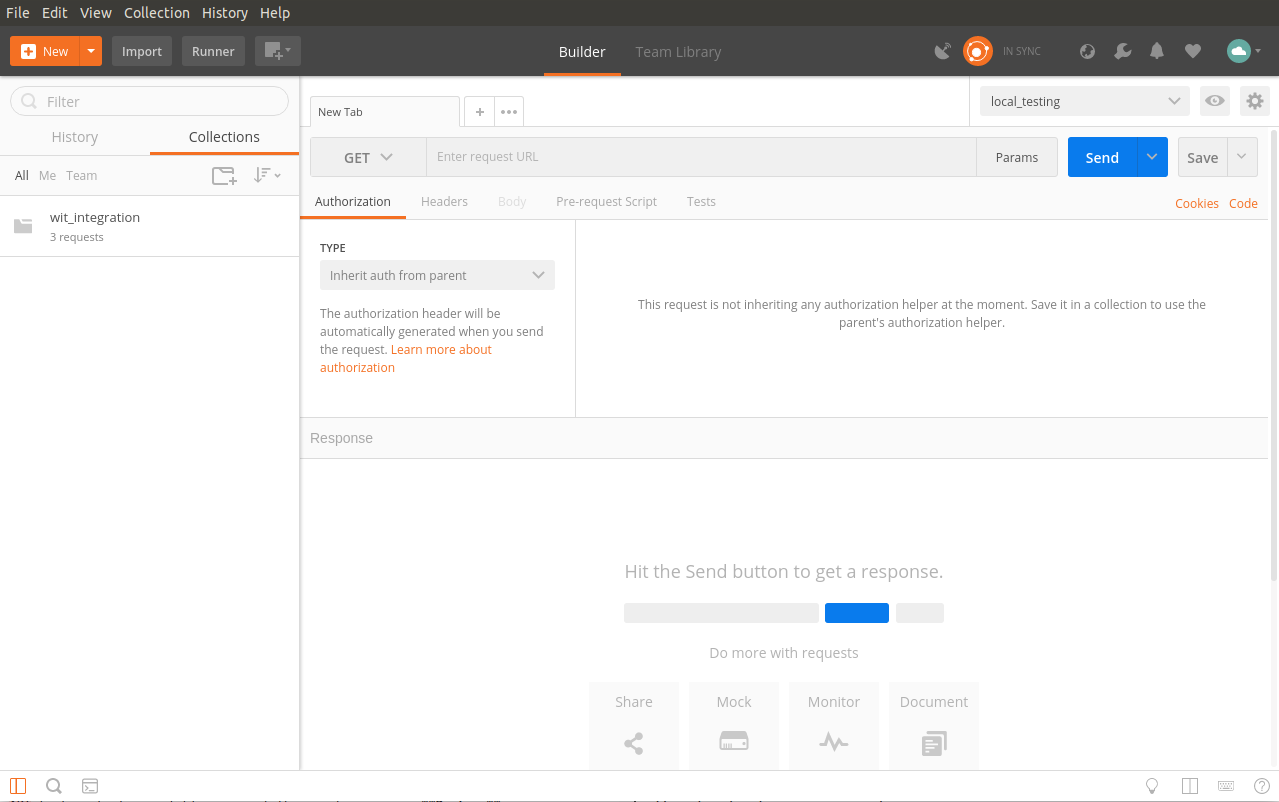
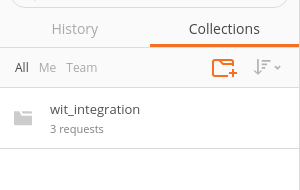
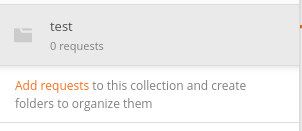
Create a new collection.
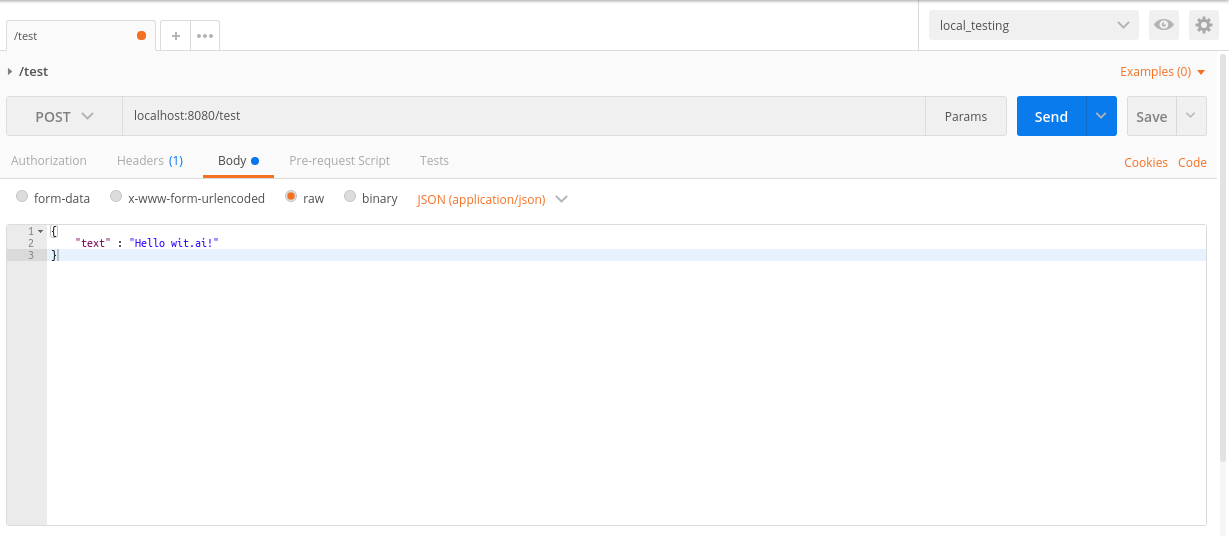
Add a new POST request.
Add body of the request.
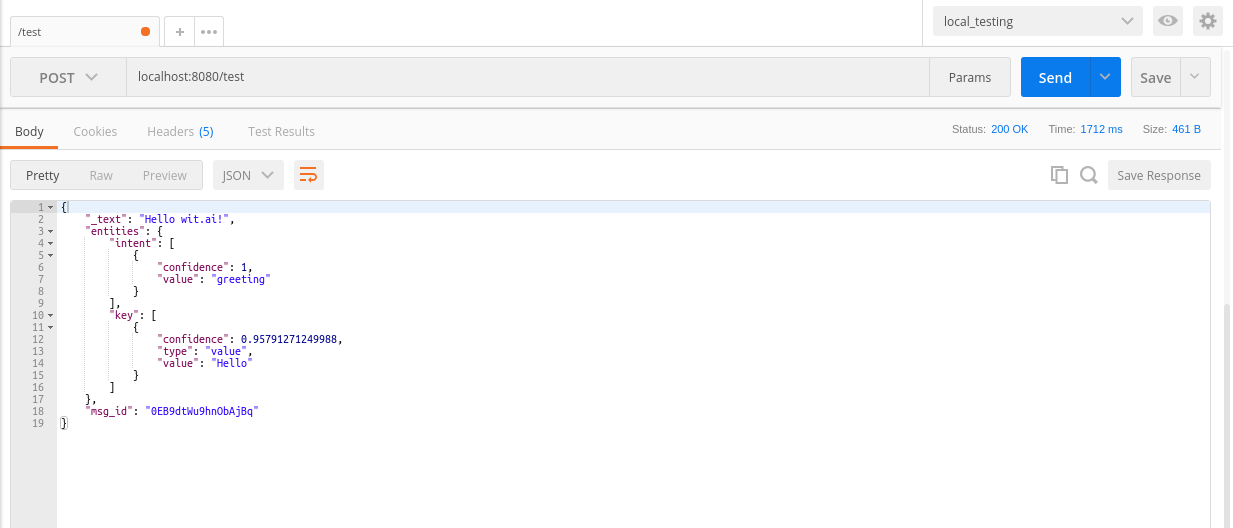
See the response.
- Akshay Raman - Github profile
- Vikash Prasad - Github profile
Hope your application is working as expected. If you run into any issues Google and StackOverflow are always there to help !
Have fun developing new apps !