![]()
Component for sending radio commands through the AirSend (RF433) or AirSend duo (RF433 & RF868).
-
Add Repository:
- Click on "Add repository" to include the necessary repository for the addon installation or follow hass_airsend-addon
-
Place the
airsend.yamlFile:- Go to
airsend.cloud -> import/export -> Export - Select your devices, for local connection, select
spurl - Click
Export YAMLto save the airsend.yaml - In the
configfolder of Home Assistant, place theairsend.yamlfile. - Edit the file and add these lines
devices:
  ...
  AirSend Box:
    type: 0
    spurl: !secret spurl
    sensors: true
- Go to
-
Edit the
secrets.yamlFile:-
Add a line to the
secrets.yamlfile with the AirSend - Local IP - / - Password - (and IPv4 address). -
If you know the IPv4 address, the line should look like this:
spurl: sp://**************@[fe80::xxxx:xxxx:xxxx:xxxx]?gw=0&rhost=192.168.xxx.xxx
This applies also if you want to ensure local connection and no reliance on any cloud / internet access to control your devices, cf. the Information section below.
-
or this if you don't know the IPv4 address :
spurl: sp://**************@[fe80::xxxx:xxxx:xxxx:xxxx]?gw=1
-
Replace
**************with the AirSend Password,fe80::xxxx:xxxx:xxxx:xxxxwith AirSend Local IP and192.168.xxx.xxxwith the AirSend IPv4 address.
-
-
Install the Custom Component:
- In the Home Assistant terminal, run the following command to install the component:
wget -q -O - https://raw.githubusercontent.com/devmel/hass_airsend/master/install | bash -
- In the Home Assistant terminal, run the following command to install the component:
-
Restart Home Assistant and the AirSend Addon:
- Restart Home Assistant.
- Restart the AirSend addon.
-
Configure the Integration:
- Navigate to Settings -> Devices & services -> + Add Integration.
- Search for and select AirSend.
- Select the rooms associated with your devices to complete the setup.

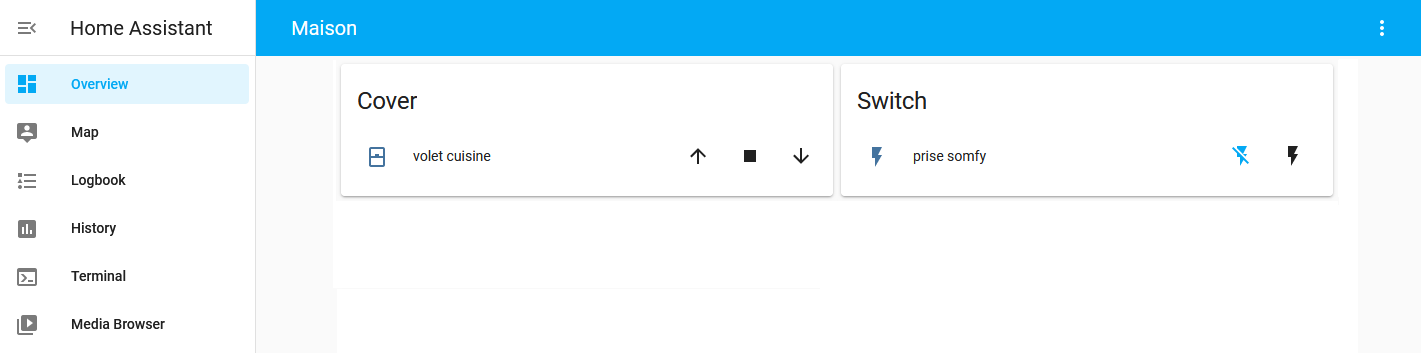
These steps will integrate AirSend with Home Assistant, allowing you to manage and automate AirSend-related tasks through the Home Assistant interface.
- This requires the execution of hass_airsend-addon, if it is not on the same machine it is possible to add the field
internal_url: http://x.x.x.x:33863/in airsend.conf - For local connection, the AirSend IPv4 address is required, you can find it in your router or Airsend App for Windows. If you DO NOT provide
?gw=0&rhost=...then you may face unexpected HTTP/500 status code or HTTP/262 status code at Home Assistant level.