PingPi is a small application that allows you to schedule pings to websites of your choosing via a web interface. It was created as a work around to Heroku's sleeping dynos. Since the websites go to sleep after a half hour of non-use I needed a way to wake my sites at certain times, or to keep it up if I wanted it to be up all the time.
Prior to this I was utilizing Kaffeine which was great but only allows you to ping the a site every 30 minutes. This wastes dyno hours as the site is up the majority of the day. In my case I only needed my site, TweetryDish, to be awake at 7pm each day to fire off a scheduled tweet and that was it. This app allows me to do that.
The Pi in PingPi is because the app is intended to be run on a Raspberry Pi, though you could definitely run it on other systems if you wish. I use my Raspberry Pi to run the site over my local network, and then can access it via other computers on the network. This way I don't need my main desktop to be on 24/7 to keep the pings going.
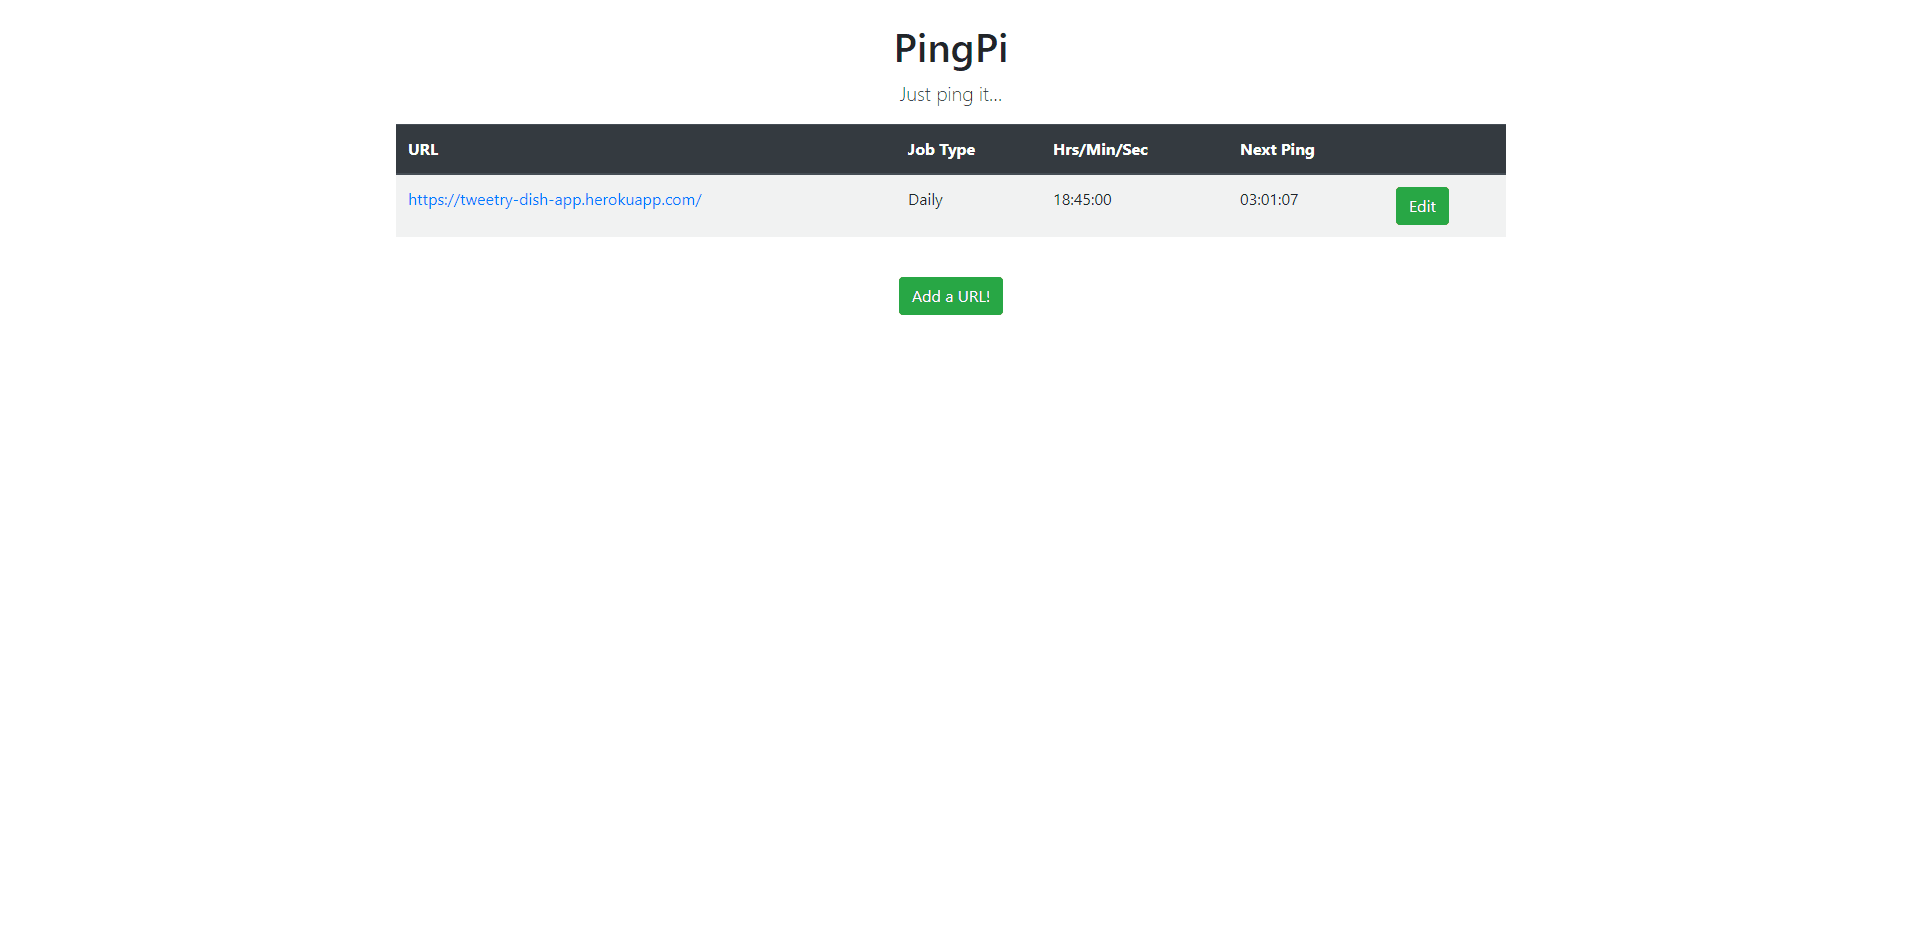
- Flask web interface to schedule website pings at certain intervals or at a certain time each day
- Countdown timer so you can see when the next ping will take place
These are instuctions to get the application up and running on a Raspberry Pi which uses a Linux operating system. You could absolutely run it on other operating systems but a few of the commands could vary slightly.
To get started open a terminal from a new folder somewhere on your Pi, once that's done initialize git:
$ git init
Now we will pull the repository into the folder:
$ git pull https://github.com/djleedke/ping-pi-app.git
Next we will create the virtual environment:
$ python -m virtualenv venv
And activate it:
$ source venv/bin/activate
Before we start the app we need to install our requirements:
$ python -m pip install -r requirements.txt
You will also need to create a secret key, the app will try to find this in file called local_settings.py which you can create and place at /application/local_settings.py.
To create a secret key open a terminal window and enter the python shell:
$ python
In the shell enter the following:
>>> import uuid
>>> uuid.uuid4().hex
`dd18e3b4ee4743c4850b1bf51153cbb1` #This will be different for you
Place this key into the local_settings.py file you just created.
import os

os.environ['SECRET_KEY'] = 'dd18e3b4ee4743c4850b1bf51153cbb1'
At this point we should be able to run the app, first set up your environment variable and set our environment to production:
$ export FLASK_APP=run.py

$ export FLASK_ENV=production
Run Flask:
$ python -m flask run
You should now be able to access the app from typing in the local host address 127.0.0.1:5000 into a browser's address bar. What if we want to host it on our local network? First let's get the local IP address of the Pi by typing the following in a terminal window:
$ hostname -I
This will give a nice long string really all we care about is the beginning which should look something like this: 10.0.0.123. This is the IP we will be hosting from locally. To start the Flask server using this enter the following command with your own IP address:
$ python -m flask run -h 10.0.0.123 -p 8001
Note: I've chosen port 8001 here but you can host on any port you want as long as it isn't already in use.
And voila! You should now be hosting over your local network. To test try going to (insert whatever your IP address was here) 10.0.0.123:8001 from another computer's browser and you should see the page load up. If for whatever reason this doesn't work for you, it's possible you may need to tweak a few settings in your router.
Enjoy!
- Flask - for the webserver
- Bootstrap - for quick and easy responsive CSS & Javascript
- SQLAlchemy - for handling the database
- APScheduler - for scheduling the pings
- easytimer.js - for the countdown timers
- Raspberry Pi - for deployment
The idea for this app was inspired by Kaffeine which also lets you schedule website pings (but only every 30 minutes!)