Crypto practice is a solution for those who are wanting to track and maximize profits while minigating loss by focusing on tracking specific, individual crypto currency trades. All the wallets online are overbuilt and a huge amount of external calculation is required to simply see if you are profiting or losing on a trade as they merge your coin holdings into one large pot and it becomes impossible to differentiate purchases made during different times spans. Crypto Practice simplifies this all by calculating exact loss or gain made per trade all while tracking your total history in a customizable wallet.
Enjoy tracking!
Non-protected route
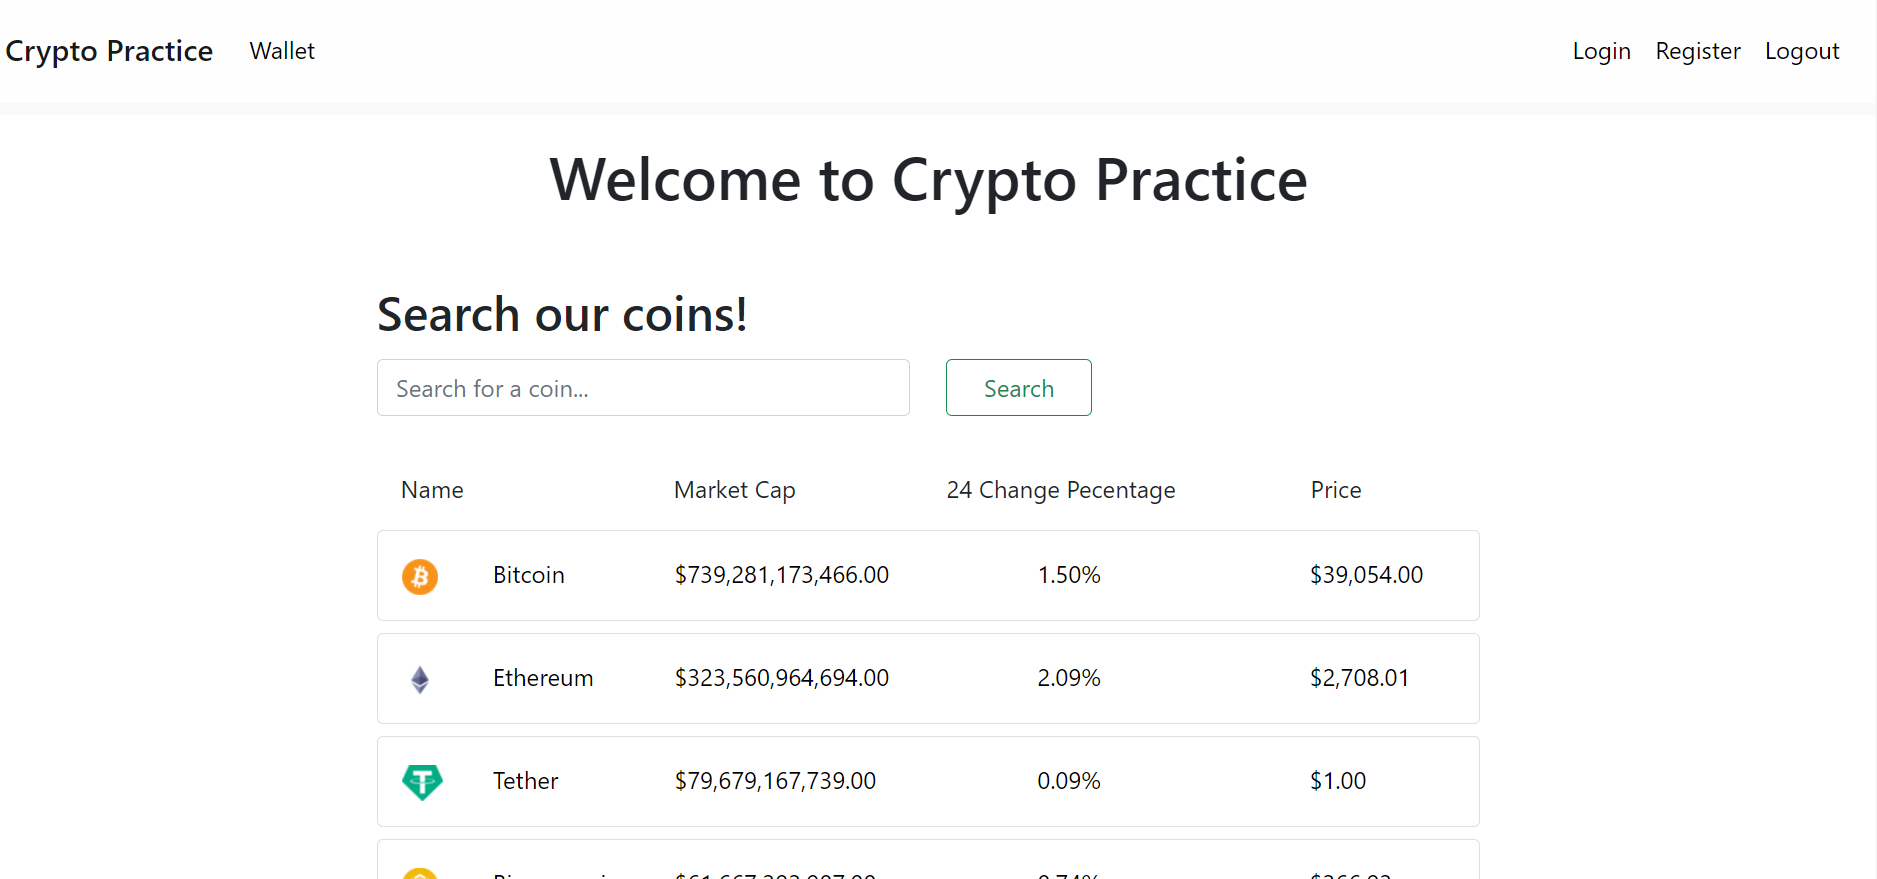
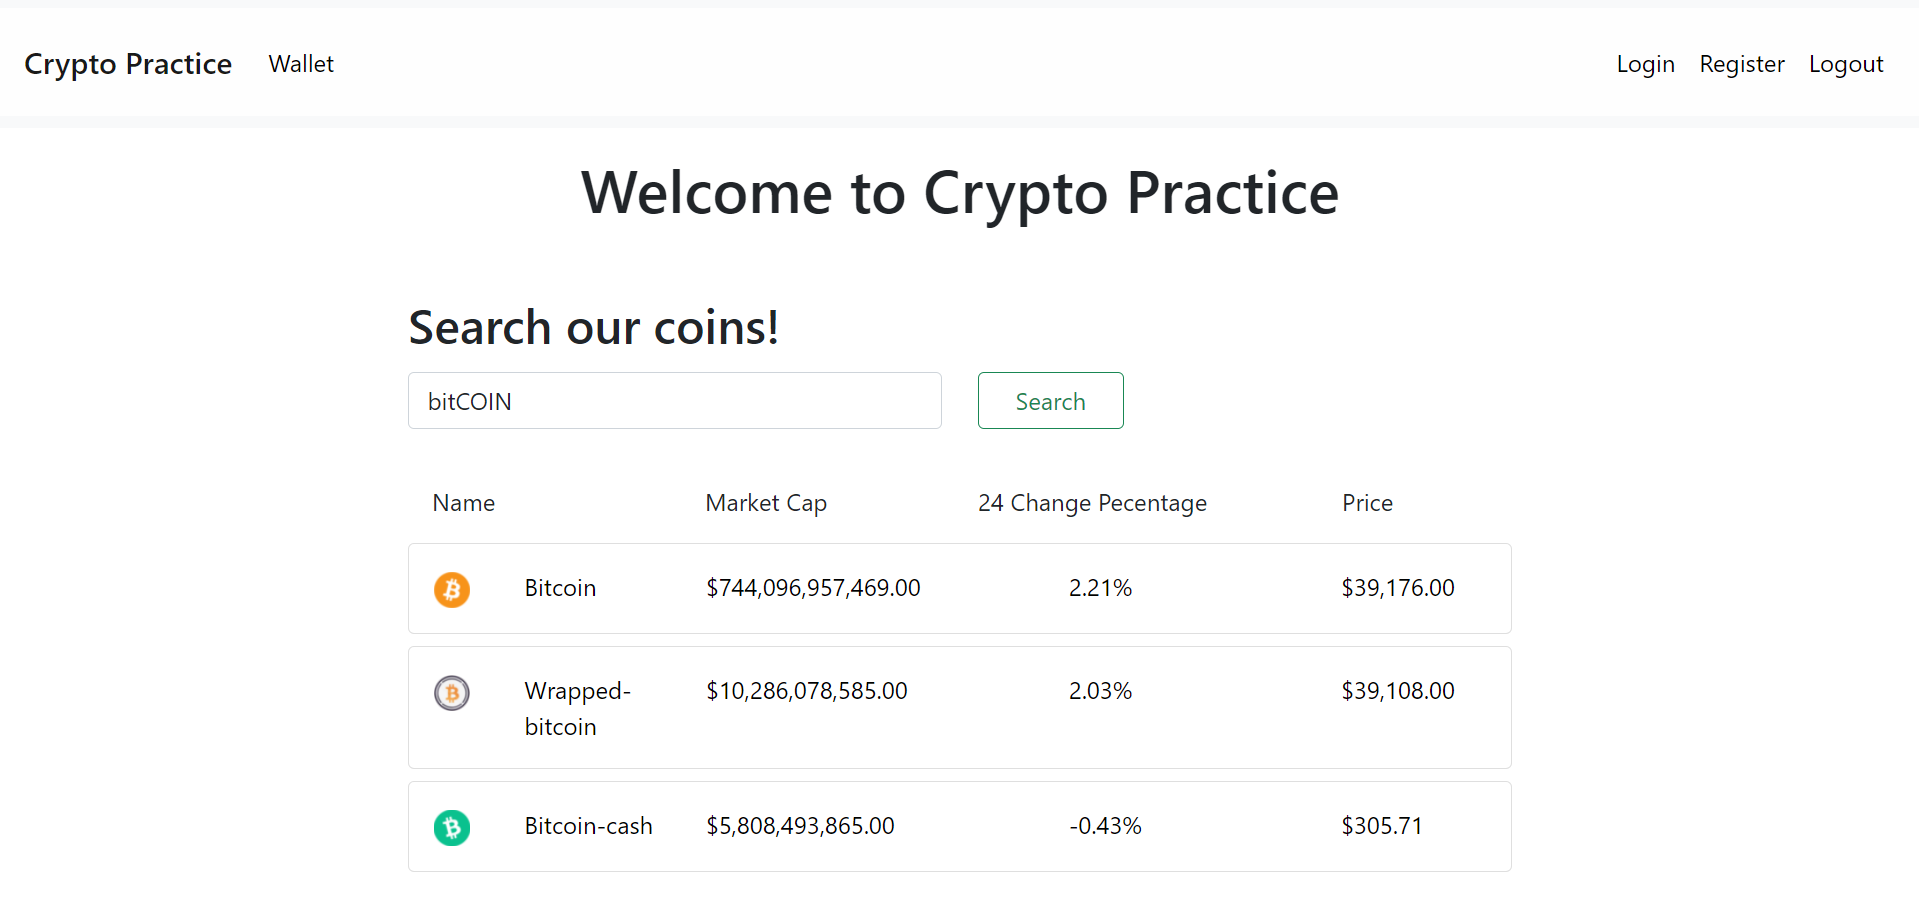
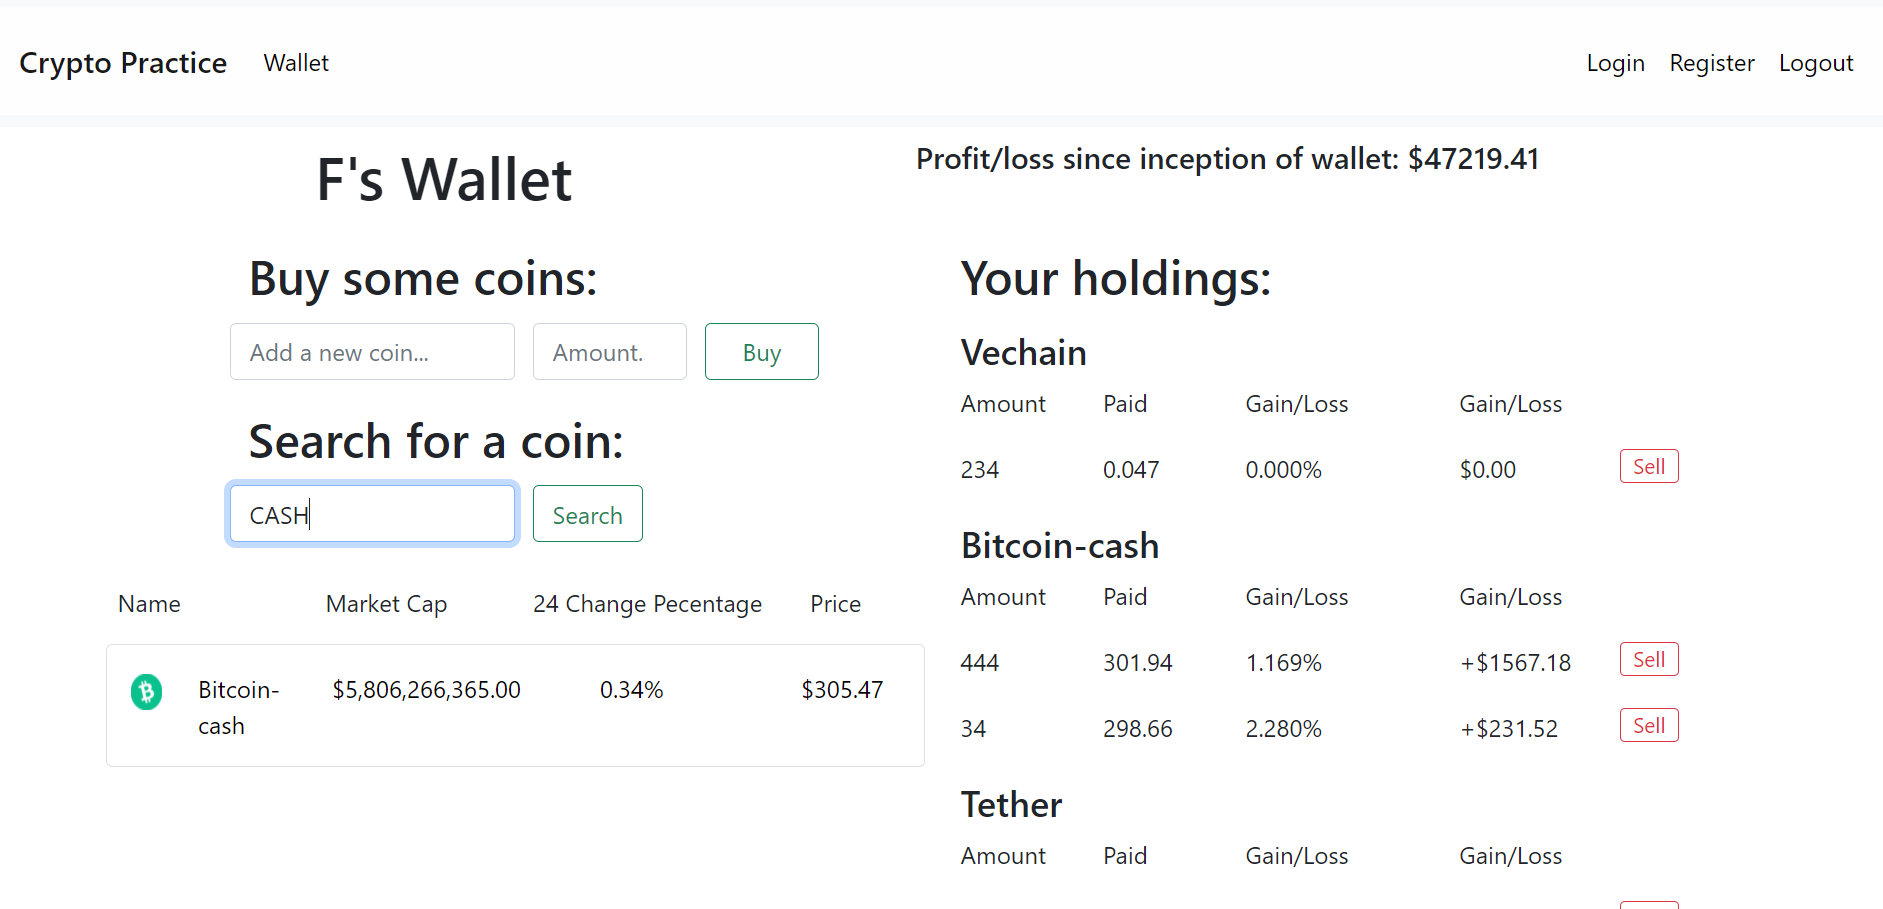
Will return a match if any instance of the search string is found within the currency name (case-insensitive)
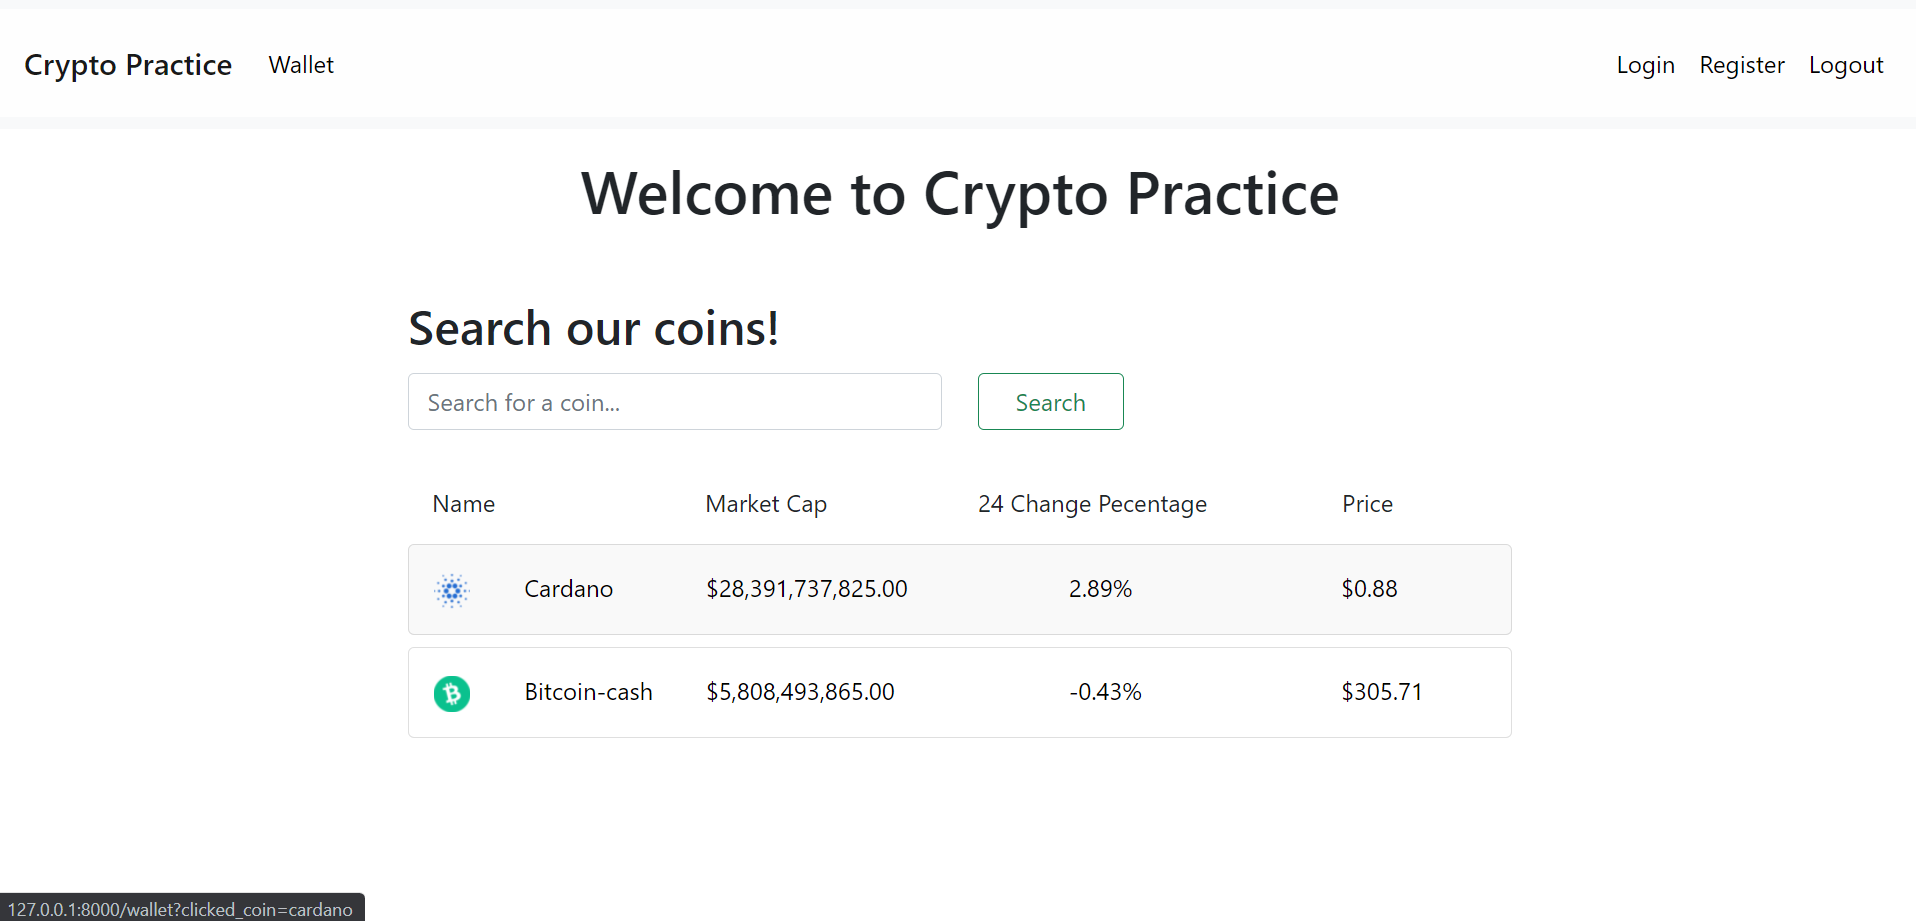 If signed in, will take you directly to your wallet and add a query parameter to the URL used to pre-populate the form used to purchase coins with the name of the coin you selected! (Otherwise, it will redirect you to the login page, as is common behaviour with all protected routes)
Will alert you when coins are not found or purchases do not go through
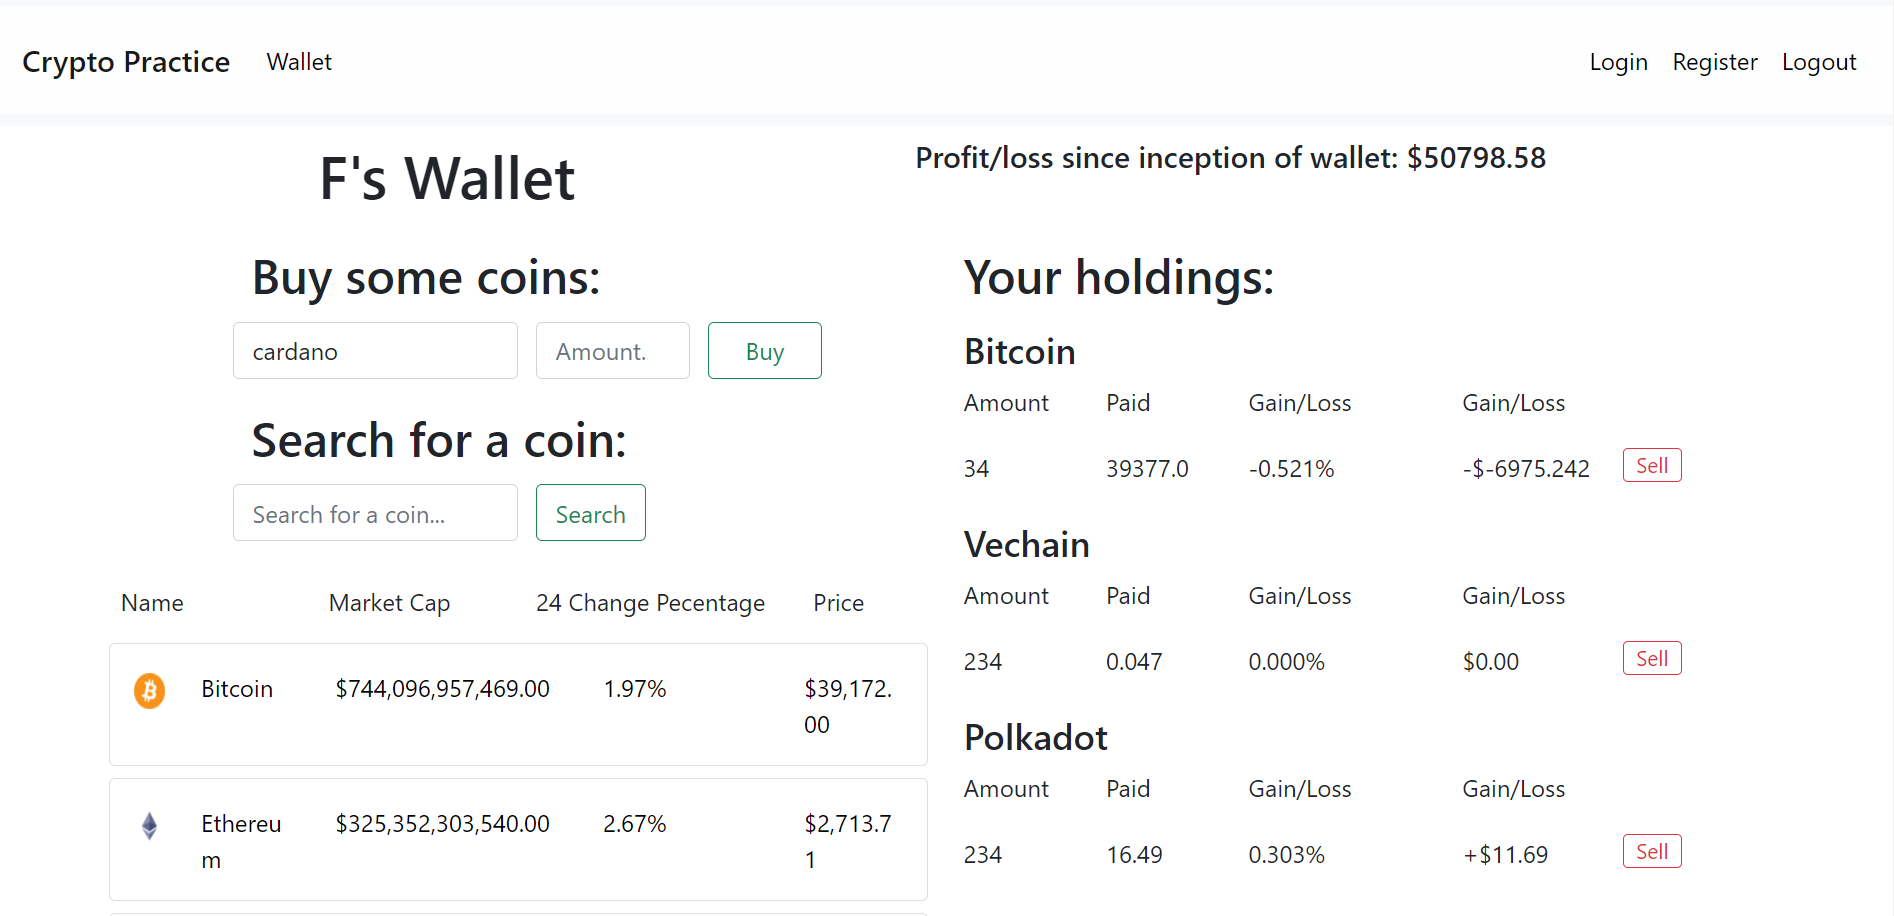
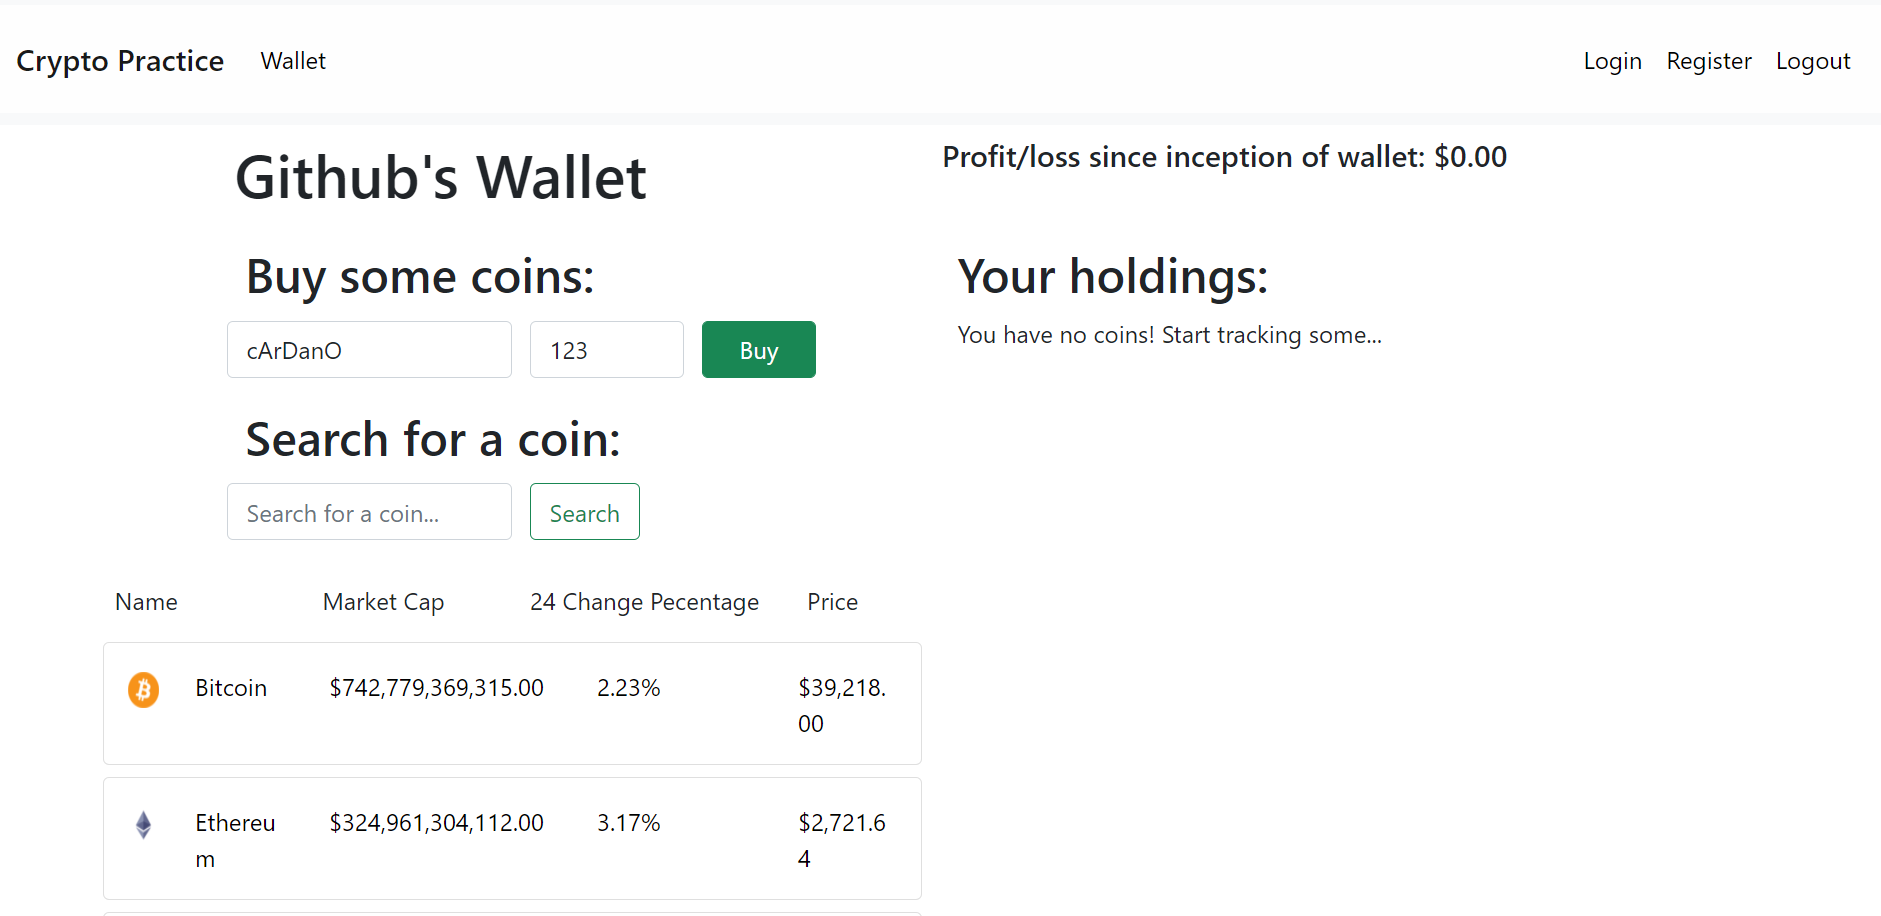
If a correct name is provided (case-insensitive), any positive integer amount of this coin can be purchased.
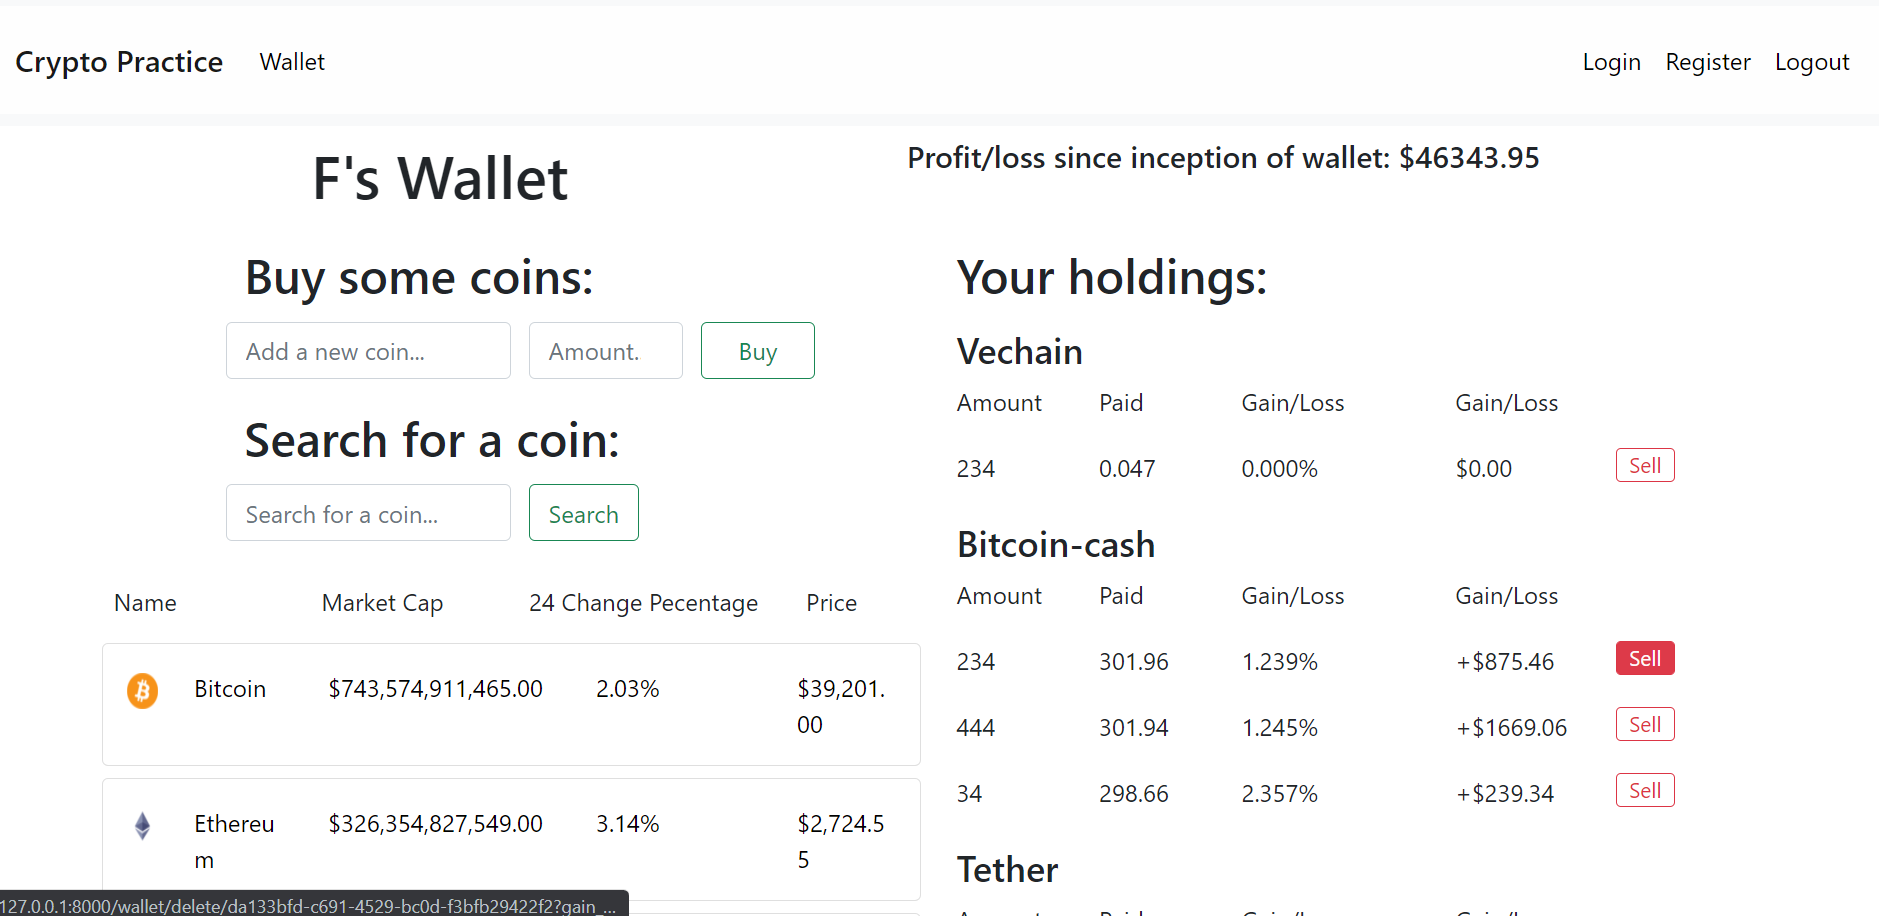
All your purchases can be sold, and from the UI you can see how much you have made/lost per purchase along with other calculated data.
The current prices all come from the public CoinGecko API, thanks to them! <3
https://www.coingecko.com/en/api
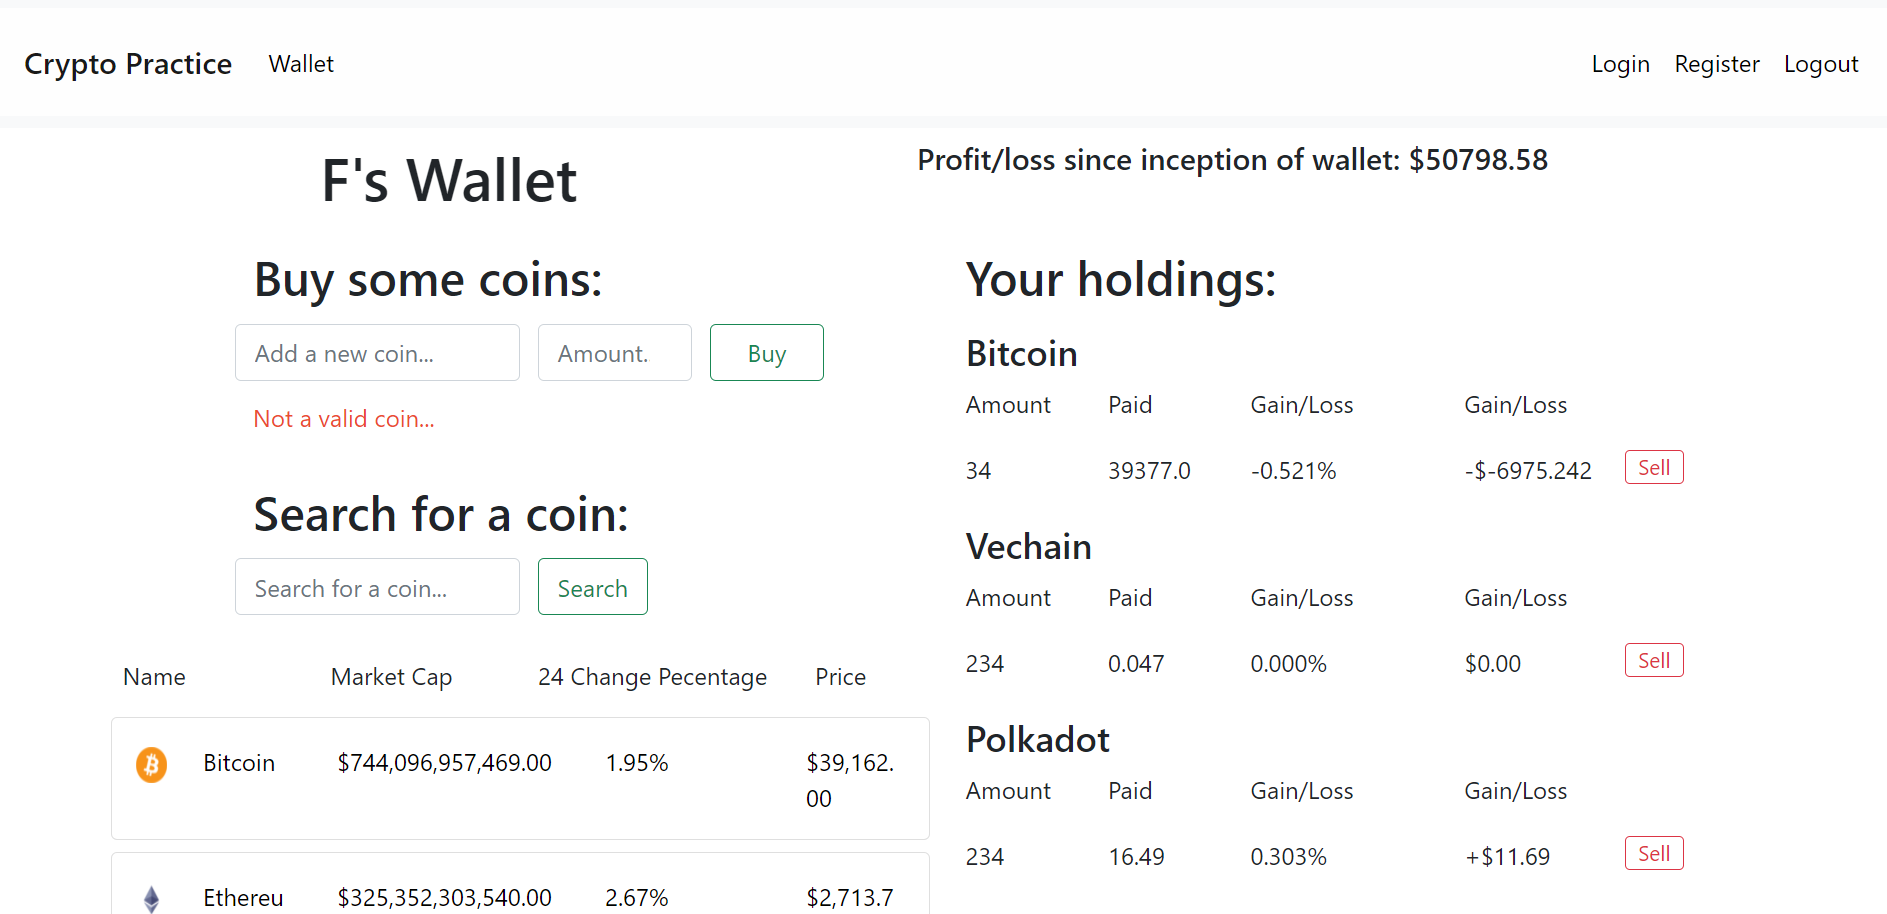
Your wallet will keep track of the total net gain/loss that you have made since trading on the account. Pictured is a wallet that has been in use for a lot of time.
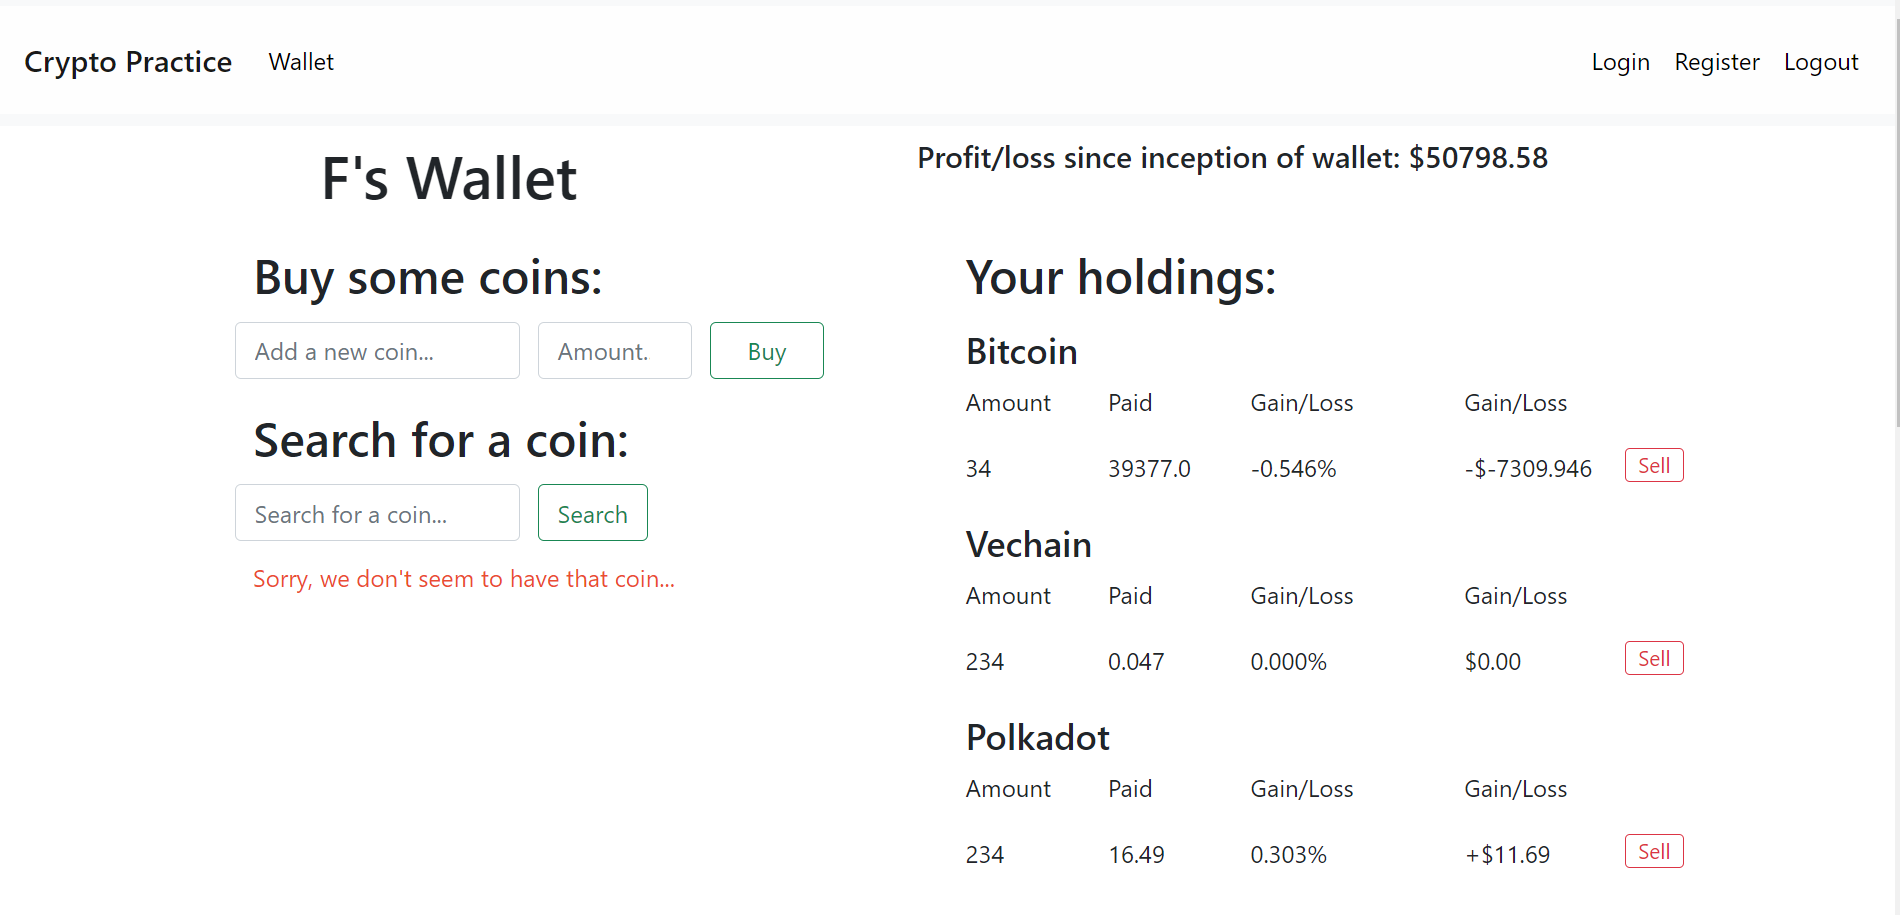
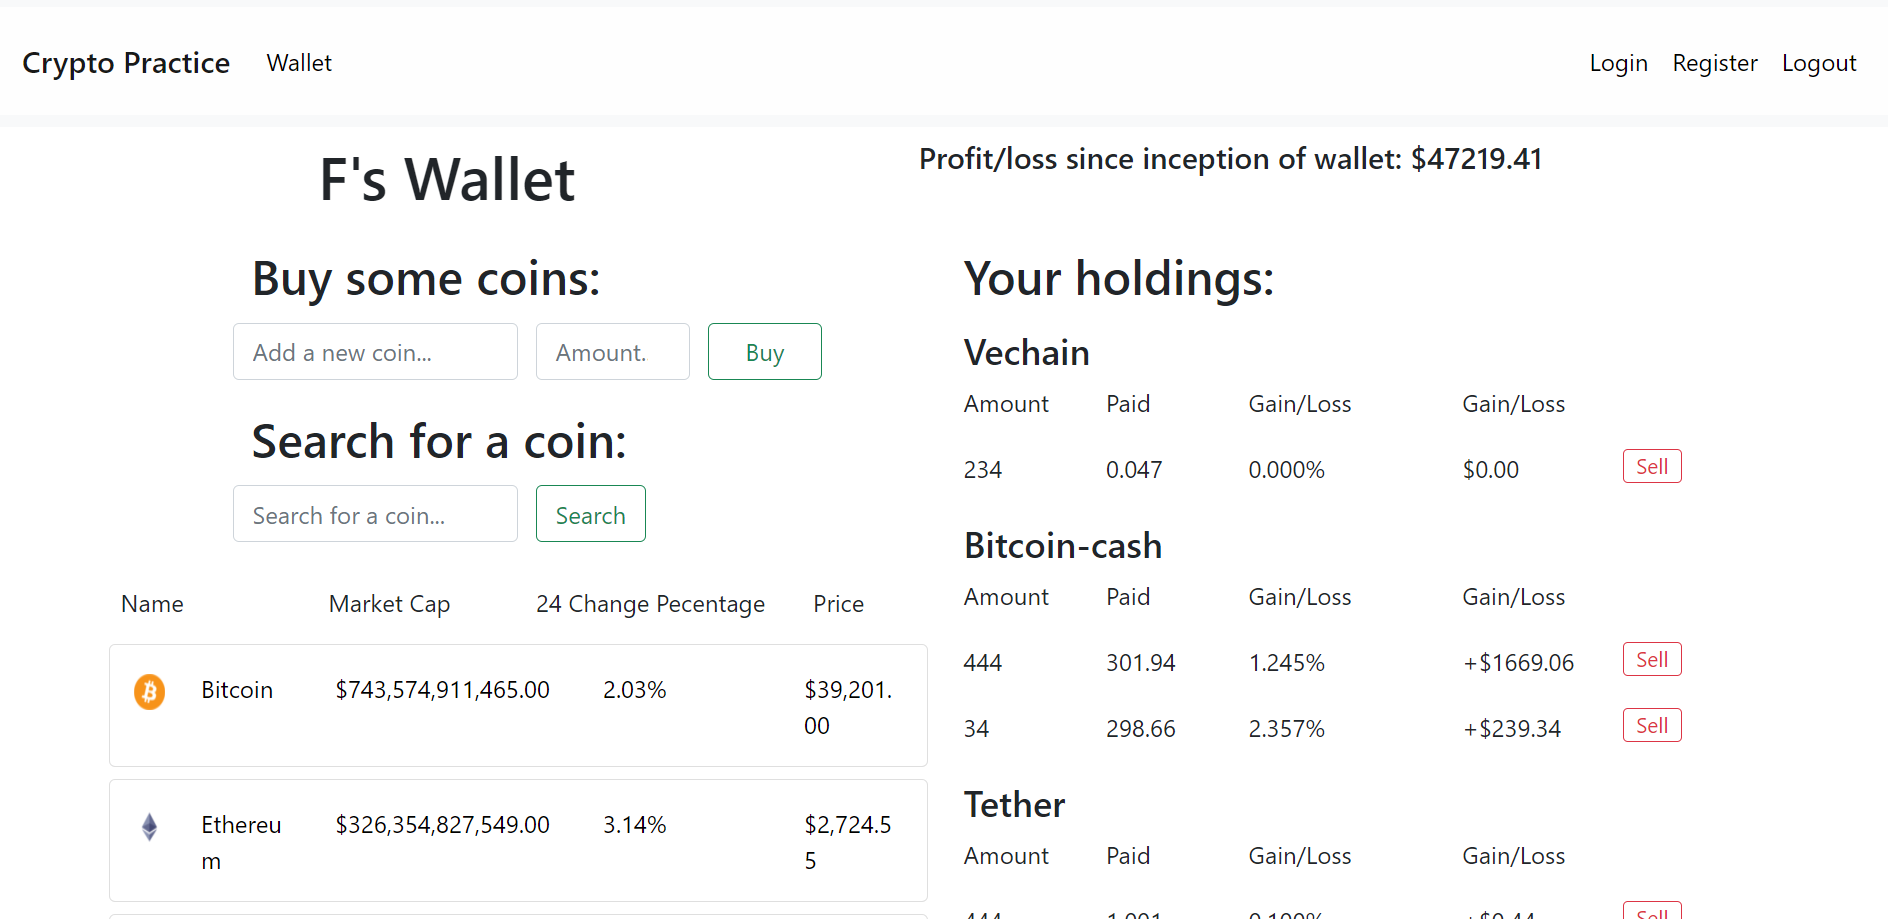
 After selling this bitcoin purchase, you can see that it is directly reflected in the wallet total.
The wallet also includes a search feature for convienece, that functions exactly like it does on the landing page
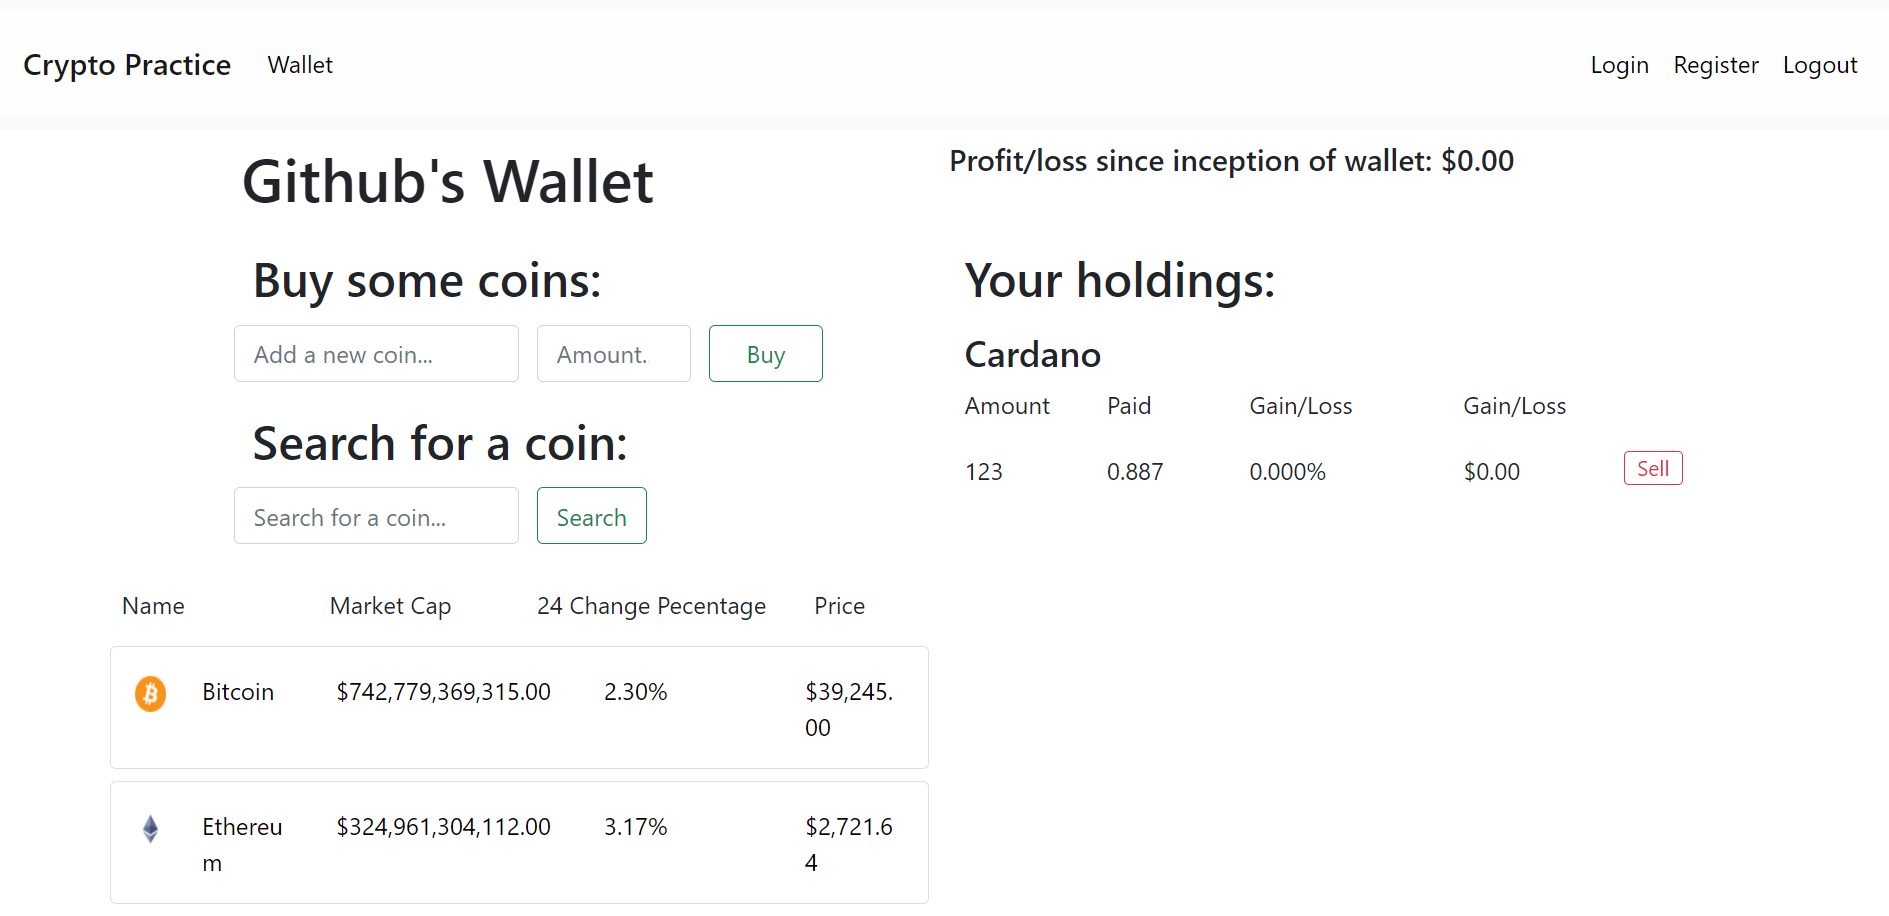
 After click:

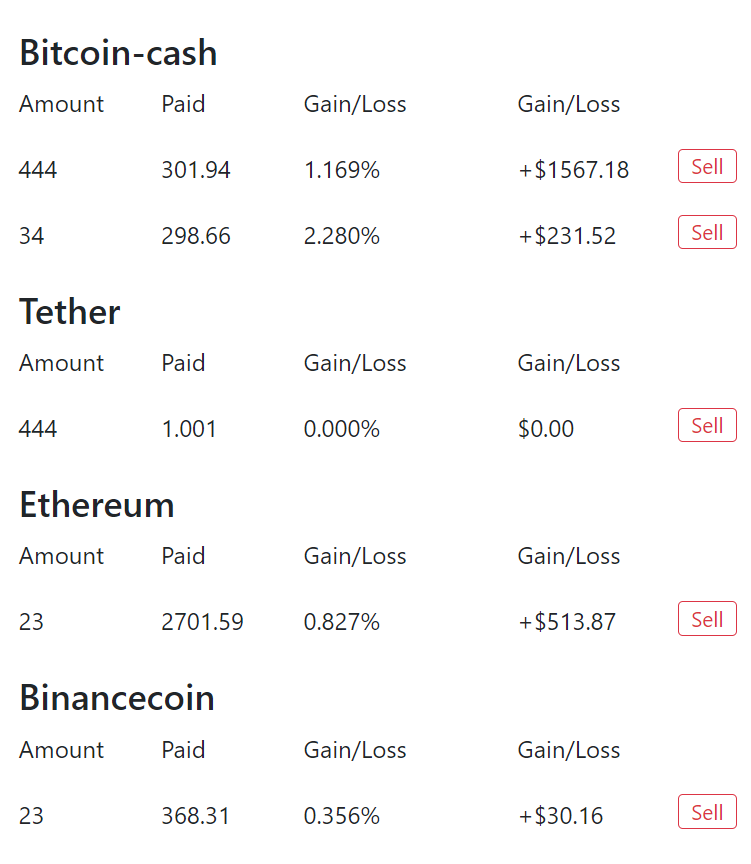
All similar coin purchases are ordered by groups for convienence, with varying statistics regarding your purchases.
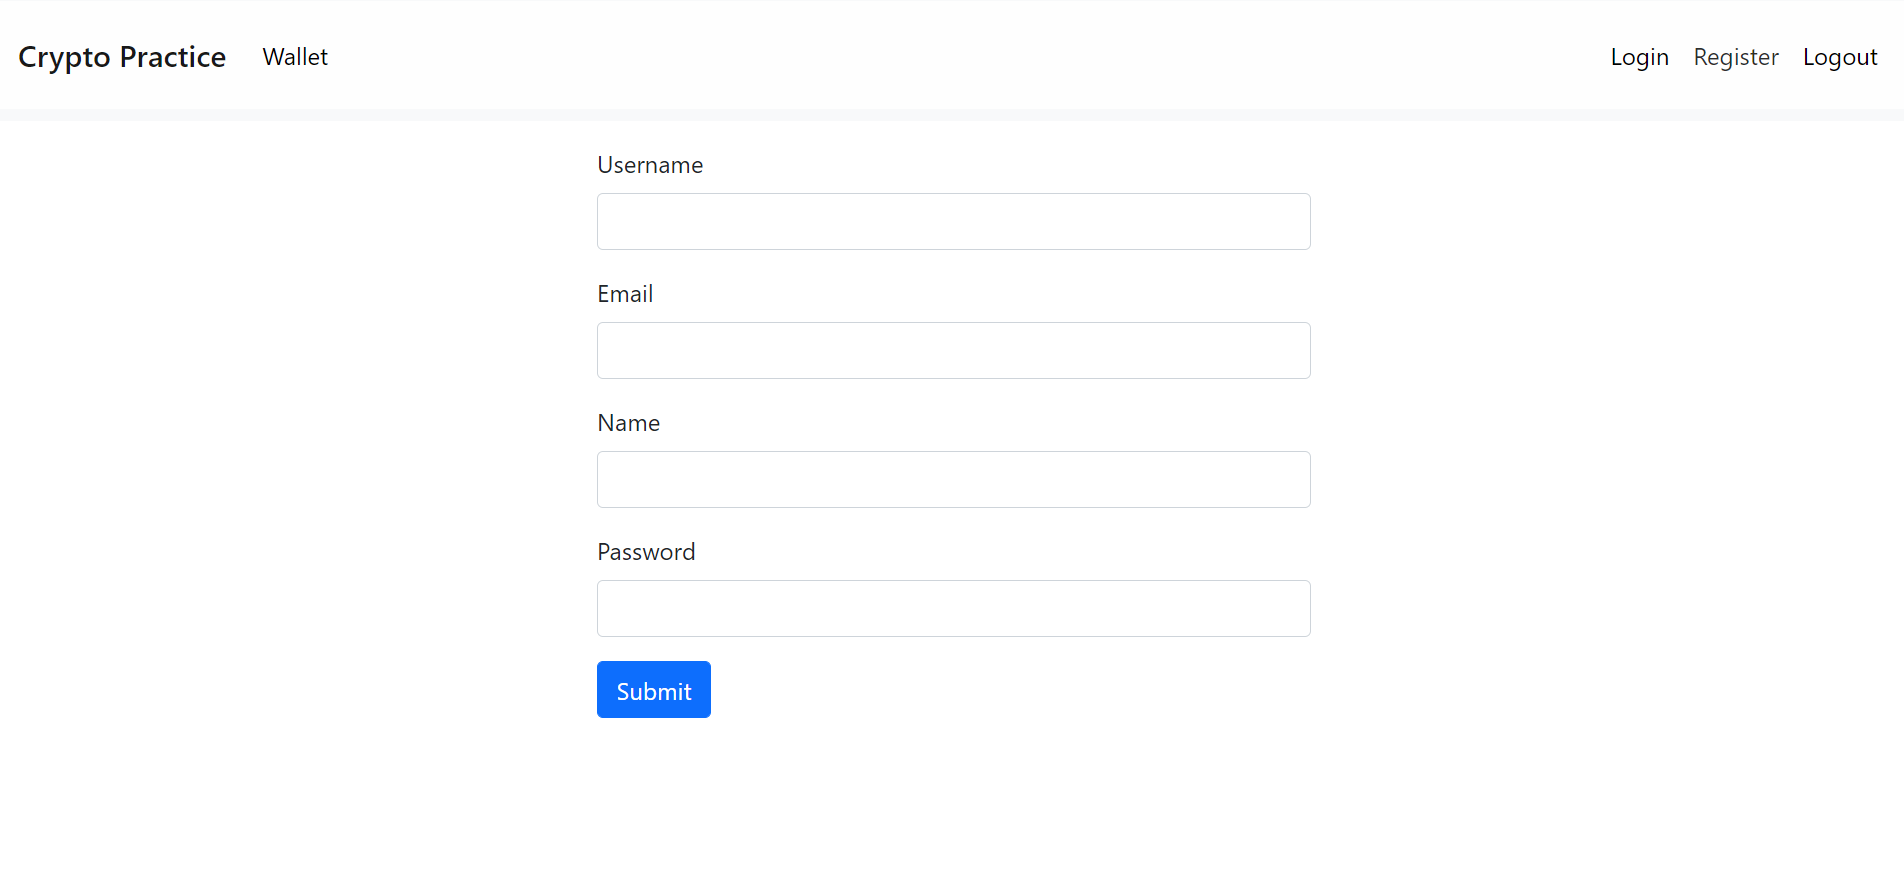
Logout, login, and registration work as expected!
 Register a new wallet
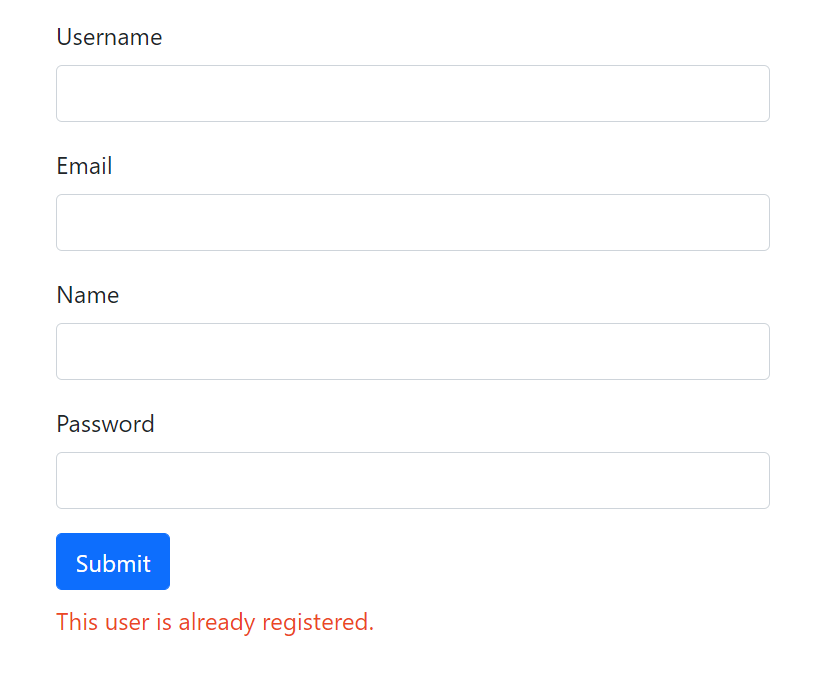
 Cannot re-use emails or usernames
This project was created using Anaconda as the primary package manager, thus the requirements.txt file is formatted to be read by an Anaconda interpreter and the steps will assume that you are also running Anaconda on your machine. Pip was used to install seperate packages within the environment accidentally for this project (This was build in 2 days 0.0), will manually transfer all packages to those available through the conda in the future.
You can download it here:
https://www.anaconda.com/products/individual
You may find that here
https://docs.microsoft.com/en-us/windows/wsl/install
SQLite: https://www.sqlitetutorial.net/download-install-sqlite/
DB Browser for SQLite: https://sqlitebrowser.org/
Clone this repository into a local directory on your machine.
https://docs.github.com/en/repositories/creating-and-managing-repositories/cloning-a-repository
Optionally, but highly recommnded, create an Anaconda environment for this project.
####UPDATE: For some reason fastapi-login is not availabele through any anaconda channels I could find
since this project depends on this package, I have made it so that all packages are installed through pip.
There is now no real need for anaconda environments now for this reason but the steps will show how to setup with an Anaconda Env anyway.
conda create --name your_env_name_here
Activate your environment:
conda activate you_env_name_here
Then install pip@21.2.4
conda install pip=21.2.4
Now install all dependencies using pip from requirements.txt
pip install -r requirements.txt
While in the root of the directory where you cloned the repo, run
alembic init alembic
This will create your alembic migration environment. You then need to change two pieces of code within some of these files.
Within /alembic/env.py add this import to the top of the file:
from models import Base
And change line 21 from:
target_metadata = None
to:
target_metadata = Base.metadata
Then, in alembic.ini, change line 51 from:
sqlalchemy.url = sqlite://sqlite.com
to:
sqlalchemy.url = sqlite:///./cryp_practice.db
Now time to populate our db with the tables using alembic, run this command while in the root of your repo:
alembic revision --autogenerate -m "First revision"
Then run:
alembic upgrade head
to begin using the revision we created before that has all the models loaded.
Congrats, your db should now be set-up!
While in the root folder of the repo, create a .env file with the following env variable:
SECRET_KEY=put_any_secrect_key
While in the root of the directory where the repo was cloned, run
uvicorn main:app --reload
Enjoy!