

Full stack react-flask application hosting multiple choice online testing for practice AMC tests. (This repo does not include problems database.)
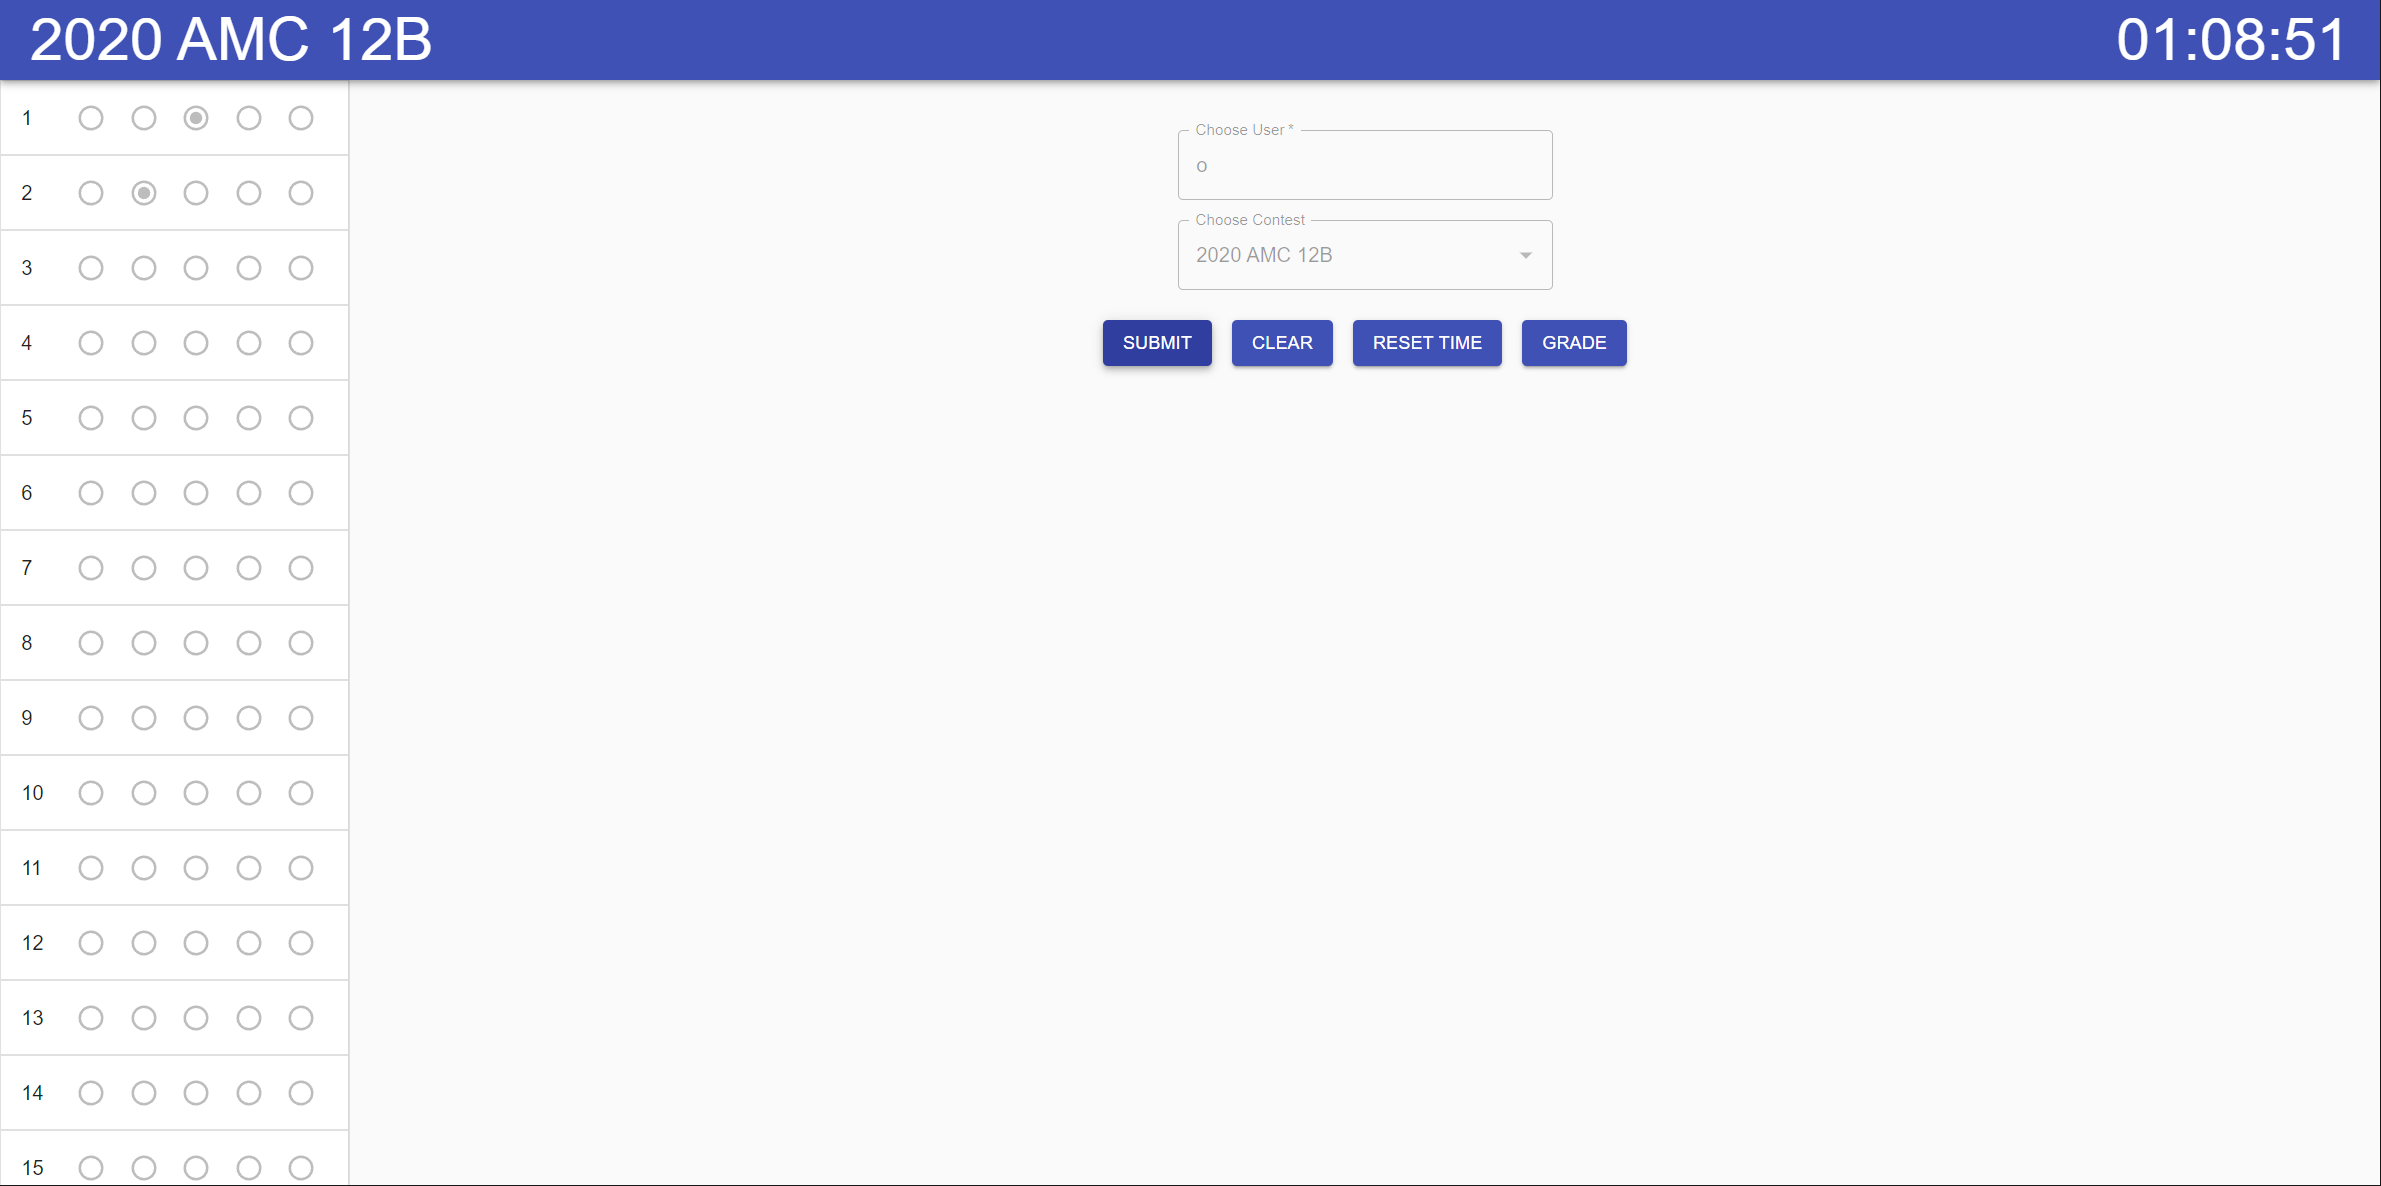
- Pick user and test. User entry is auto generated in user database if doesn't exist

- Pick from list of problems in the problem database hosted on server. This loads the problem via flask backend.
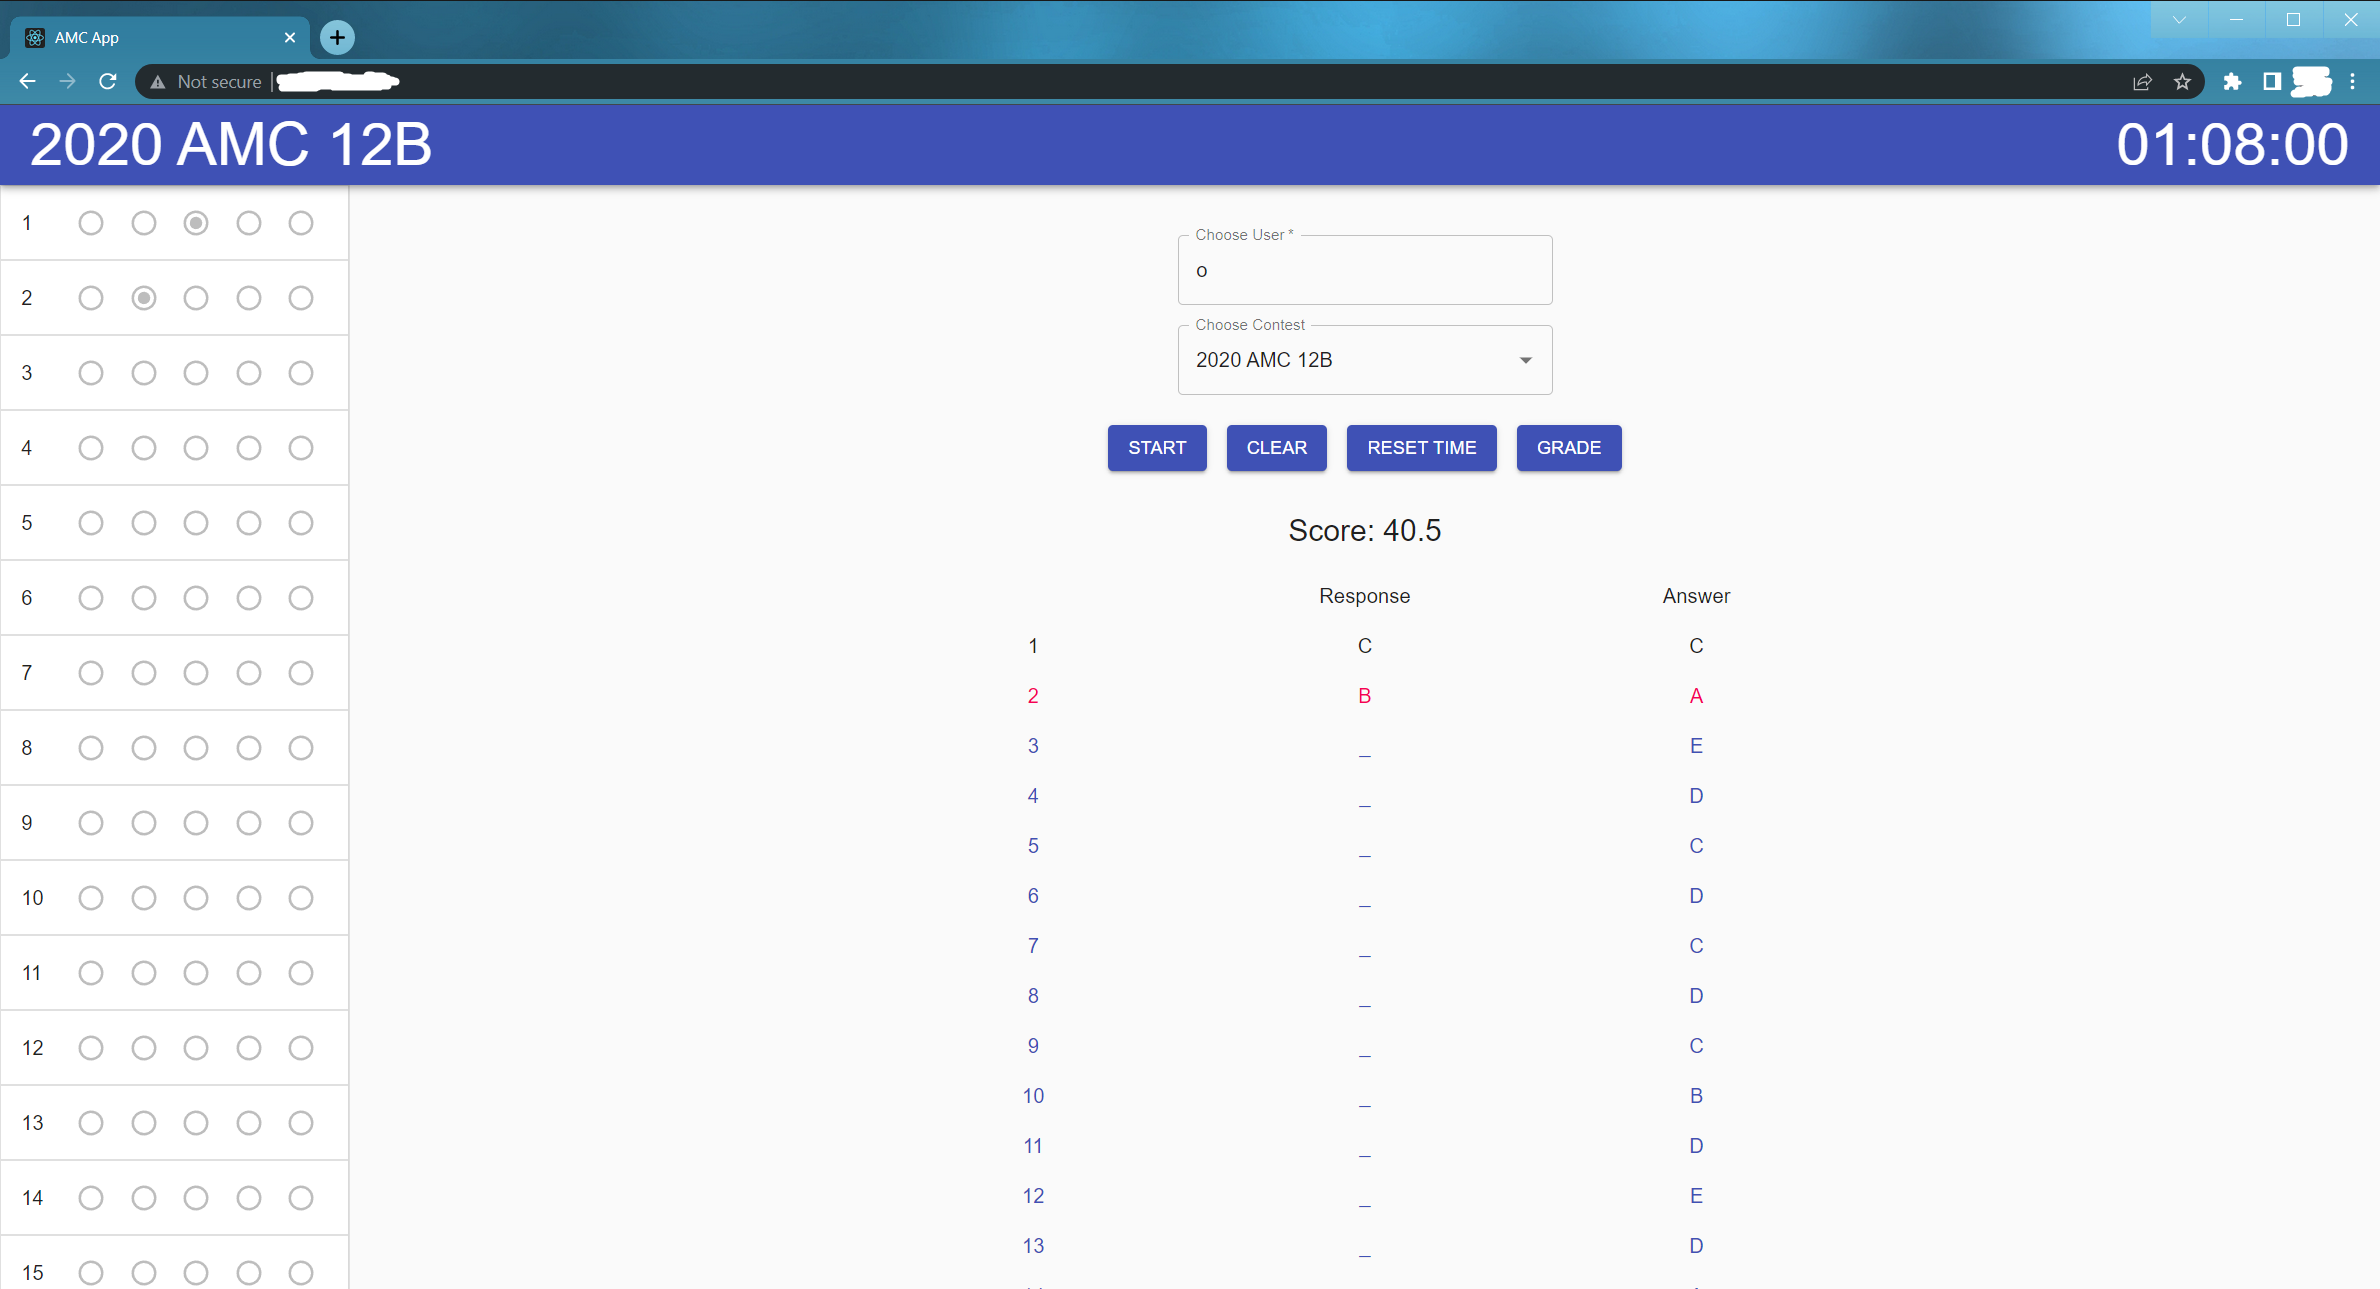
- If user has previously taken the test, old grades will be shown. Previous answers can be cleared to retake the test. New response are timestamped and auto-recorded when submitted so will not overwrite old response.
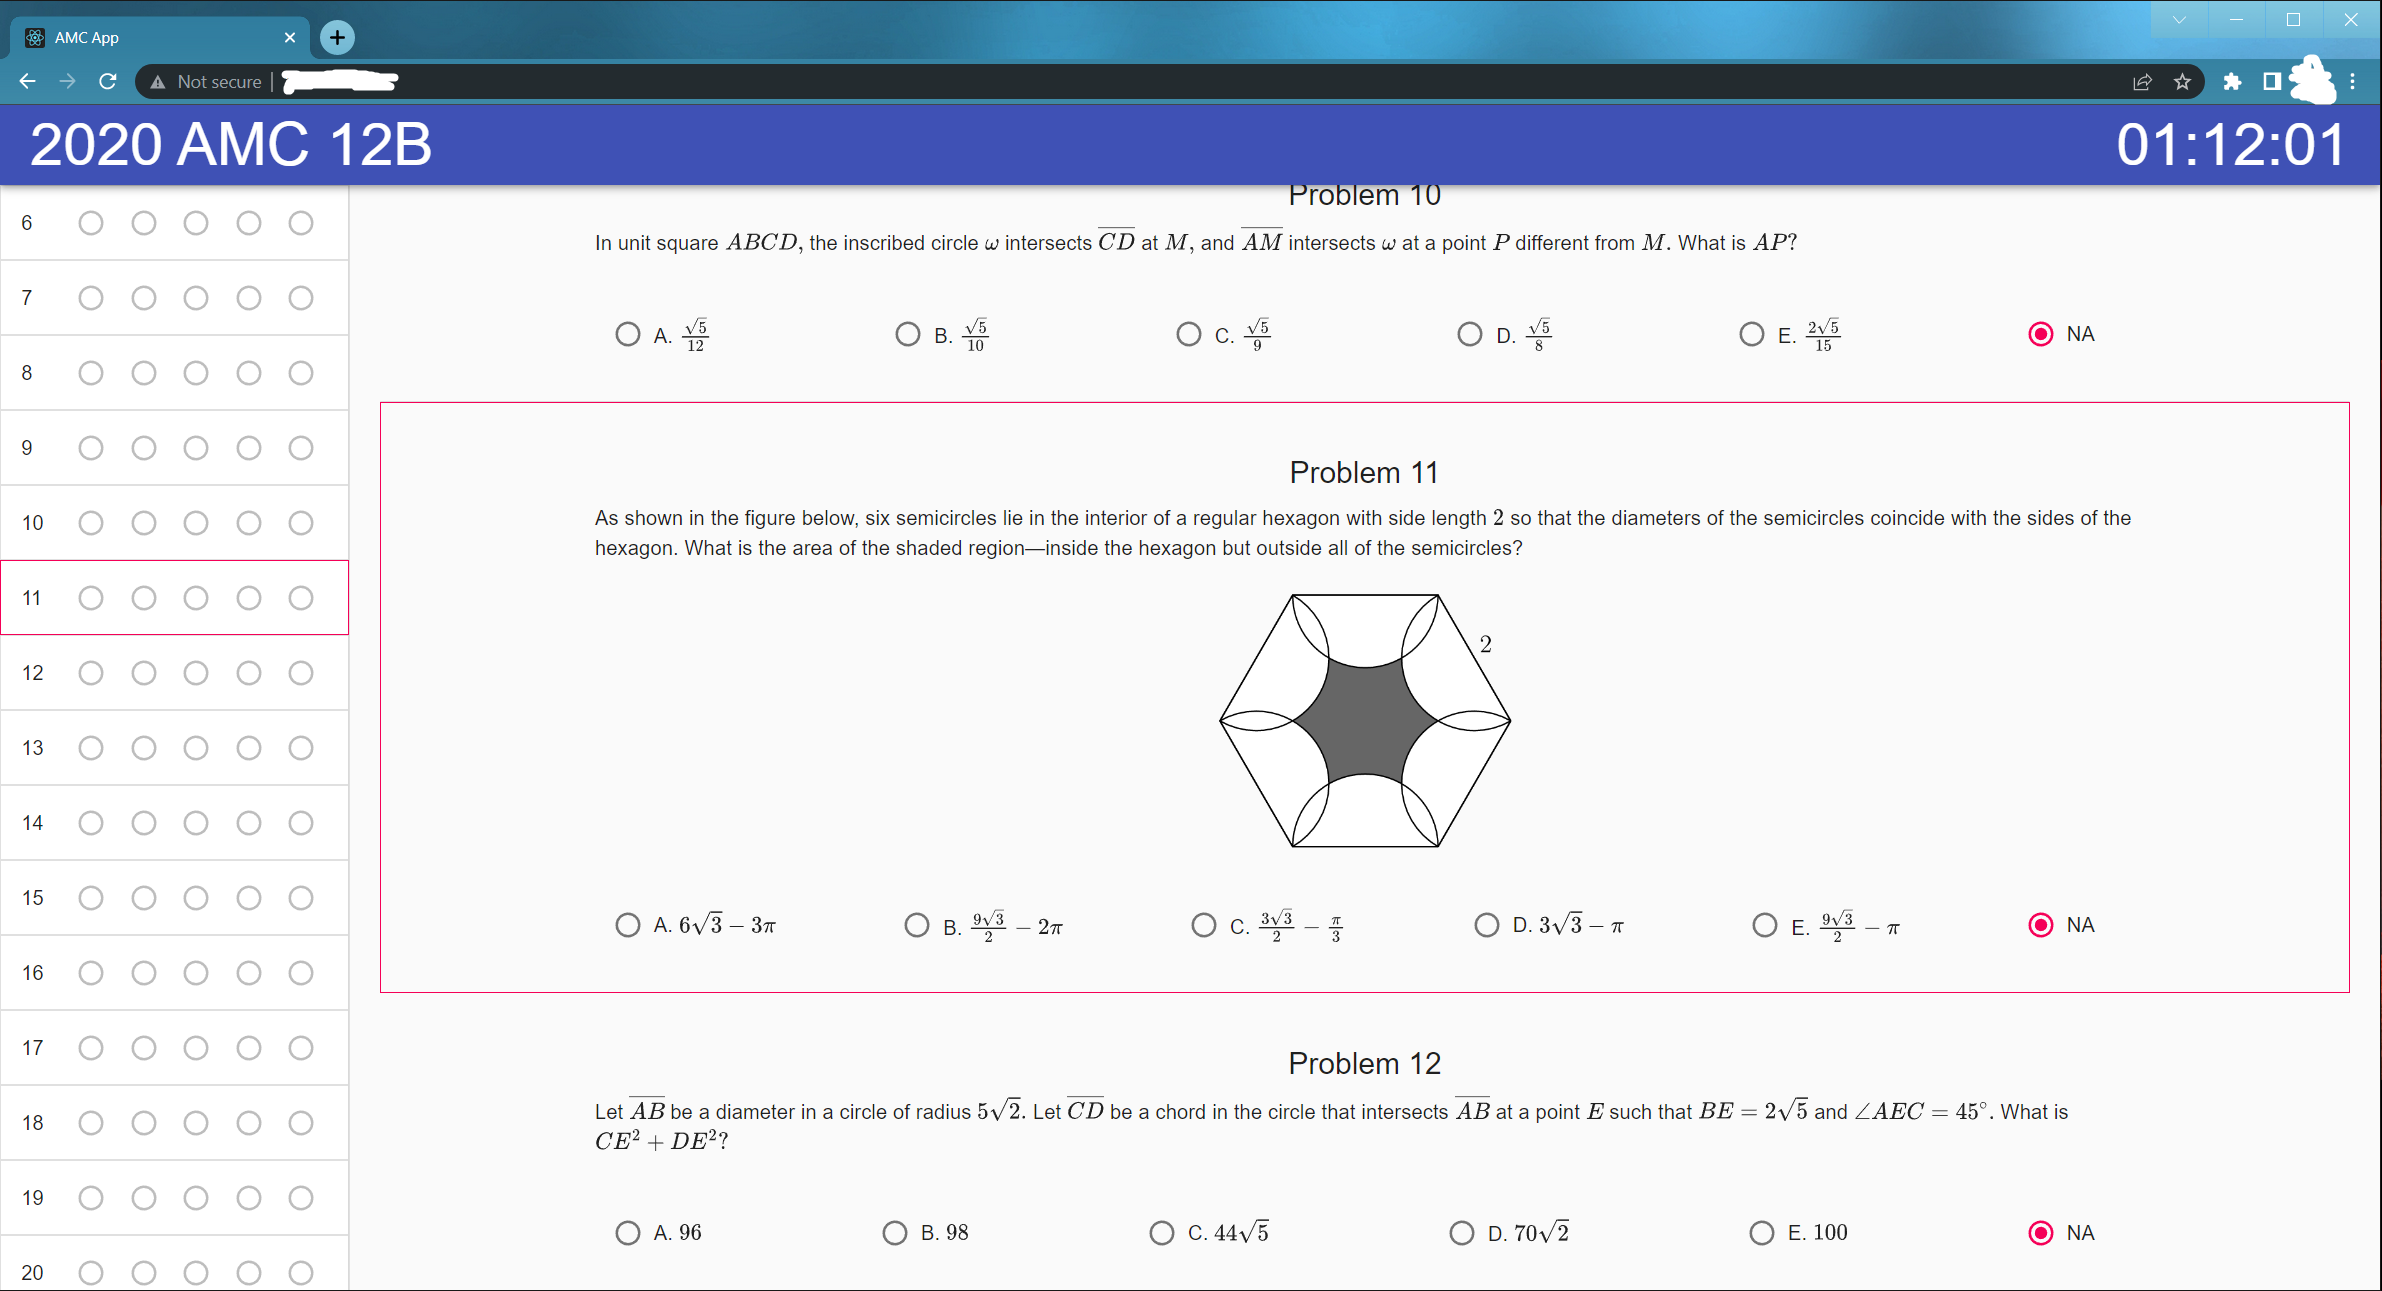
- After start, test questions will be shown and count down on top right corner will start
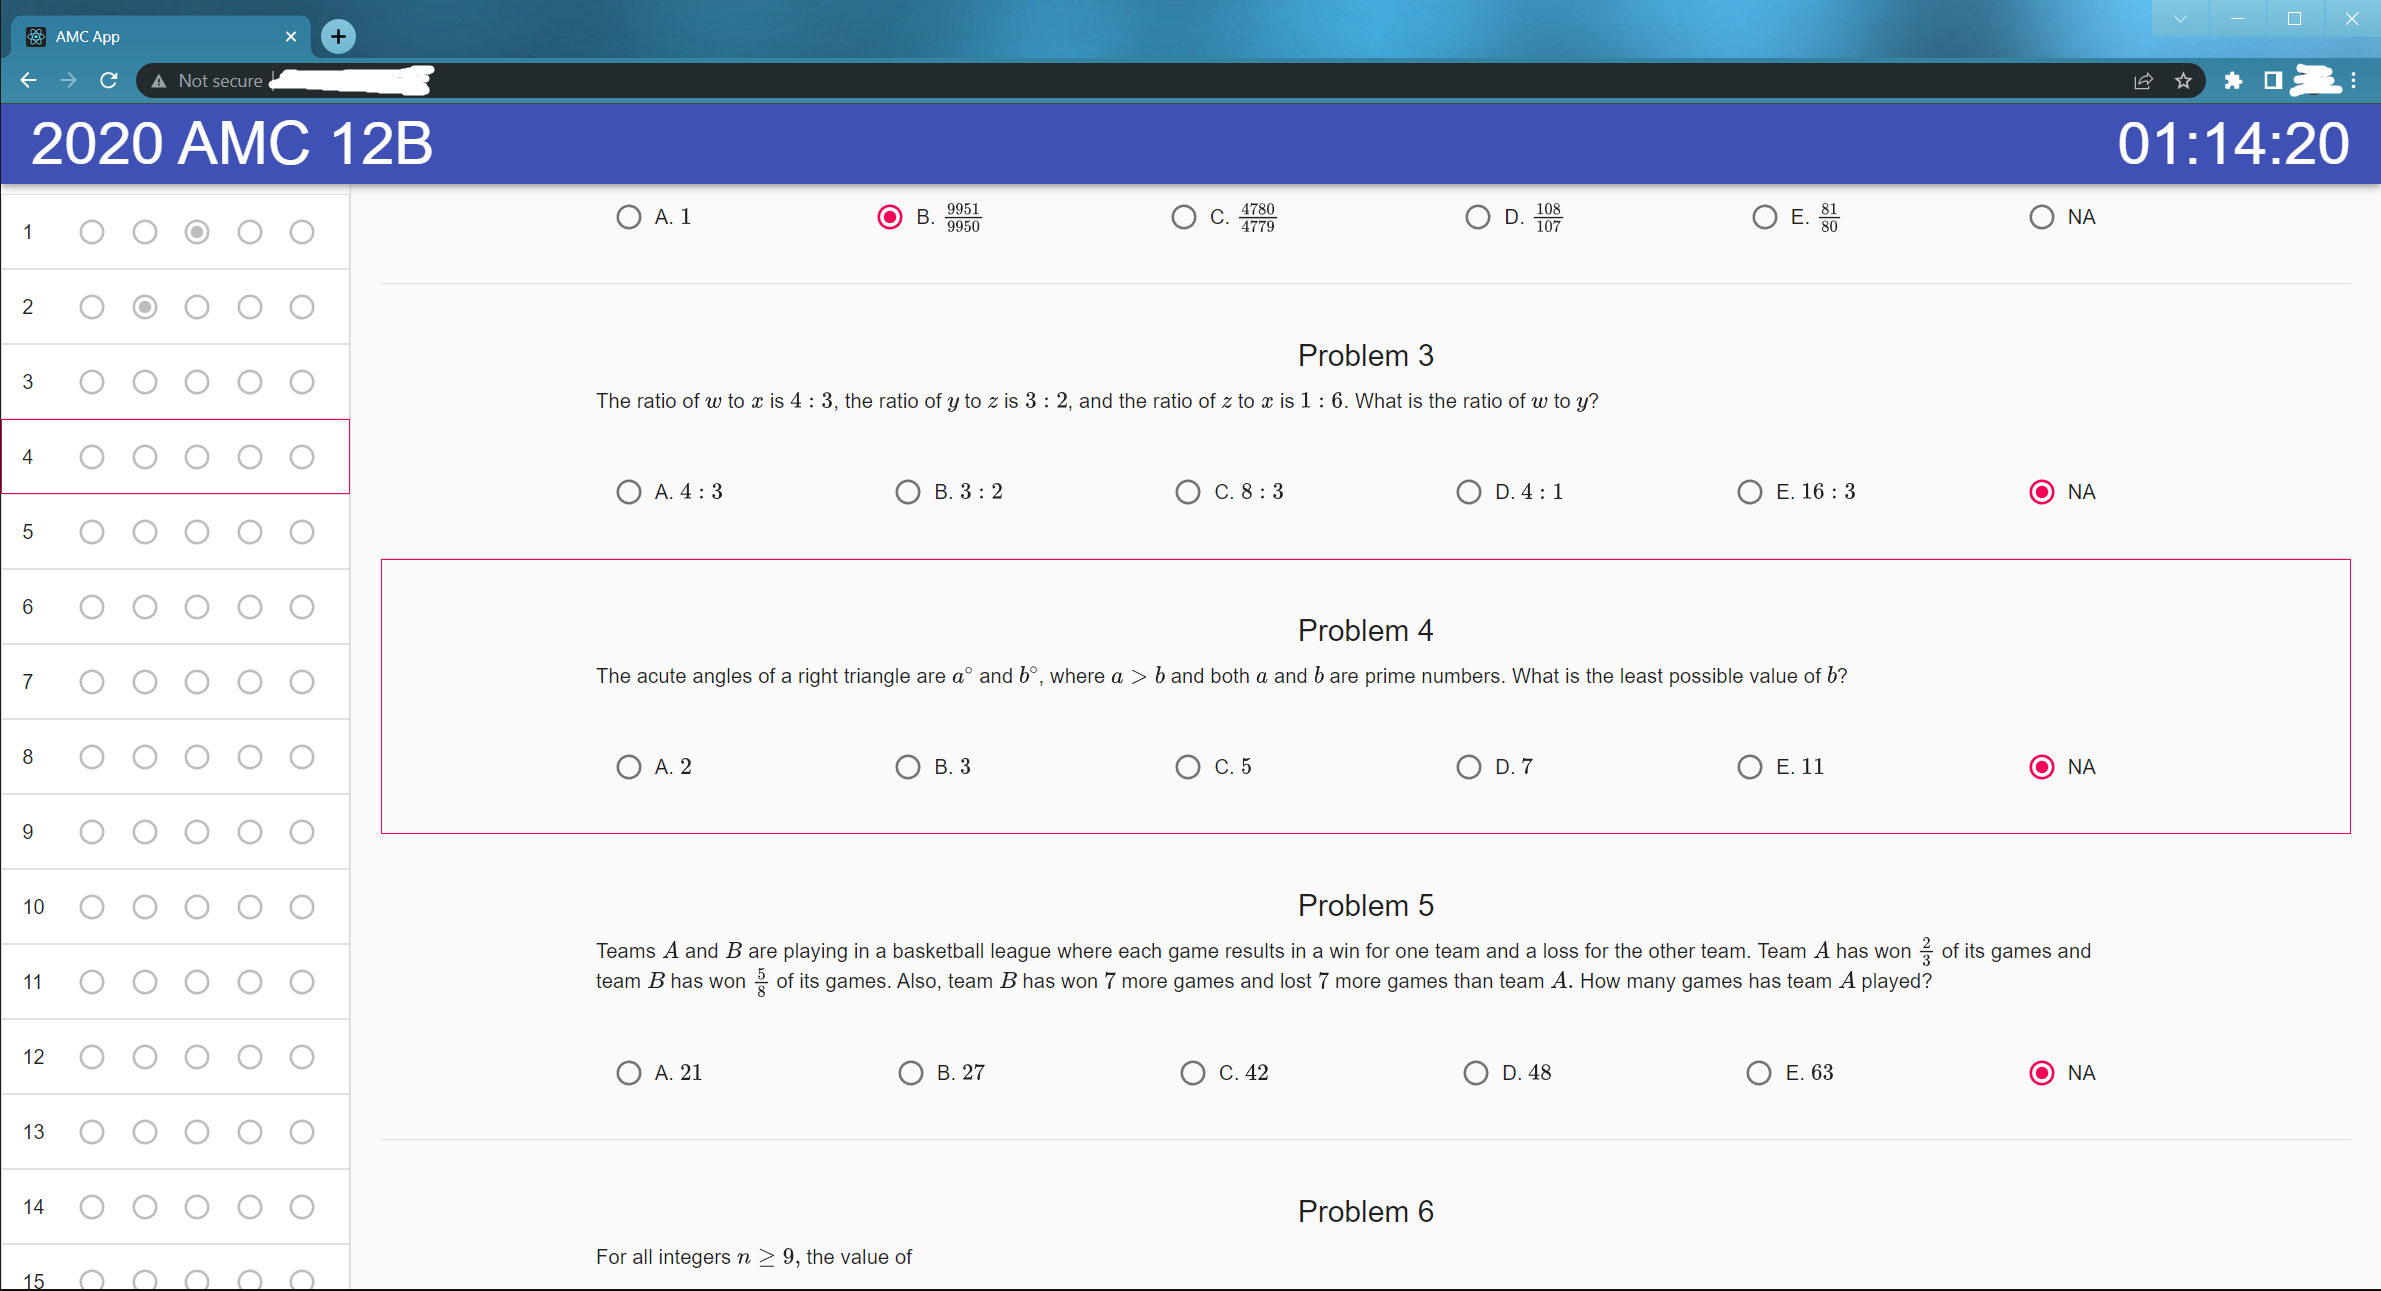
- User up/down arrow to focus problems. Focused problem will have red border. This helps record time spent on a particular problem in the response database (via flask backend) and can be used for further analysis.
- Response is mirrored on left for easy viewing. Each mirrored entry on left can be clicked to autoscroll the center of browser screen to that problem.
- Choices will be cached in browser cache in case browser is accidently exited. Upon resume, the existing responses and timer time will be reloaded from cache.
- Problems can contain images
- Clicking on test name on top left corner will show testing options to "submit" and "grade"
- Upon submit, the response will be written to the response database for record.
- Click on grade to grade the response vs correct answers (pulled from answers database)
- Add visualization of past scores
- Add visualization and analysis of time spent on questions
- Add stats/summary page for user
In the project directory, you can run:
Runs the app in the development mode.
Open http://localhost:3000 to view it in the browser.
The page will reload if you make edits.
You will also see any lint errors in the console.
Runs the flask backend in the development model. Connects with React front end.
Launches the test runner in the interactive watch mode.
See the section about running tests for more information.
Automated build script. Make it executable with chmod u+x build.sh.
The script does the following
- Archives old build to
buildvx.x.xwherex.x.xwas the previous version. - Increment minor version
x.x.xtox.x.x+1inpackage.json - calls
npm run build(see description below) - add symlink in
staticdirectory todatadirectory
Builds the app for production to the build folder.
It correctly bundles React in production mode and optimizes the build for the best performance.
The build is minified and the filenames include the hashes.
Your app is ready to be deployed!
See the section about deployment for more information.
Note: this is a one-way operation. Once you eject, you can’t go back!
If you aren’t satisfied with the build tool and configuration choices, you can eject at any time. This command will remove the single build dependency from your project.
Instead, it will copy all the configuration files and the transitive dependencies (webpack, Babel, ESLint, etc) right into your project so you have full control over them. All of the commands except eject will still work, but they will point to the copied scripts so you can tweak them. At this point you’re on your own.
You don’t have to ever use eject. The curated feature set is suitable for small and middle deployments, and you shouldn’t feel obligated to use this feature. However we understand that this tool wouldn’t be useful if you couldn’t customize it when you are ready for it.
You can learn more in the Create React App documentation.
To learn React, check out the React documentation.
flask db init --multidb
Credit: https://blog.miguelgrinberg.com/post/how-to-deploy-a-react--flask-project
sudo apt install nginx
sudo rm /etc/nginx/sites-enabled/default
Then, create a nginx config file for the react app at /etc/nginx/sites-enabled/amc-app.nginx with the following Content
server {
    listen 80;
    root /path-to-your-app/build;
    index index.html;

    location / {
        try_files $uri $uri/ =404;
    }

    location /api {
        include proxy_params;
        proxy_pass http://localhost:5000;
    }
}
This serves the React App while forwarding all the api requests to localhost:5000 where the flask app is hosted (setup below). Note that you can enable SSL and use port 443 is you have signed SSL certificate.
Finally, add a link in the sites-available like below and reload nginx:
sudo ln -s /etc/nginx/sites-available/amc-app.nginx /etc/nginx/sites-enabled/amc-app.nginx
sudo systemctl reload nginxThe flask app can be deployed with gunicorn, though there are other methods/servers as well.
First, install gunicorn inside virtual environment
(venv) $ pip install gunicorn
Then, create service file /etc/systemd/system/amc-app.service to automatically start the Flask app
[Unit]
Description=AMC APP
After=network.target

[Service]
User=od
WorkingDirectory=/path-to-your-app/api
ExecStart=/path-to-your-app/api/venv/bin/gunicorn -b 127.0.0.1:5000 -w 4 wsgi:app
Restart=always

[Install]
WantedBy=multi-user.target
Note gunicorn serves the Flask app at 127.0.0.1:5000. Make sure this matches the proxy_pass setting in nginx config file above.
Finally, reload systemd and start Flask app
sudo systemctl daemon-reload
sudo systemctl start amc-app
sudo systemctl enable amc-app
sudo systemctl status amc-app
And now, you are all set! Enjoy your full-stack React-Flask app.