Run Ookla speed tests in Tinycast with live download and upload gauges, progress, speed history, ping, and network details.
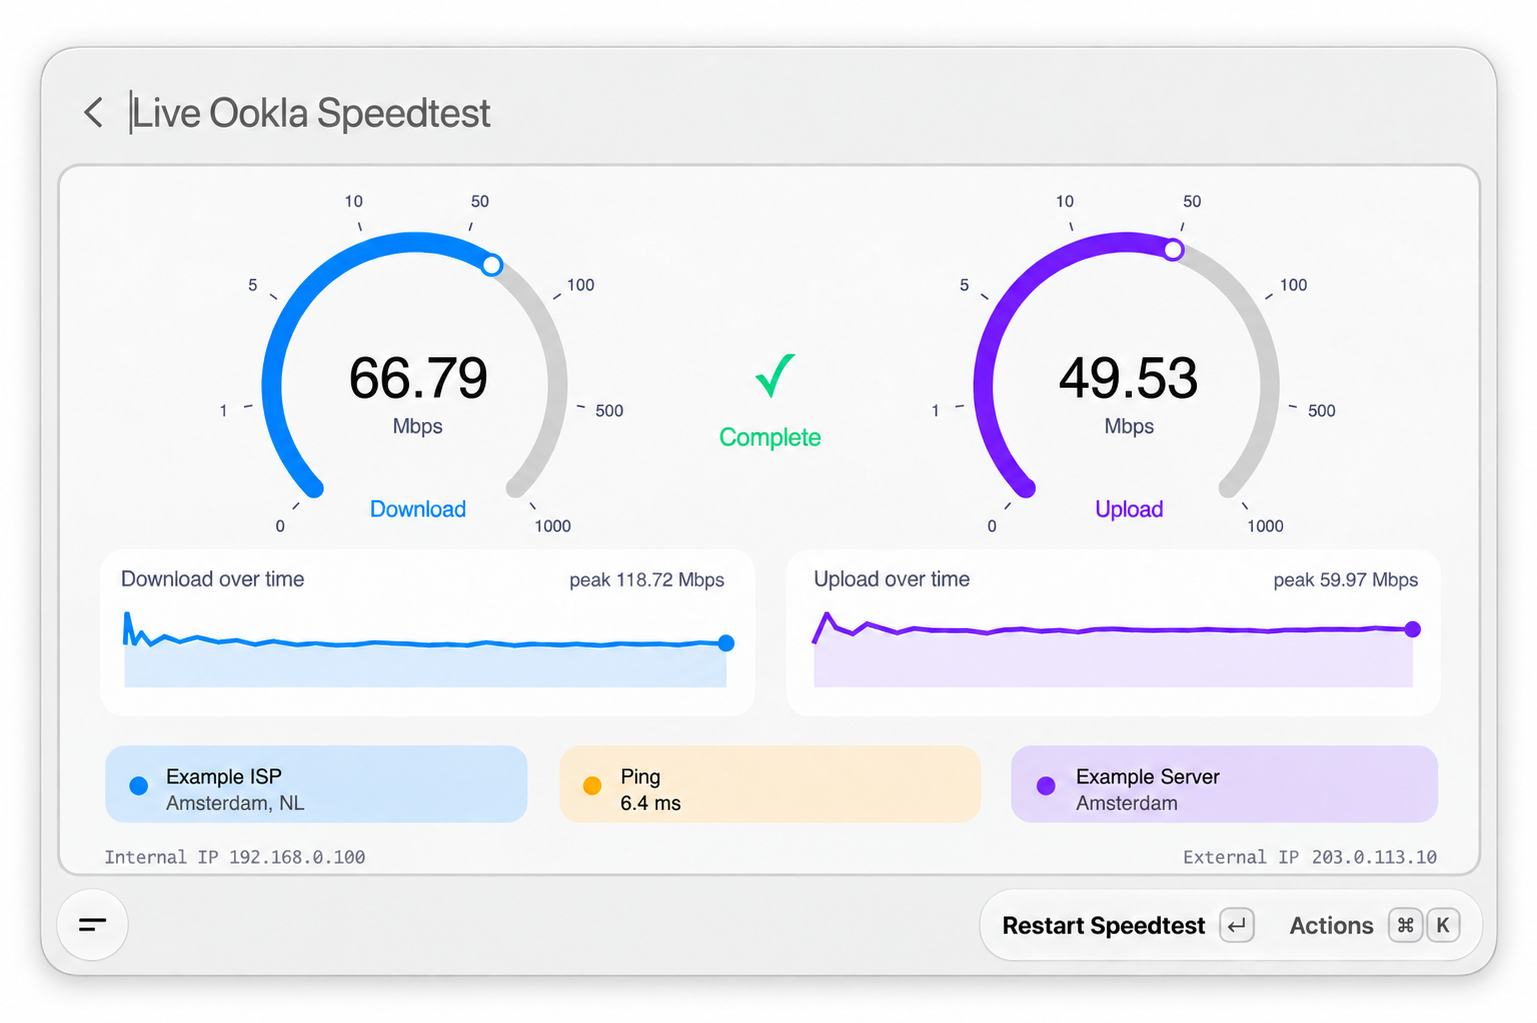
Illustrative screenshot with example network details and reserved IP addresses.
Requires macOS, Tinycast, and the Ookla Speedtest CLI. The CLI is not included in the download.
- Download
tinycast-speedtest-live.zipfrom Releases. - Unzip it, then in Tinycast open Settings → Extensions → Add from folder → Choose and select the extracted
tinycast-speedtest-livefolder. - Set Ookla CLI Path in the extension preferences to the absolute path of your Speedtest CLI. If Tinycast's original Speedtest extension has already downloaded it, you can use the CLI at
~/Library/Application Support/com.tinycast.app/extension-support/speedtest/cli/speedtest(replace~with your home directory). - Open Speedtest Live from the launcher. A test starts immediately; use Actions (Cmd+K) to cancel or restart it.
npm ci
npm test
npm run build
Install dist/ with Add from folder as above.
If the original Speedtest extension has already downloaded the CLI, run npm run install-speedtest-cli to copy it into this extension's support directory. Otherwise, set Ookla CLI Path in the preferences.
The CLI performs the speed test and supplies the ISP, server, and IP addresses shown on screen. To display the client's approximate city and country code, the extension sends the CLI's external IP address to IPinfo in one best-effort HTTPS request per IP during each test. The test still works if this lookup fails. The extension adds no analytics.